Decorated Sand Tarts in Christmas Tins
Part of what makes the holidays special are the family traditions, things you look forward to all year long. Many families enjoy making Christmas cookies and have a cherished cookie recipe that has been handed down from generation to generation. Every year, my family makes sand tarts—thin and crispy butter cookies decorated with colored sugar or cinnamon-sugar. These festive cookies are always a hit and never last long.
My great-great grandmother, who everyone called Mime, would begin making sand tarts right after Thanksgiving. Making sand tarts is a labor of love, especially when making a large batch of cookies to share with family and friends. You have to roll out very thin sheets of dough to cut the cookies. You need the dough just soft enough to roll it, but still hard enough to get it to the necessary thinness. This takes time and is quite the arm workout after a while, but the results are worth the effort.
When my grandmother was a child, she and the other children would try to get into the tins of sand tarts Mime had made and eat the cookies. A whole tin could quickly disappear, because as my grandmother recounts, “you can’t just eat one…”
I couldn’t agree with her more.

Me as a Child Decorating Sand Tarts
Making sand tarts is a family affair. As a child I remember the kitchen full of people—my mom rolling the dough out, grandma cutting the cookies, and us kids decorating. I always wanted to do elaborate designs with confetti sprinkles, sugar pearls, and Red Hots, though the best-tasting sand tarts have just a sprinkle of colored sugar or cinnamon-sugar. After a few pans of all-out decorating, I would always switch to this simpler method of decorating.
Sand tarts are a part of my history. Even when I was a little baby still in my mother’s arms and not capable of helping out, my aunt sculpted a sand tart baby out of the extra dough to represent me and bring me luck for the New Year!
Mime’s Sand Tart Recipe (Half Batch)
2 ¼ cups sugar
4 cups all-purpose flour
¾ lb butter (room-temperature)
2 eggs
I halved the original recipe because it makes a lot of dough. But, feel free to make the full batch, if you want, the dough freezes well. Also, if you have a dairy allergy, you can make this dairy-free by substituting Earth Balance butter in equal amounts; I tried it this year and it worked well.
How to Make Sand Tarts
The process starts off like most butter cookies, you cream the sugar and butter together, beat in the eggs and slowly mix in the flour. You then divide the dough into 4 balls and wrap them individually in plastic wrap and place them in the refrigerator to chill overnight. It’s important to do this, so that the sand tart dough hardens.
Now, the fun begins.
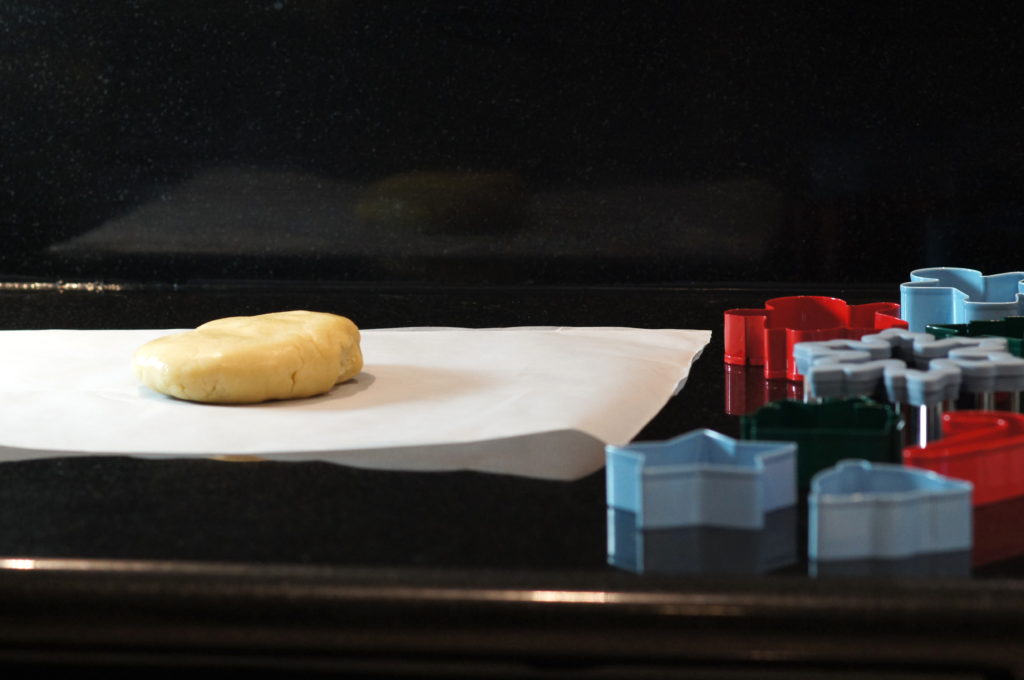
Sand Tart Dough Ready for Rolling
Place a sheet of parchment paper the size of your baking sheet on the counter and place one of the dough balls on top. This will allow you to transfer the cookies directly to the pan without having to move them individually.
Flatten the sand tart dough slightly with your hand. You might have to let it sit at room temperature for a few minutes to soften it for rolling. Place another sheet of parchment paper on top of the dough. This acts as a barrier between the rolling pin and the dough, which keeps your rolling pin clean and makes it easier to roll the dough.
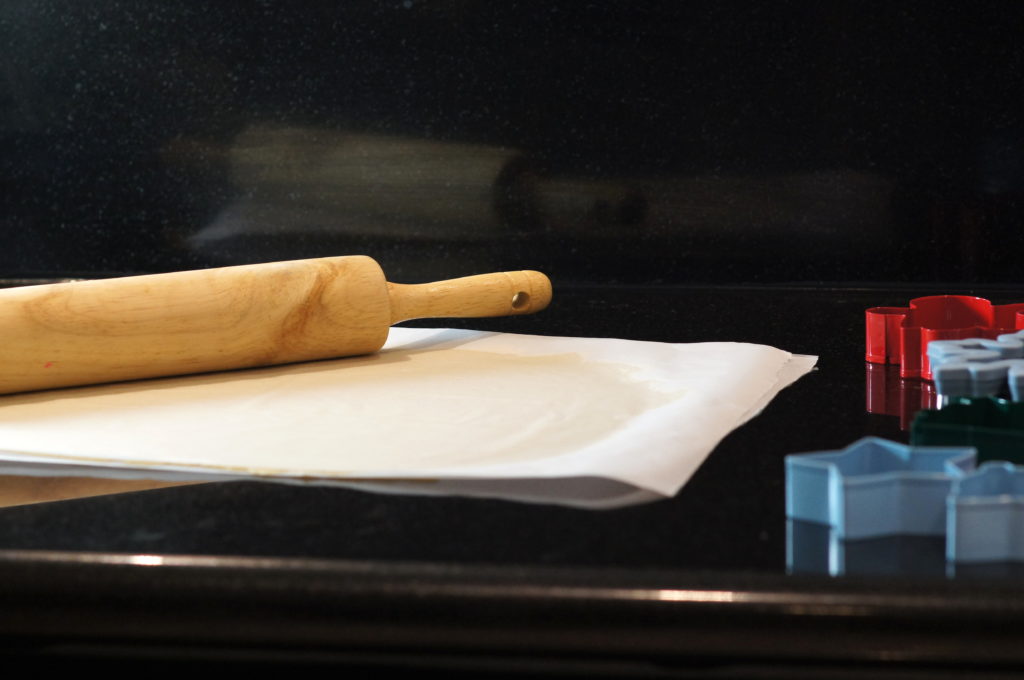
Rolling Sand Tart Dough Using Parchment Paper

Rolled-out Sand Tart Dough
You want to roll out the sand tart dough until it’s very thin, an 1/8 to 1/16 of an inch, almost as thin as you can make it.

Cutting Out Sand Tarts
Remove the top sheet of parchment paper. Cut out the sand tarts using festive cookie cutters.
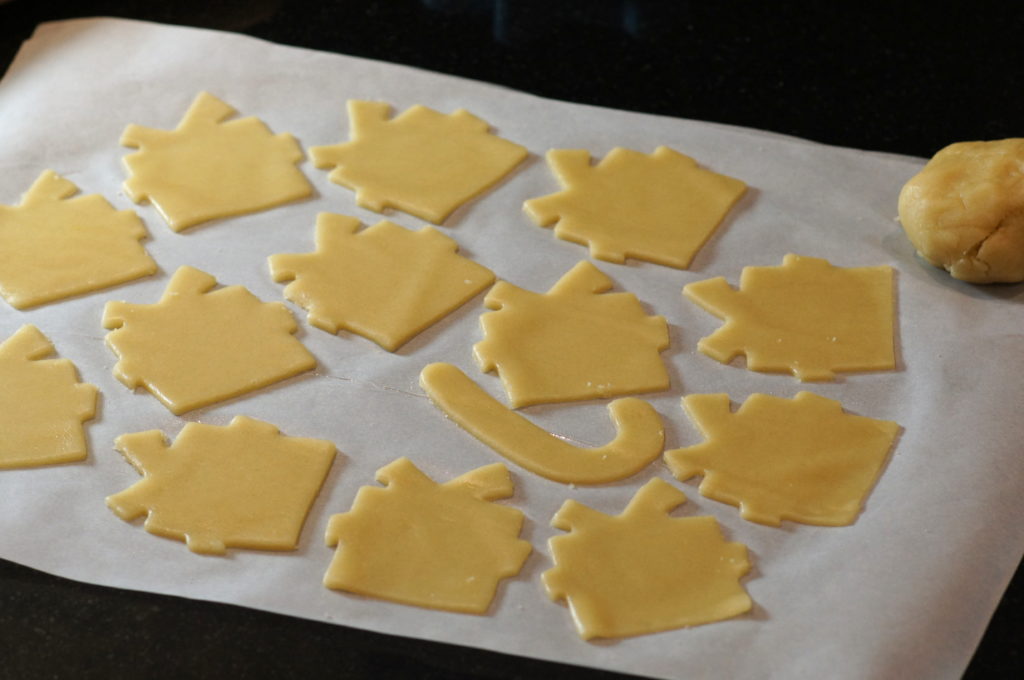
Cut Out Sand Tarts
Carefully peel the dough from around the sand tarts. If the dough is too soft, you may have to put it into the refrigerator for a few minutes before doing this step. Save the leftover dough to reuse.
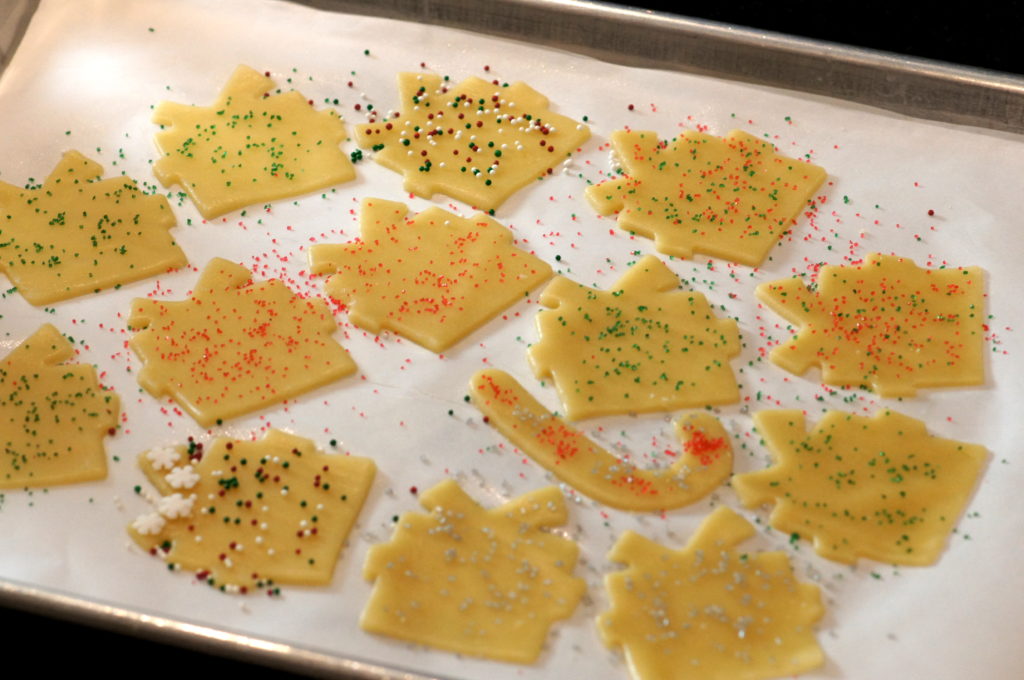
Decorated Sand Tart Cookies
Decorate the sand tarts as simple or as elaborate as you like.

Sand Tarts Ready for Baking
Transfer the parchment paper with the cookies to a cold baking pan and bake at 325°F for 10-14 minutes, until they just slightly have some brown coloring around the edges. Start checking at 10 minutes; they cook fast and you don’t want them to overcook.

Baked Sand Tart Cookies Cooling on Rack
Transfer the cookies onto a wire rack to cool.
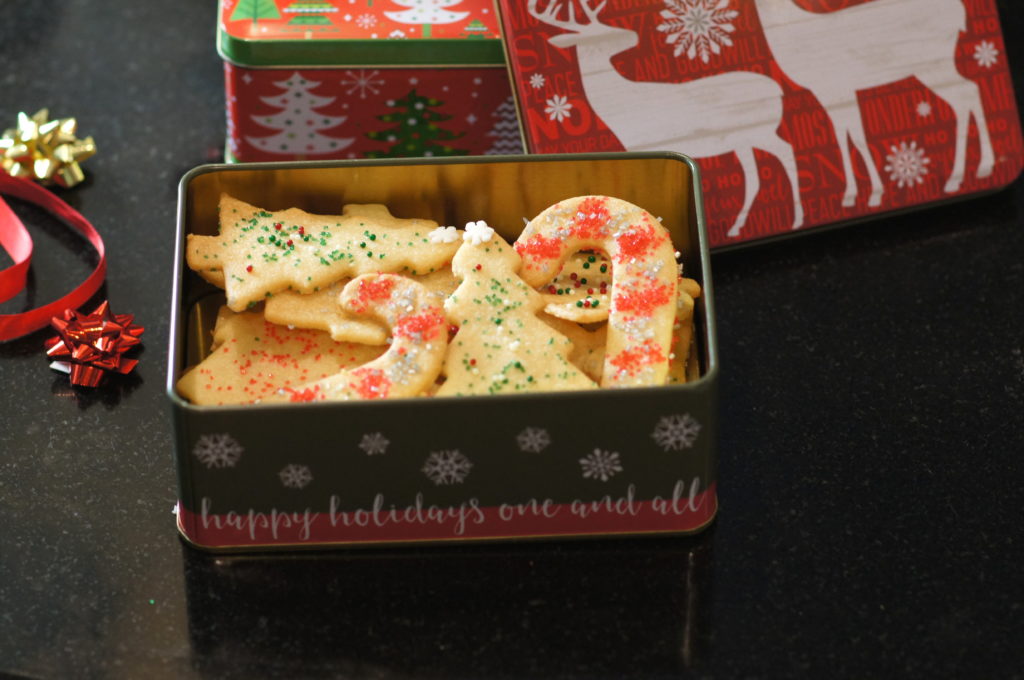
Mime’s Sand Tarts in Christmas Tins
Once cooled to room temperature, pack the sand tarts into Christmas tins or eat them—or a combination of the two! I hope you enjoy this sand tart recipe and that you have as much fun making and eating them as my family does.
Does your family have a special holiday cookie you make every year? Please share in the comments.
If you enjoyed reading this post, like my Facebook page and subscribe to my blog to follow my cooking adventures and flavorful journeys!