

Blood-splattered cookies are a deliciously morbid Halloween treat. They’re also wickedly fun to make. These blood-splattered cookies are a mash-up of Jackson Pollock and Dexter–Pollock’s ingenuity plus Dexter’s insanity equal disturbingly beautiful Halloween cookies.
These blood-splattered cookies are somewhat labor-intensive, but the dramatic results of slinging icing like a madwoman definitely make them worthwhile.
- Start off with round cookies of your choosing
I made a combination of chocolate and sugar cookies. Allow the cookies to cool completely before applying the icing.
- Make the royal icing
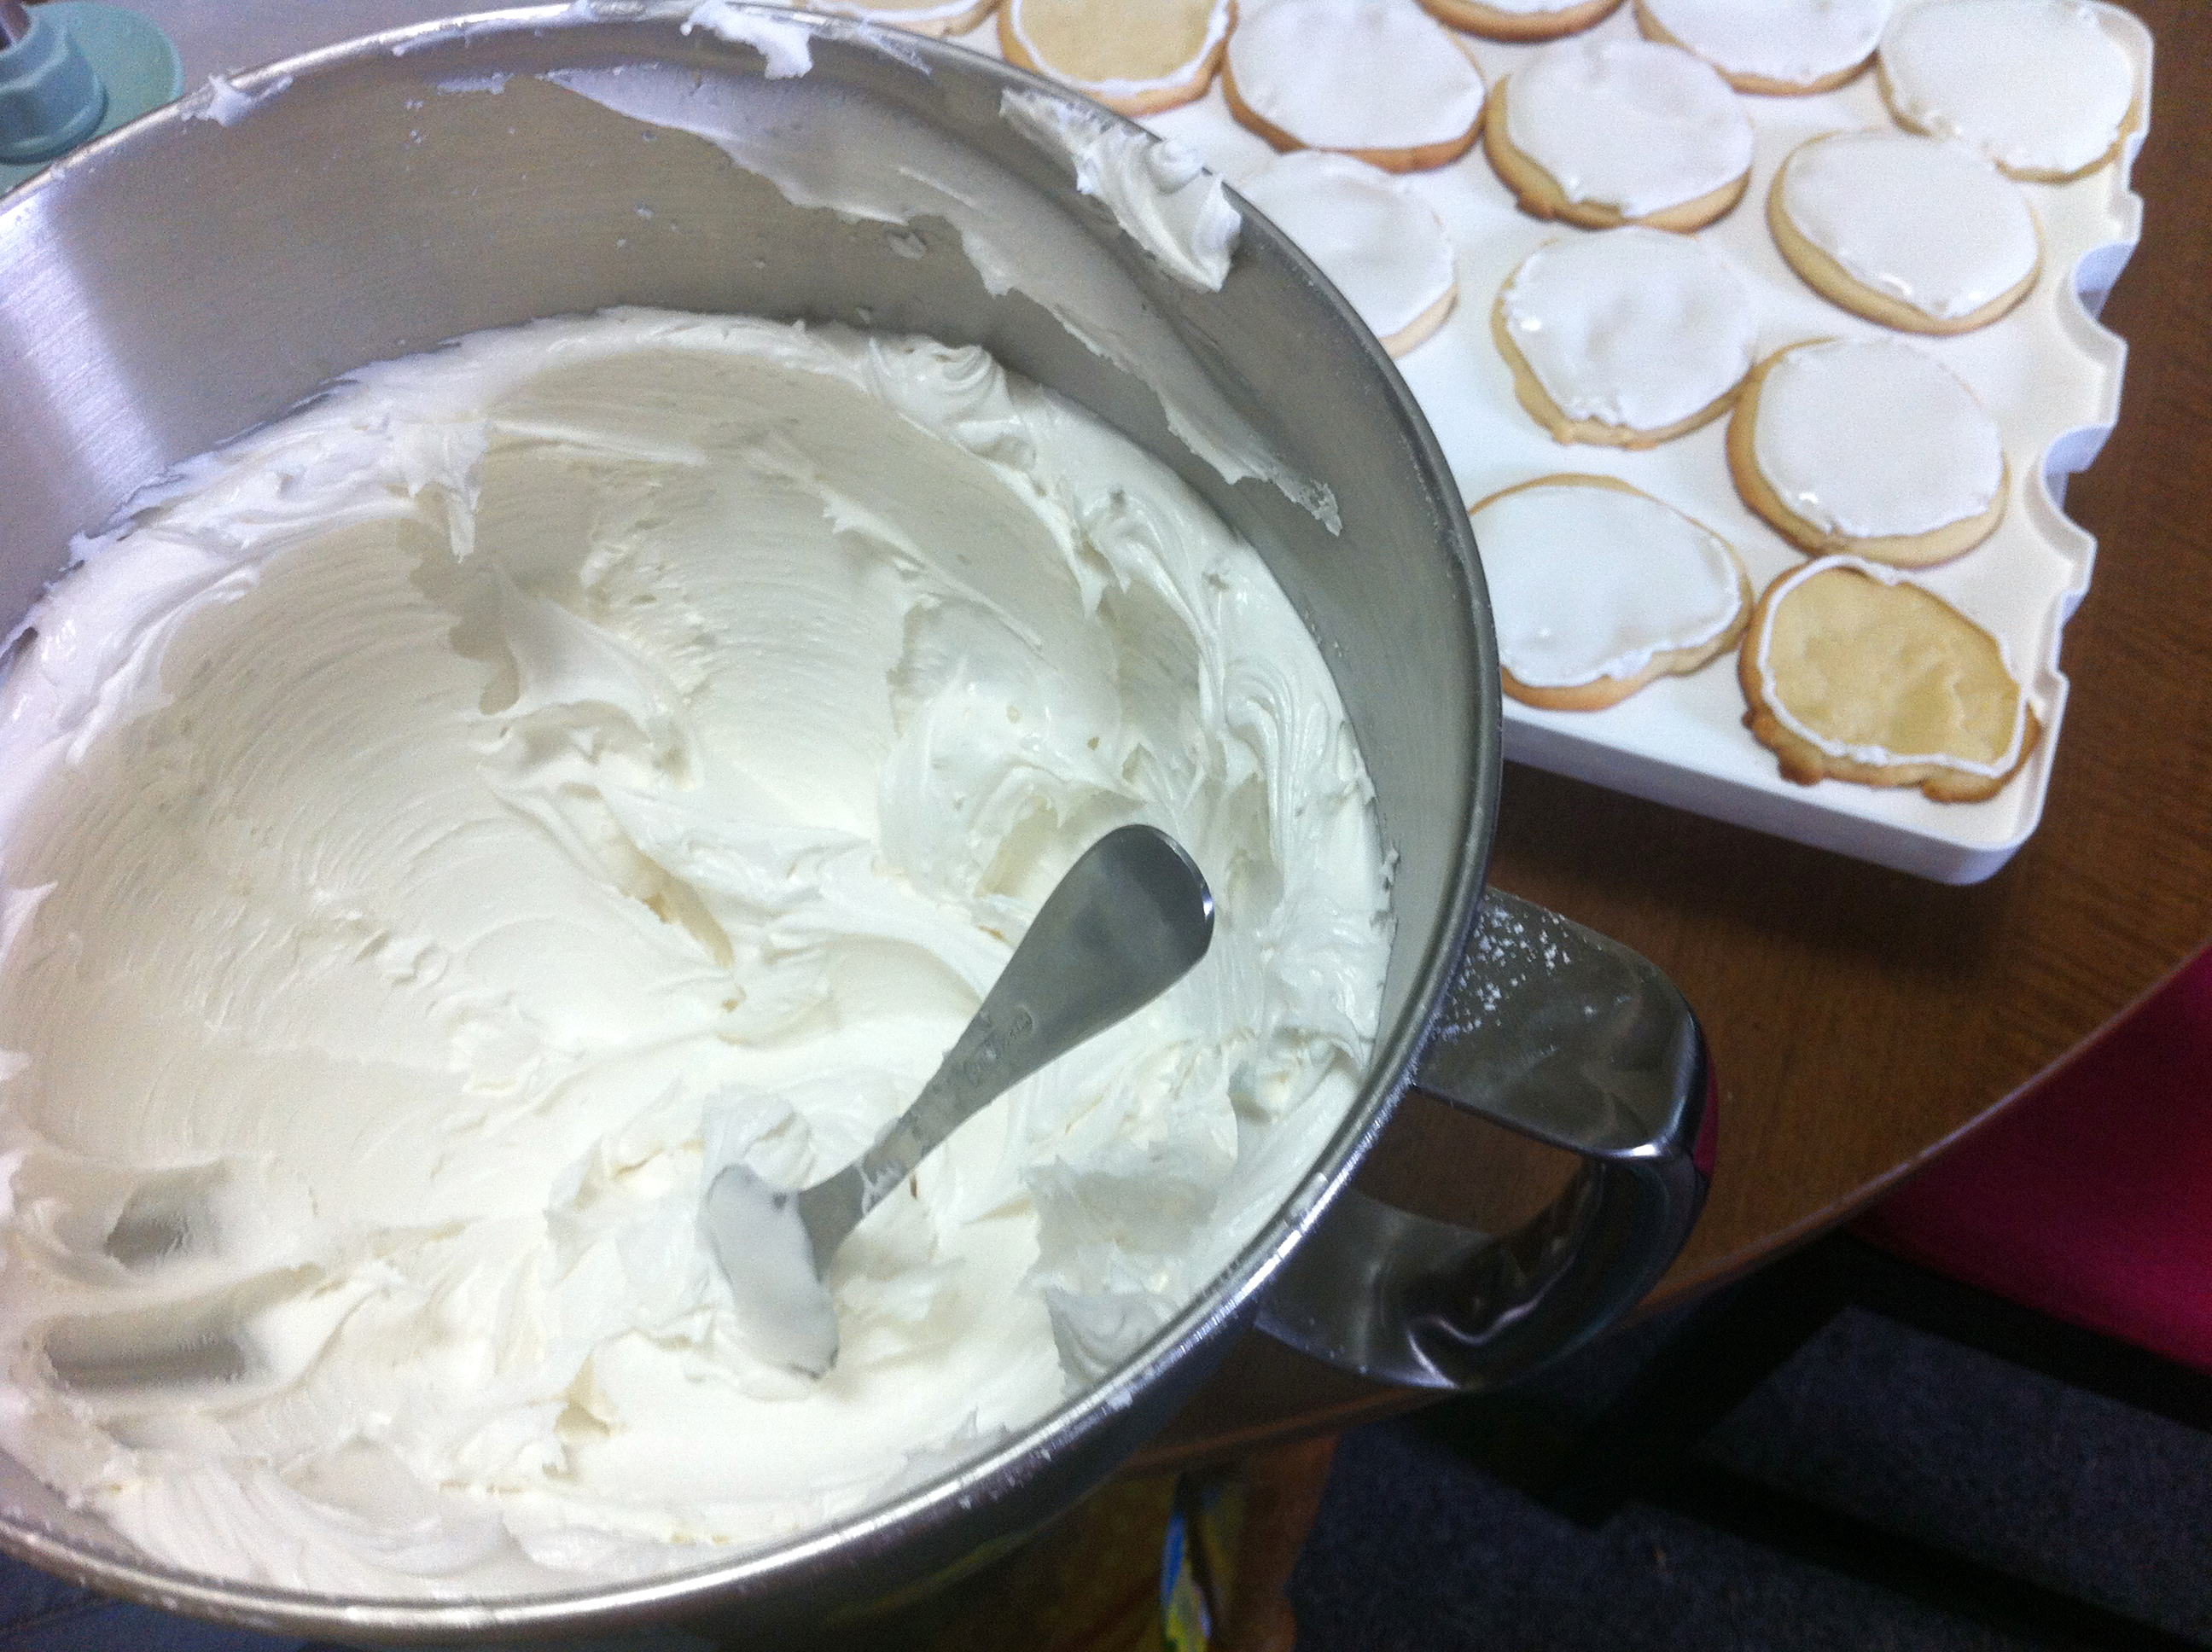
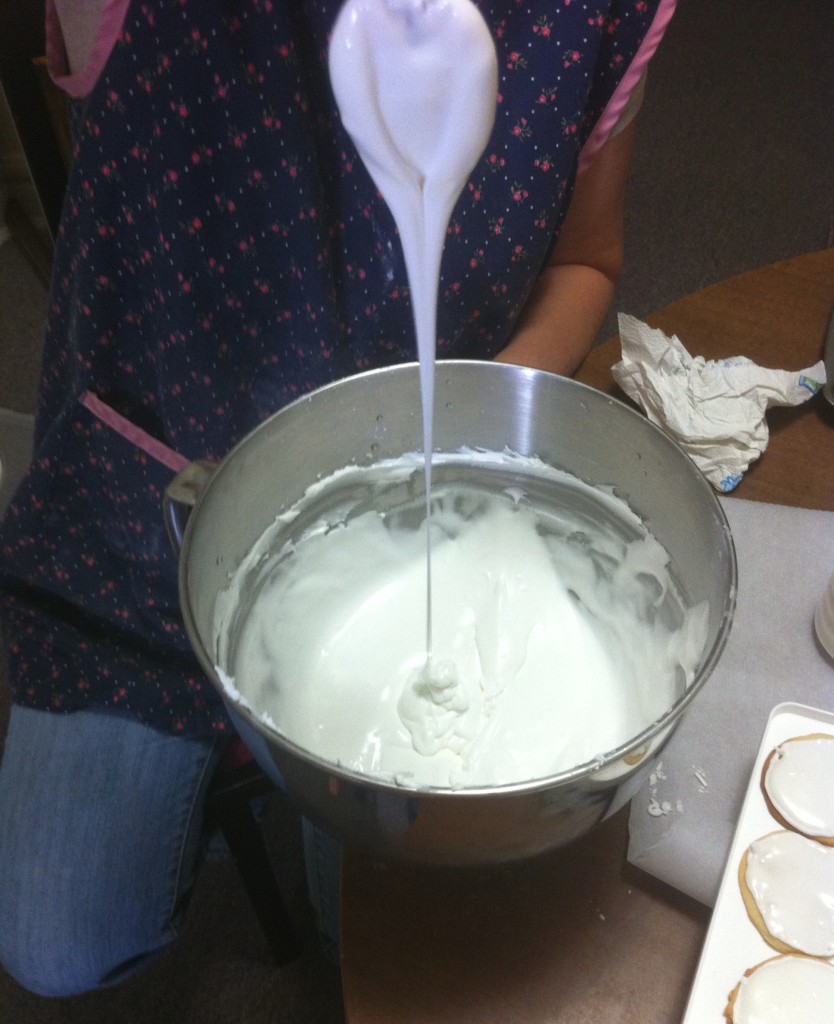
Stiff Royal Icing
The royal icing needs to be at its stiffest consistency when outlining the cookies, but it shouldn’t be so stiff that it is hard to work with. If it’s difficult to pipe, add small amounts of water until it pipes easily. This was my first time making royal icing, and I think my icing was a bit stiff. It worked fine and tasted great, but I think the process would have been faster had it been a little thinner. In short, don’t be afraid to experiment with the consistency. Royal icing is very forgiving; add water to thin and powdered sugar to thicken.
- Outline the cookies with royal icing

Outlining and Filling the Cookies
Piping icing around the rim of the cookies will help prevent the icing from spilling over the sides. Fill a pastry bag with icing. Use a small tip (I used tip #2) to pipe it around the rim of the cookie. Once this is done, let the cookies dry at room temperature for 1 hour.
- Thin the Royal Icing for Filling
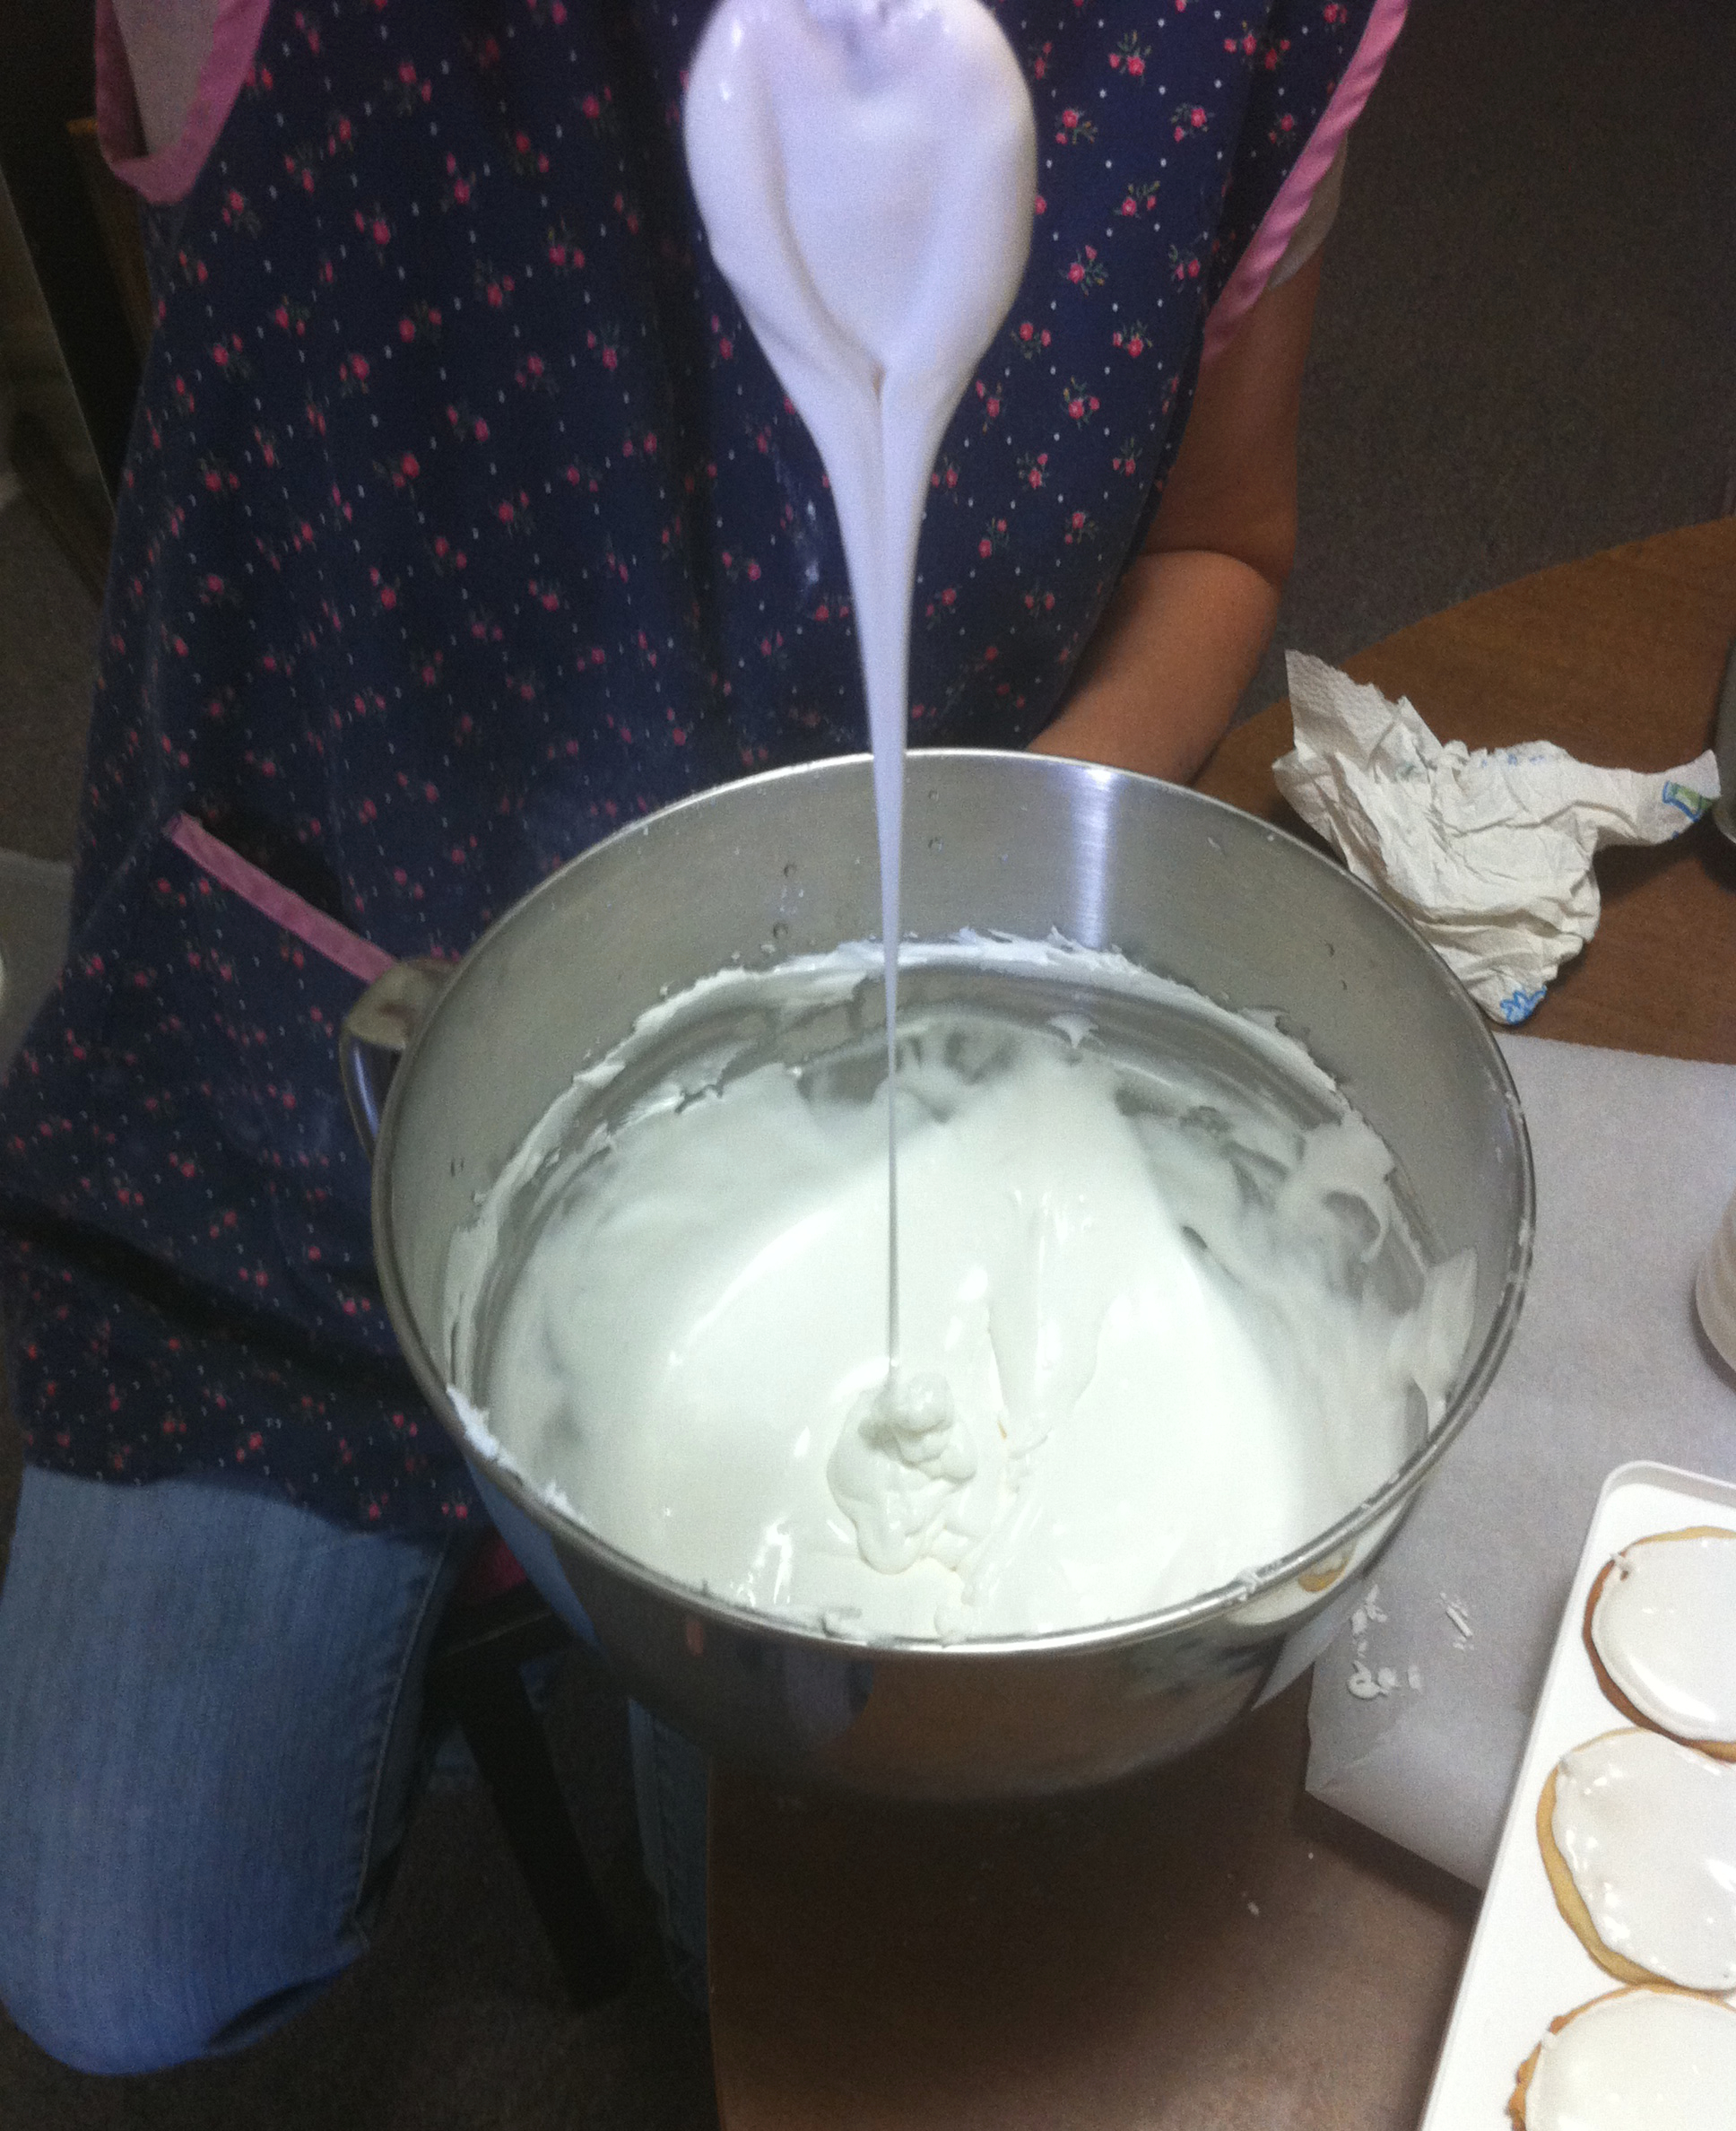
Thinned Royal Icing
Add 1 teaspoon of water at a time until icing is thin enough to slide off the back of a spoon.

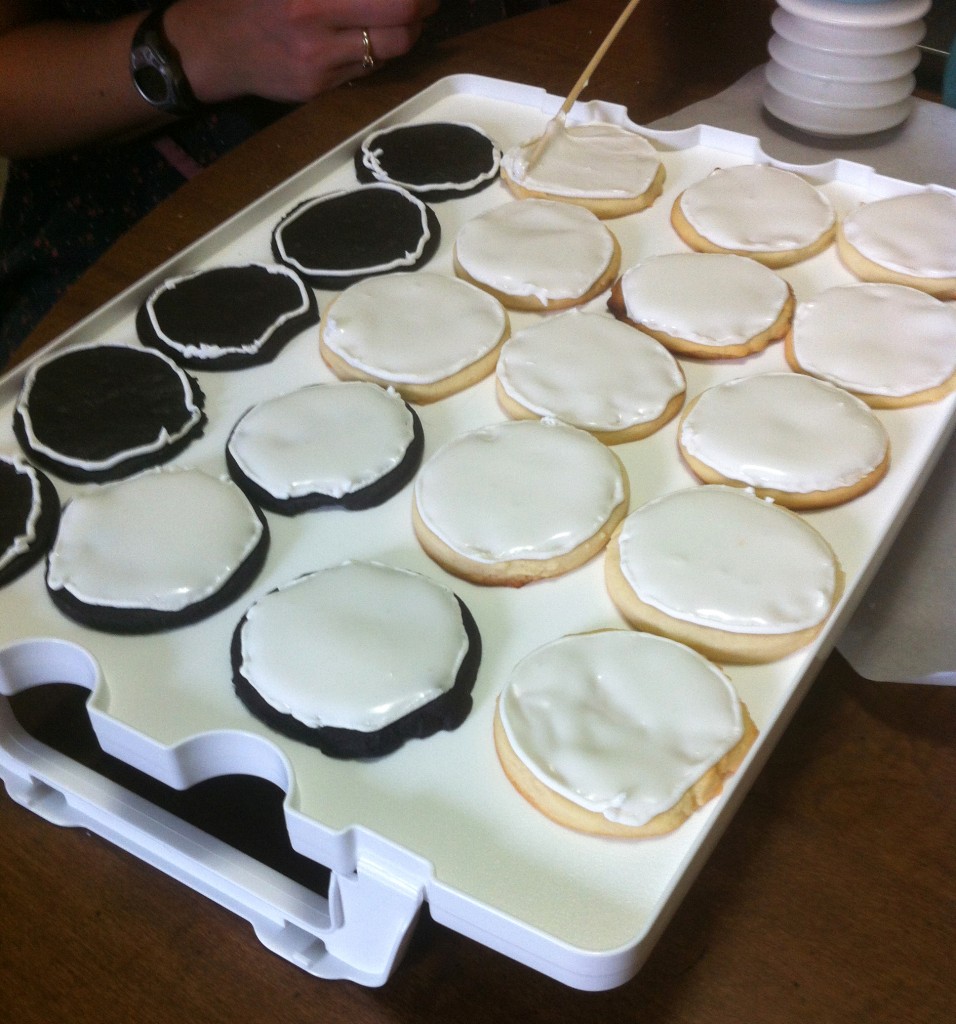
Filling the Cookies
Pour the thinned icing into a squeeze bottle and apply it to the center of the cookies. Then use a toothpick or wooden skewer to push it to the edge, popping any air bubbles you see. Allow the filled cookies to dry overnight at room temperature.
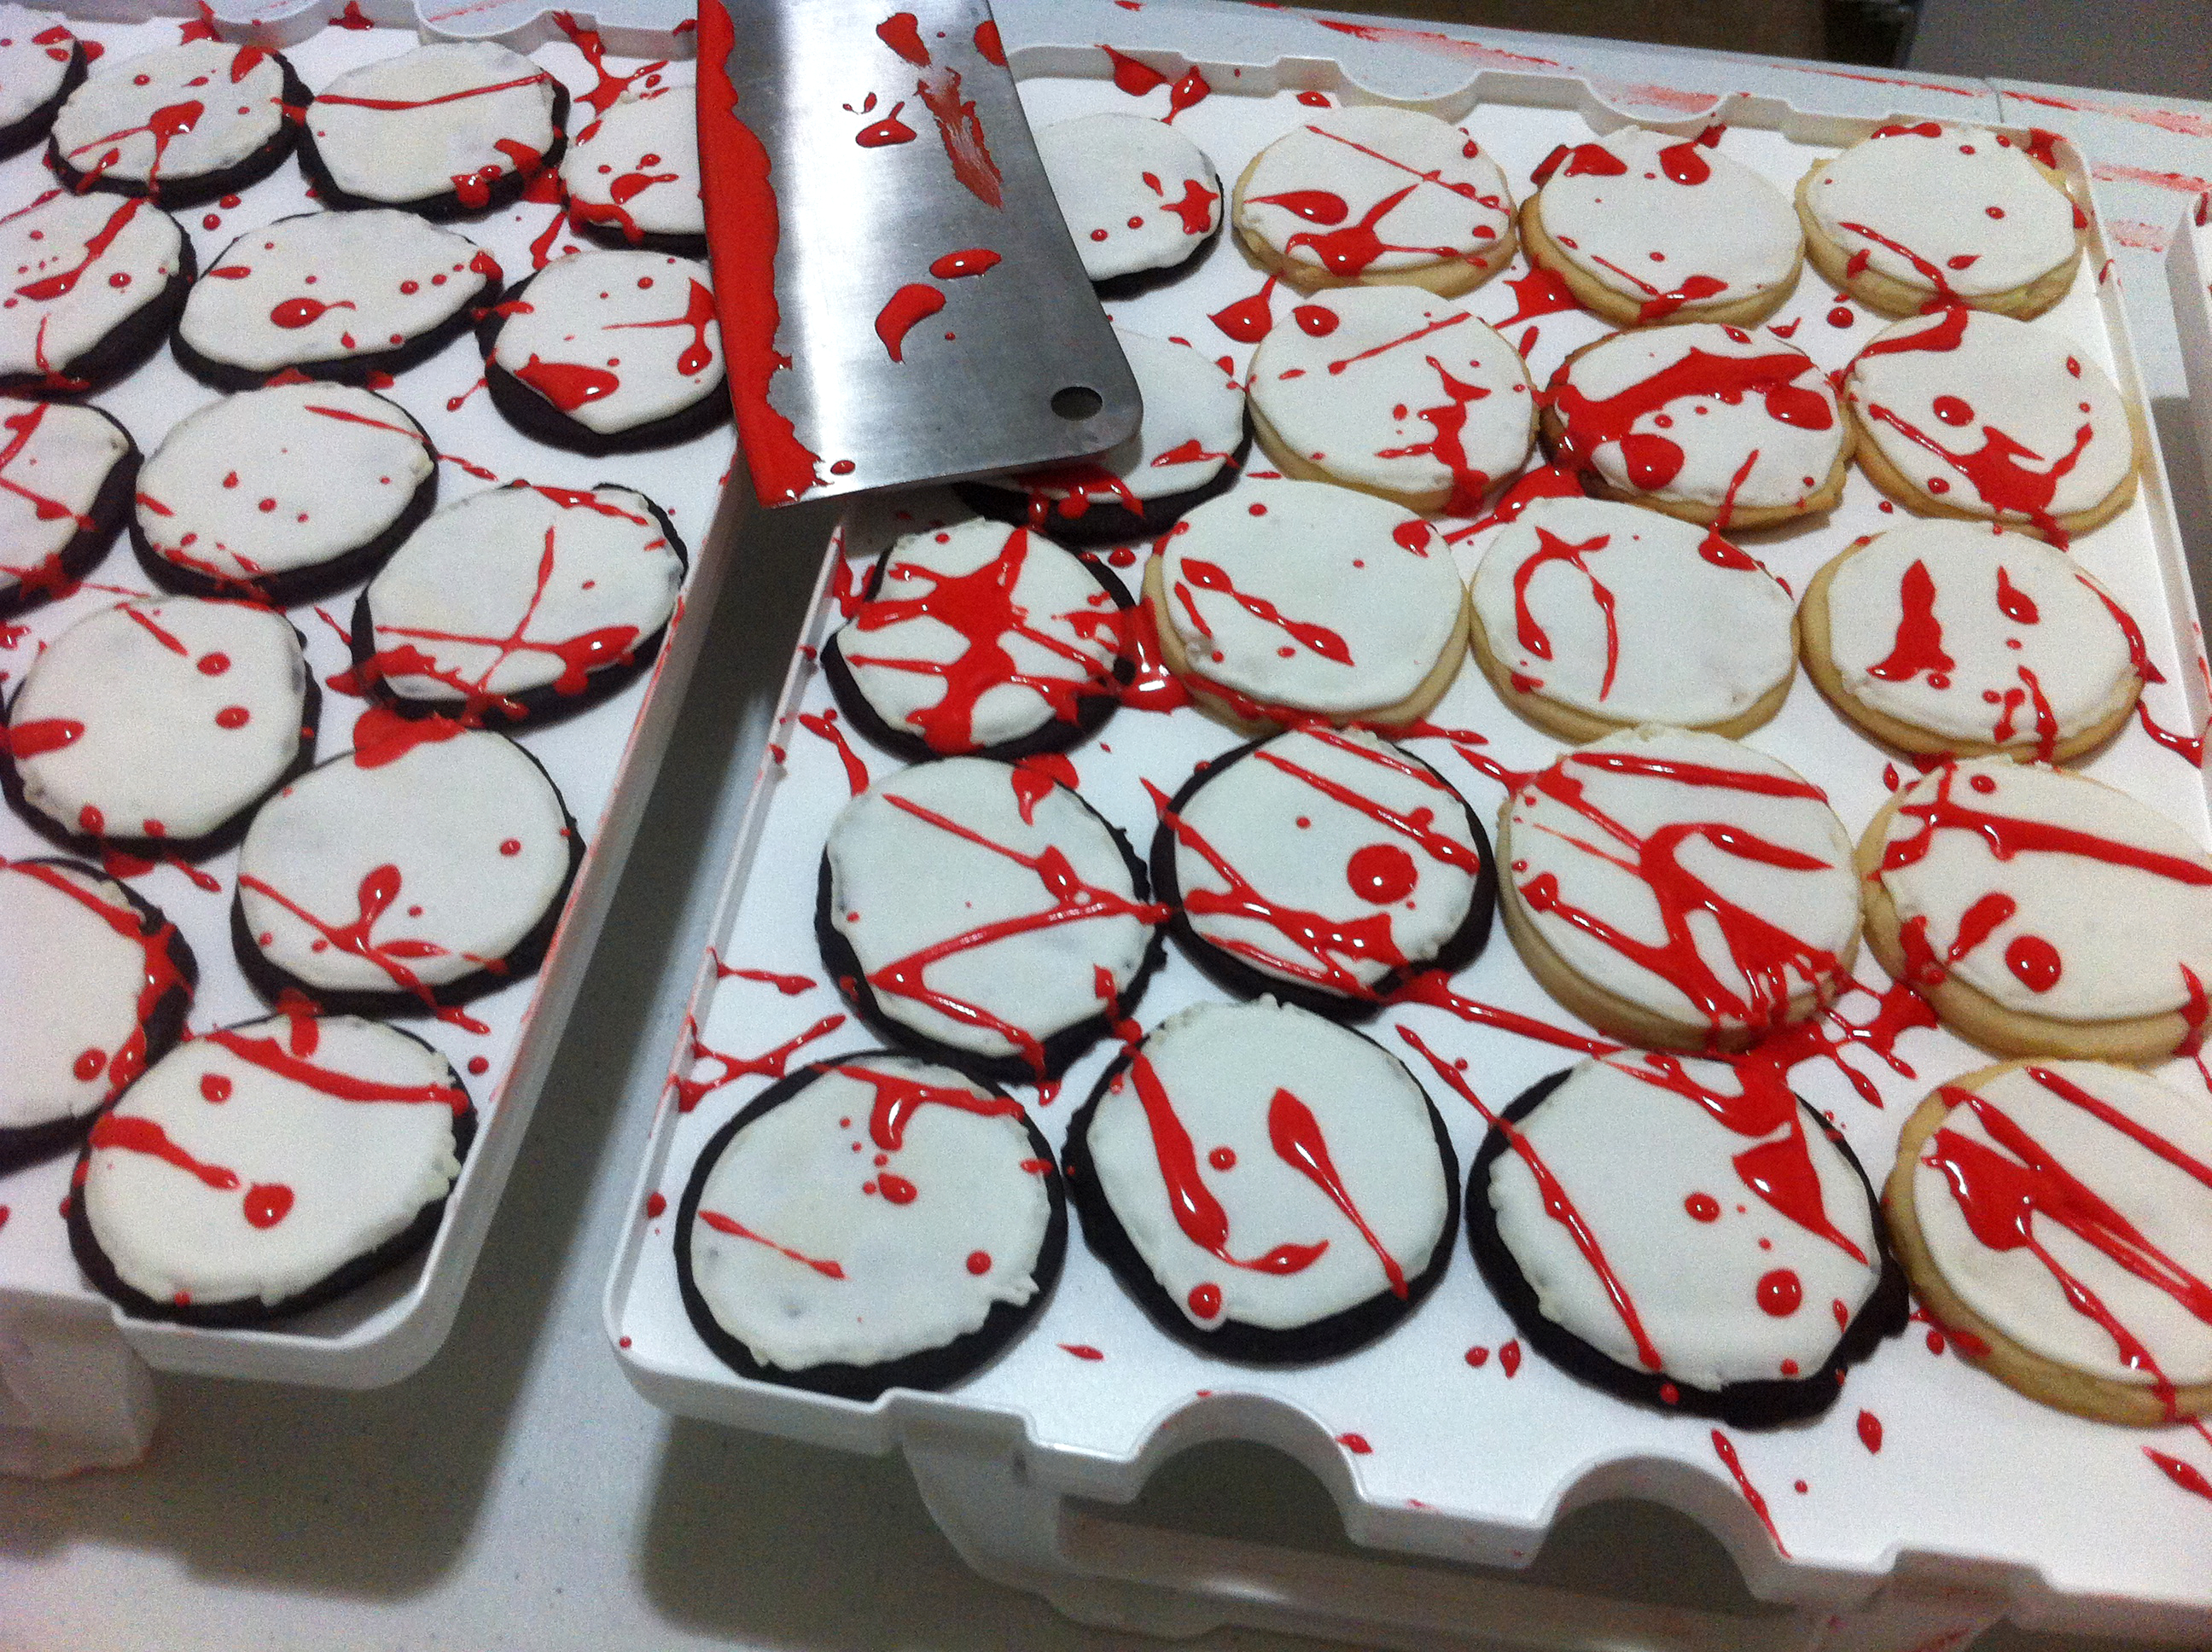
Now for the best part: Splattering the Cookies with Blood

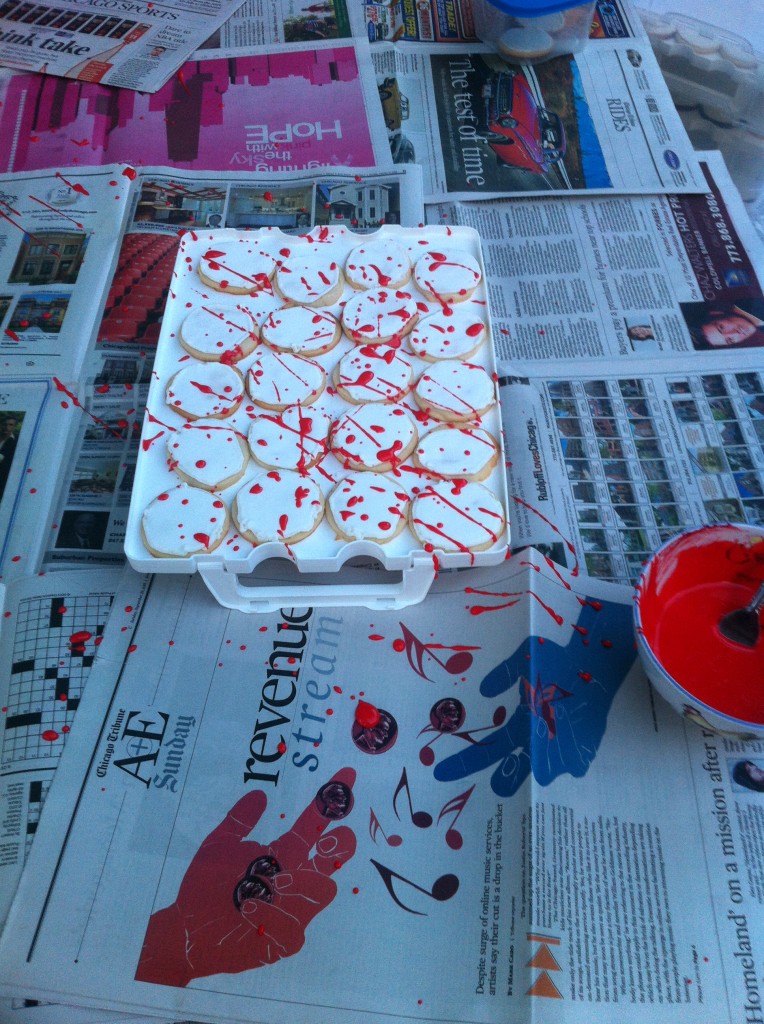
First, thin the icing until it easily splatters, then tint it red with food coloring. Continue adding food coloring until it becomes a deep, rich red.
Cover your workspace with newspapers to prevent a kitchen disaster. My friend Annie and I took the cookies to a picnic table outside, where we proceeded to scare the neighborhood children away. Apparently you shouldn’t respond with, “We’re making blood-splattered cookies” when asked what you’re doing. . . . Oops.
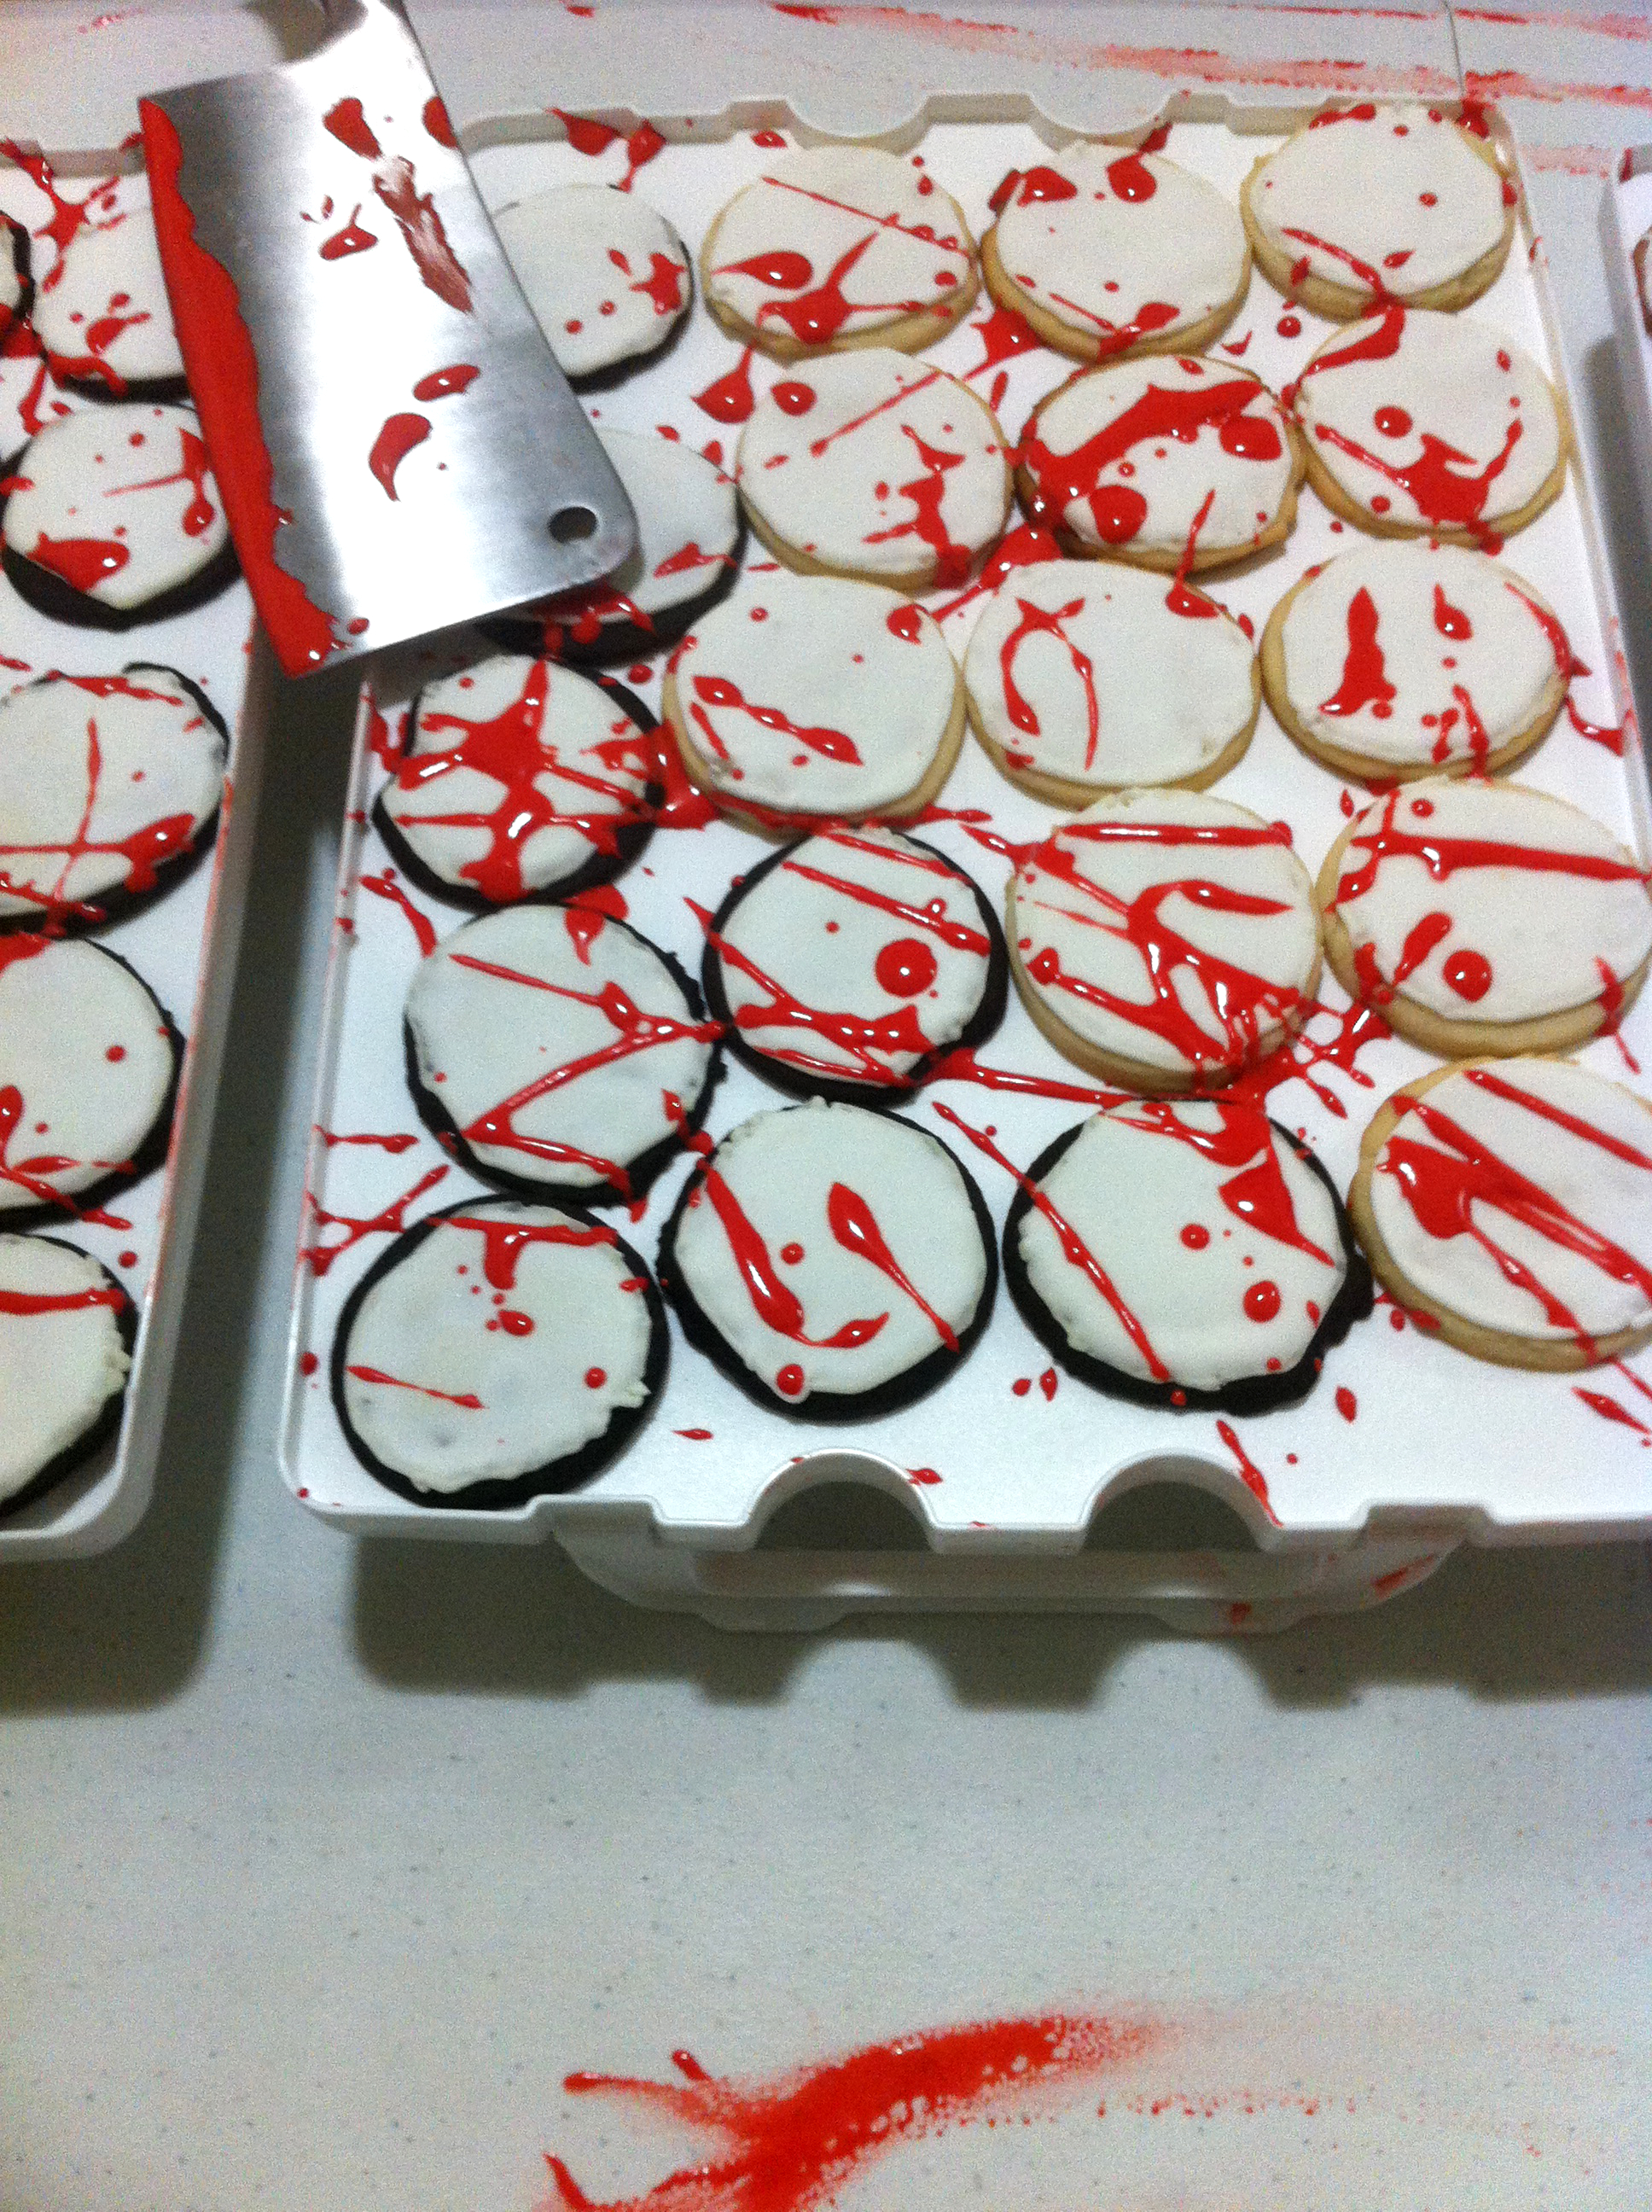
Dip a fork in the icing and fling away. Cackle evilly. Hoot with laughter. Repeat. Every cookie will look unique.
Annie and I then went inside and made a cookie crime scene!
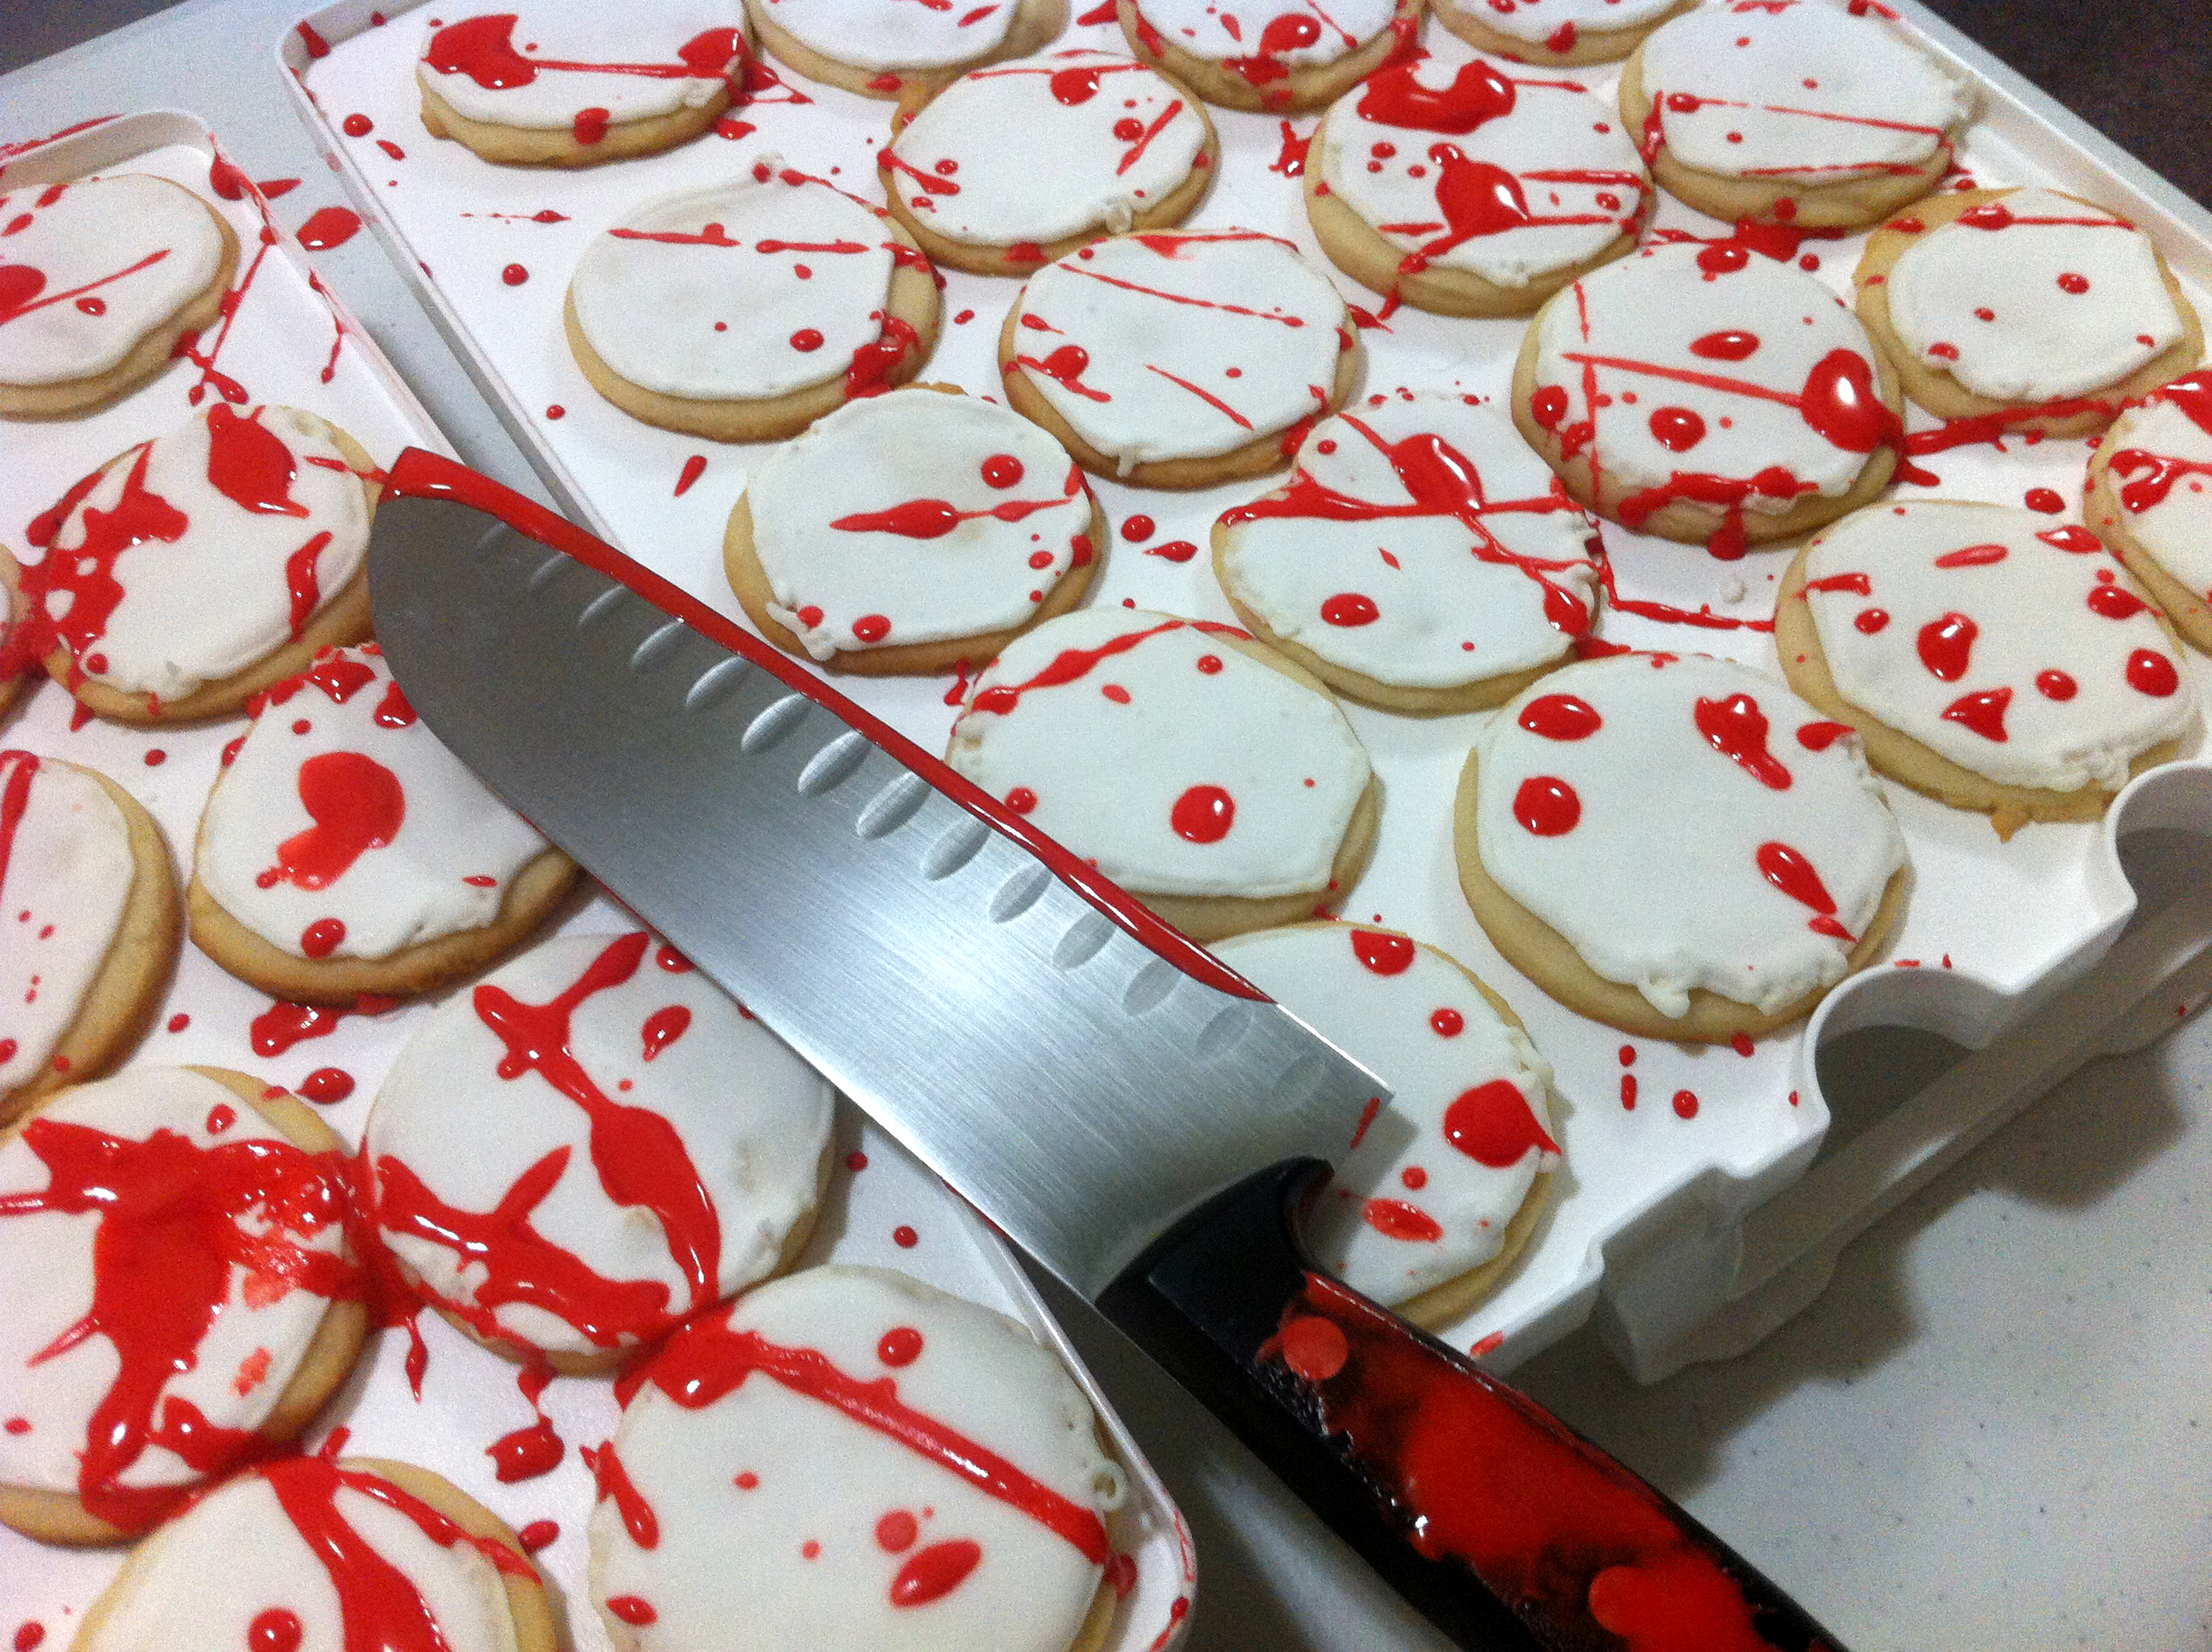
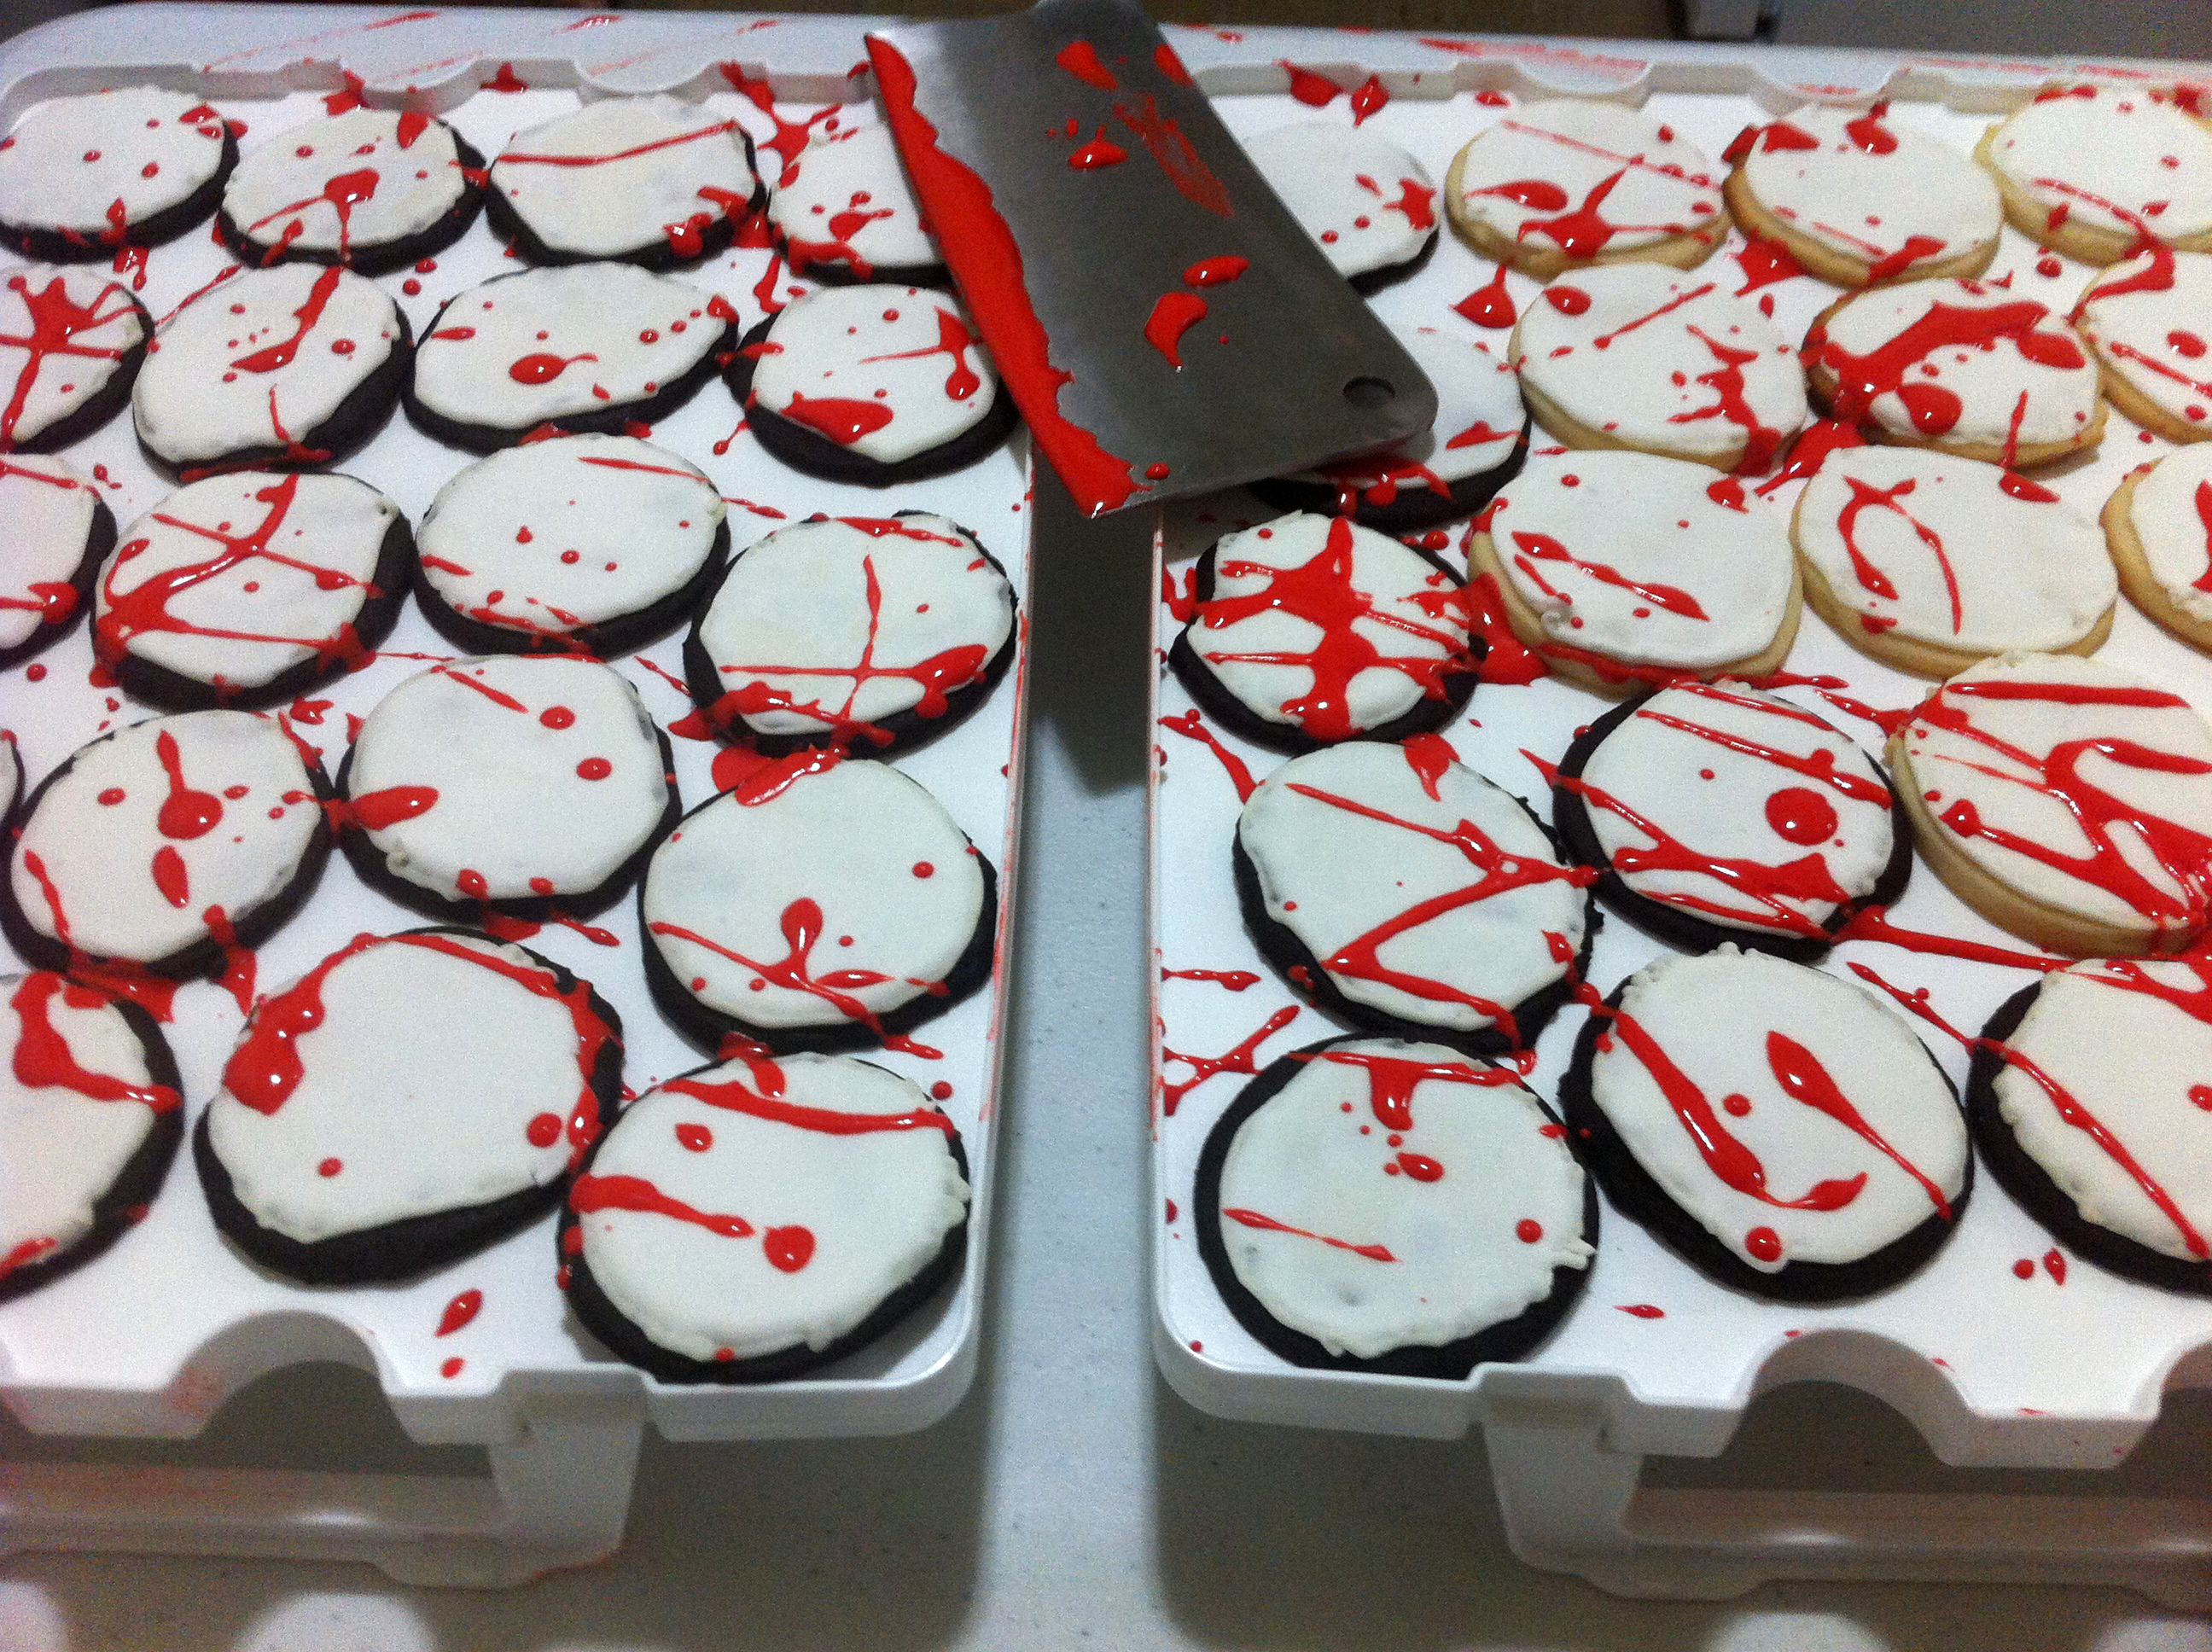
These blood-splattered cookies are a blast to make for Halloween or in general, and taste as good as they look.
Happy Halloween!
If you enjoyed reading this post, like my Facebook page and subscribe to my blog to follow my cooking adventures and flavorful journeys!
Blood-Splattered Cookies
 Print recipe
| Website | Annie's Eats |
Ingredients
- round cookies of your choice (such as, sugar or chocolate)
- red food coloring
royal icing
- 4 Cups powdered sugar (sifted)
- 2 Tablespoons meringue powder
- 5 Tablespoons water
Directions
| Step 1 | |
| Start off with your round cookies. If using homemade cookies, allow them to cool completely before applying the icing. | |
| Royal Icing | |
| Step 2 | |
 Combine powdered sugar, meringue powder, and water in the bowl of a stand mixer fitted with the paddle attachment. Mix on low speed for 7-10 minutes. | |
| Outlining the Cookies | |
| Step 3 | |
 Fill a pastry bag with the icing. The royal icing needs to be at its stiffest consistency when outlining the cookies, but it shouldn’t be so stiff that it is hard to work with. If it's difficult to pipe, add small amounts of water until it pipes easily. Fill a pastry bag with icing. Use a small tip (I used tip #2) to pipe it around the rim of the cookie. Once this is done, let the cookies dry at room temperature for 1 hour. | |
| Thinning the Icing | |
| Step 4 | |
 Add 1 teaspoon of water at a time until icing is thin enough to slide off the back of a spoon. | |
| Filling the Cookies | |
| Step 5 | |
 Pour the thinned icing into a squeeze bottle and apply it to the center of the cookies. Then use a toothpick or wooden skewer to push it to the edge, popping any air bubbles you see. Allow the filled cookies to dry overnight at room temperature. | |
| Splattering the Cookies | |
| Step 6 | |
 First, thin the icing until it easily splatters, then tint it red with food coloring. Continue adding food coloring until it becomes a deep, rich red. Cover your work space with newspapers to prevent a kitchen disaster. Dip a fork in the icing and fling away. | |

Pingback: Ribeye Steak with Red Wine Sauce, Blue Cheese, Pancetta
Can’t wait to try and make these! Love your husband.
Thanks, Cherlyn! Halloween is such a fun holiday. I can’t wait to meet and talk.
Pingback: Halloween Chocolate Sprinkle Cookies | Bleeding Candle
Pingback: Chocolate-Raspberry Glass Cupcakes | Flavorful Journeys