

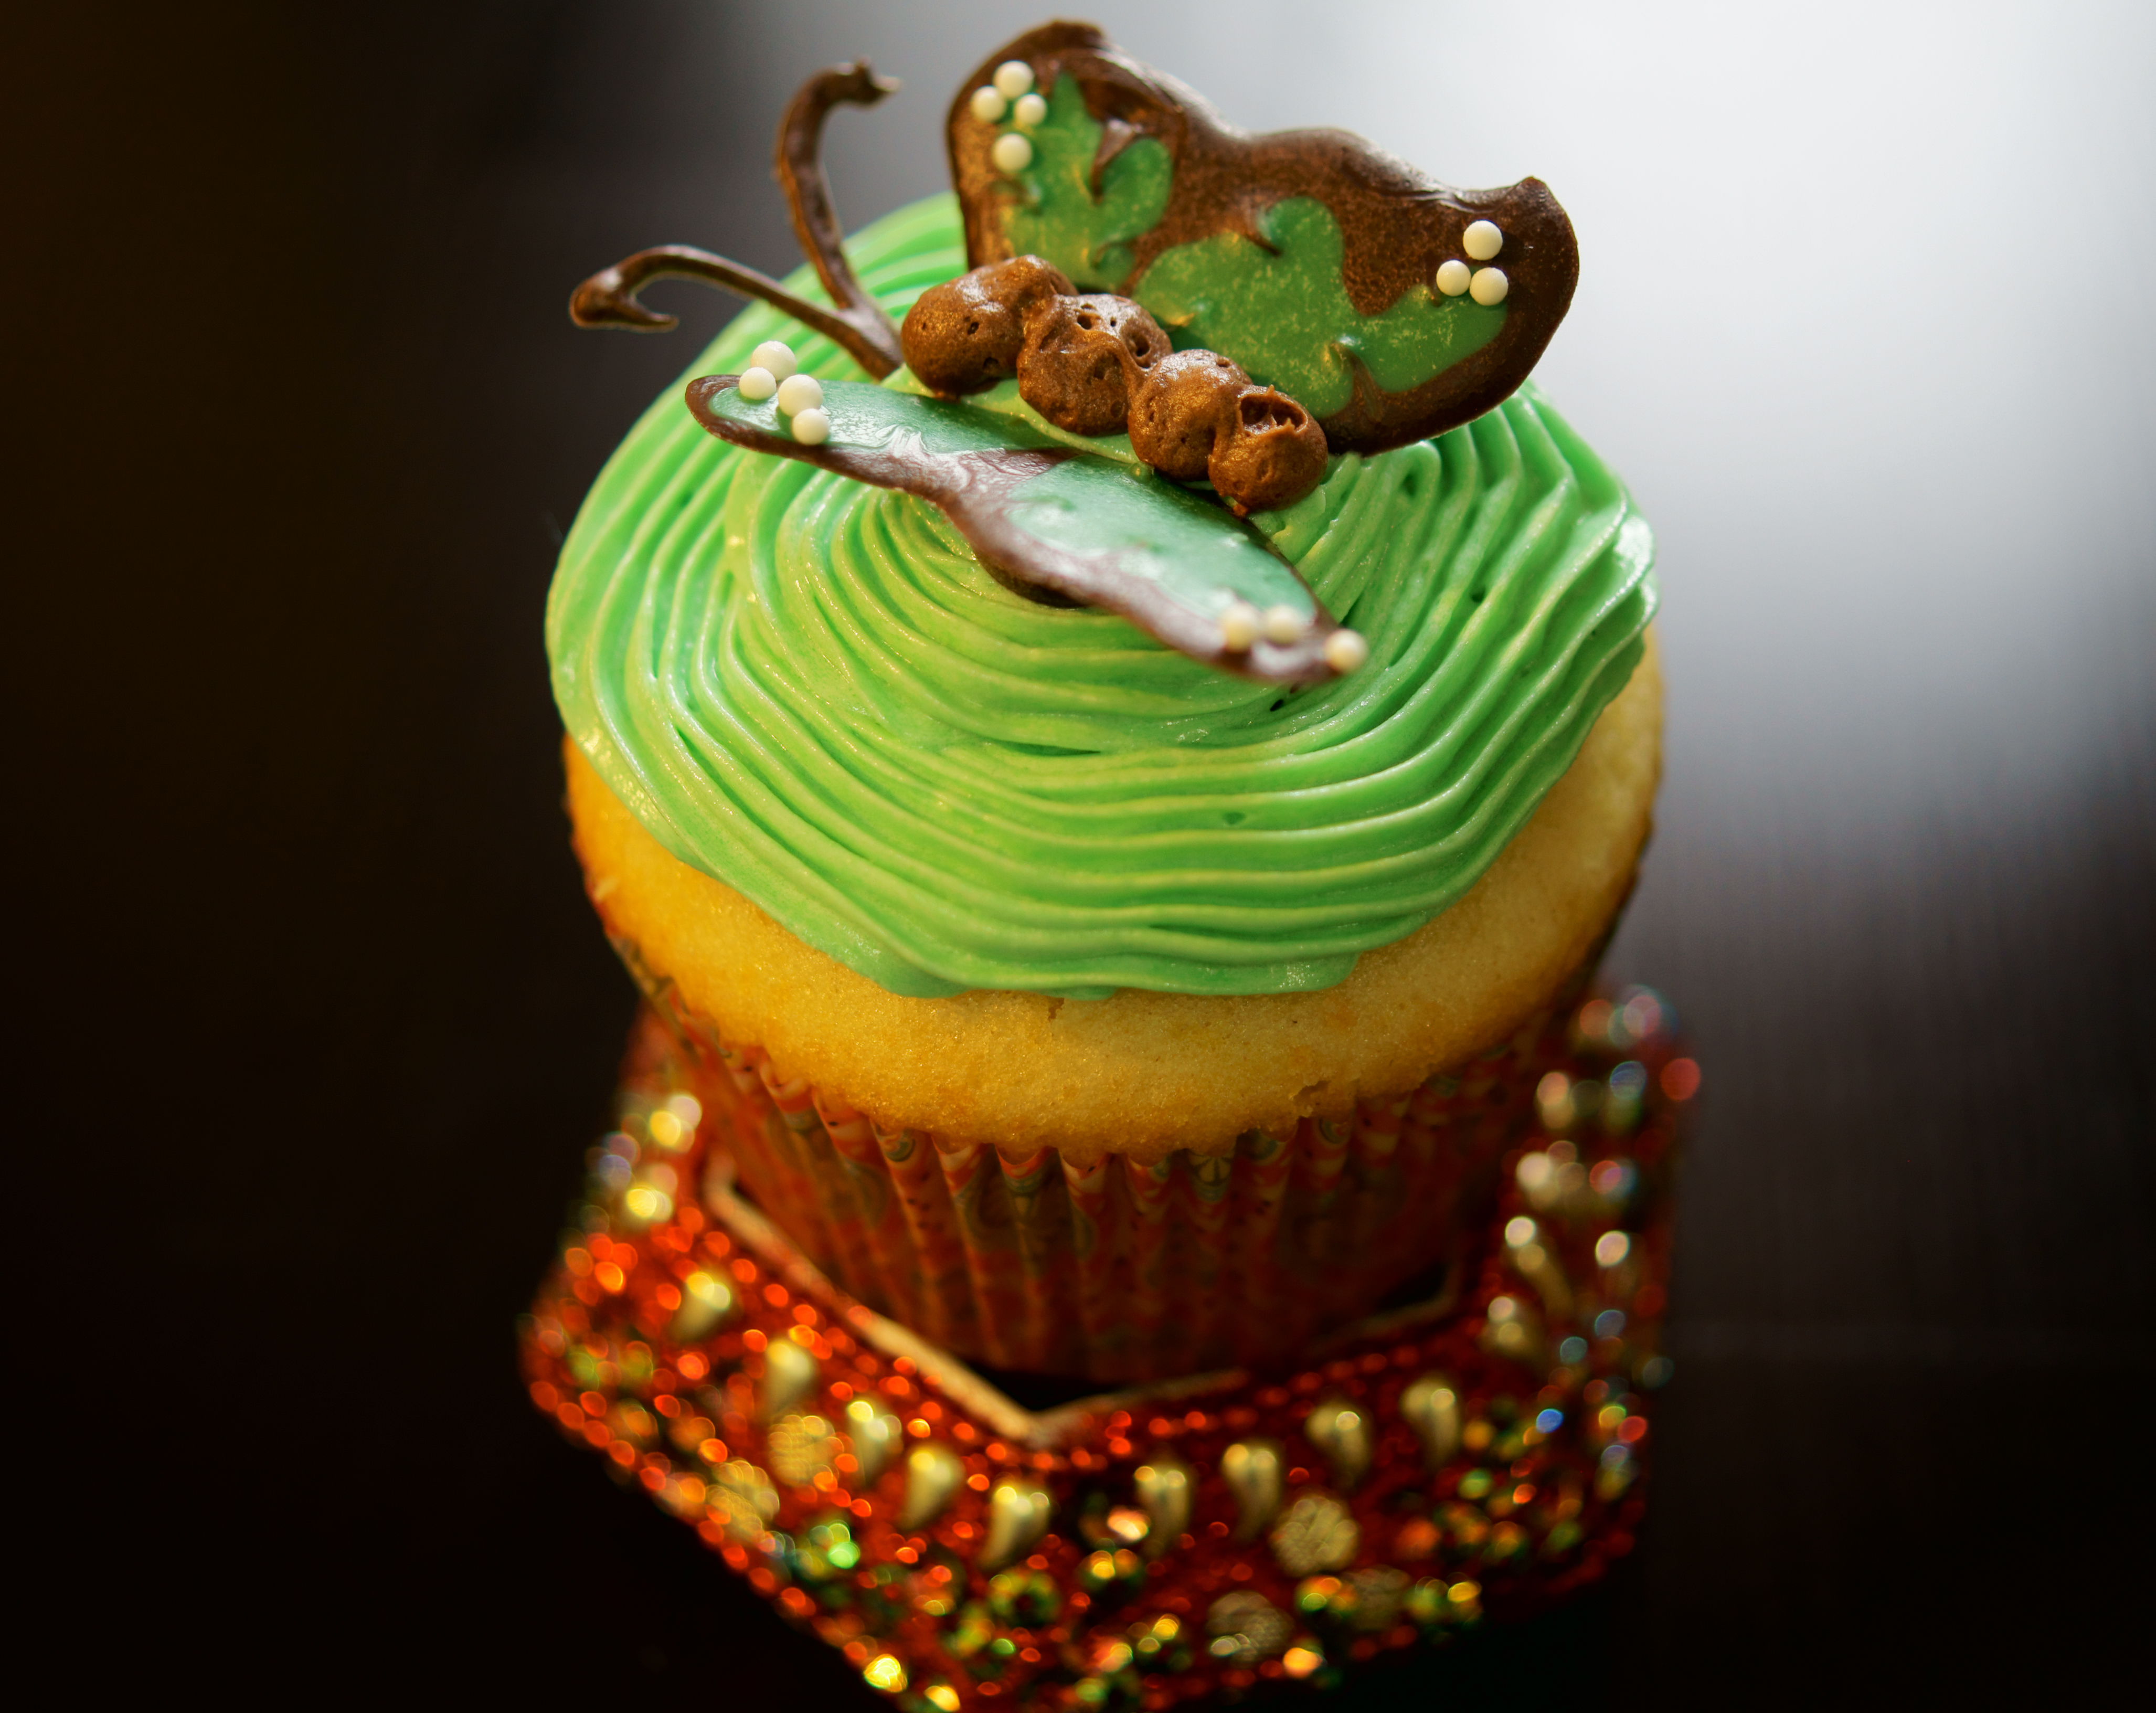
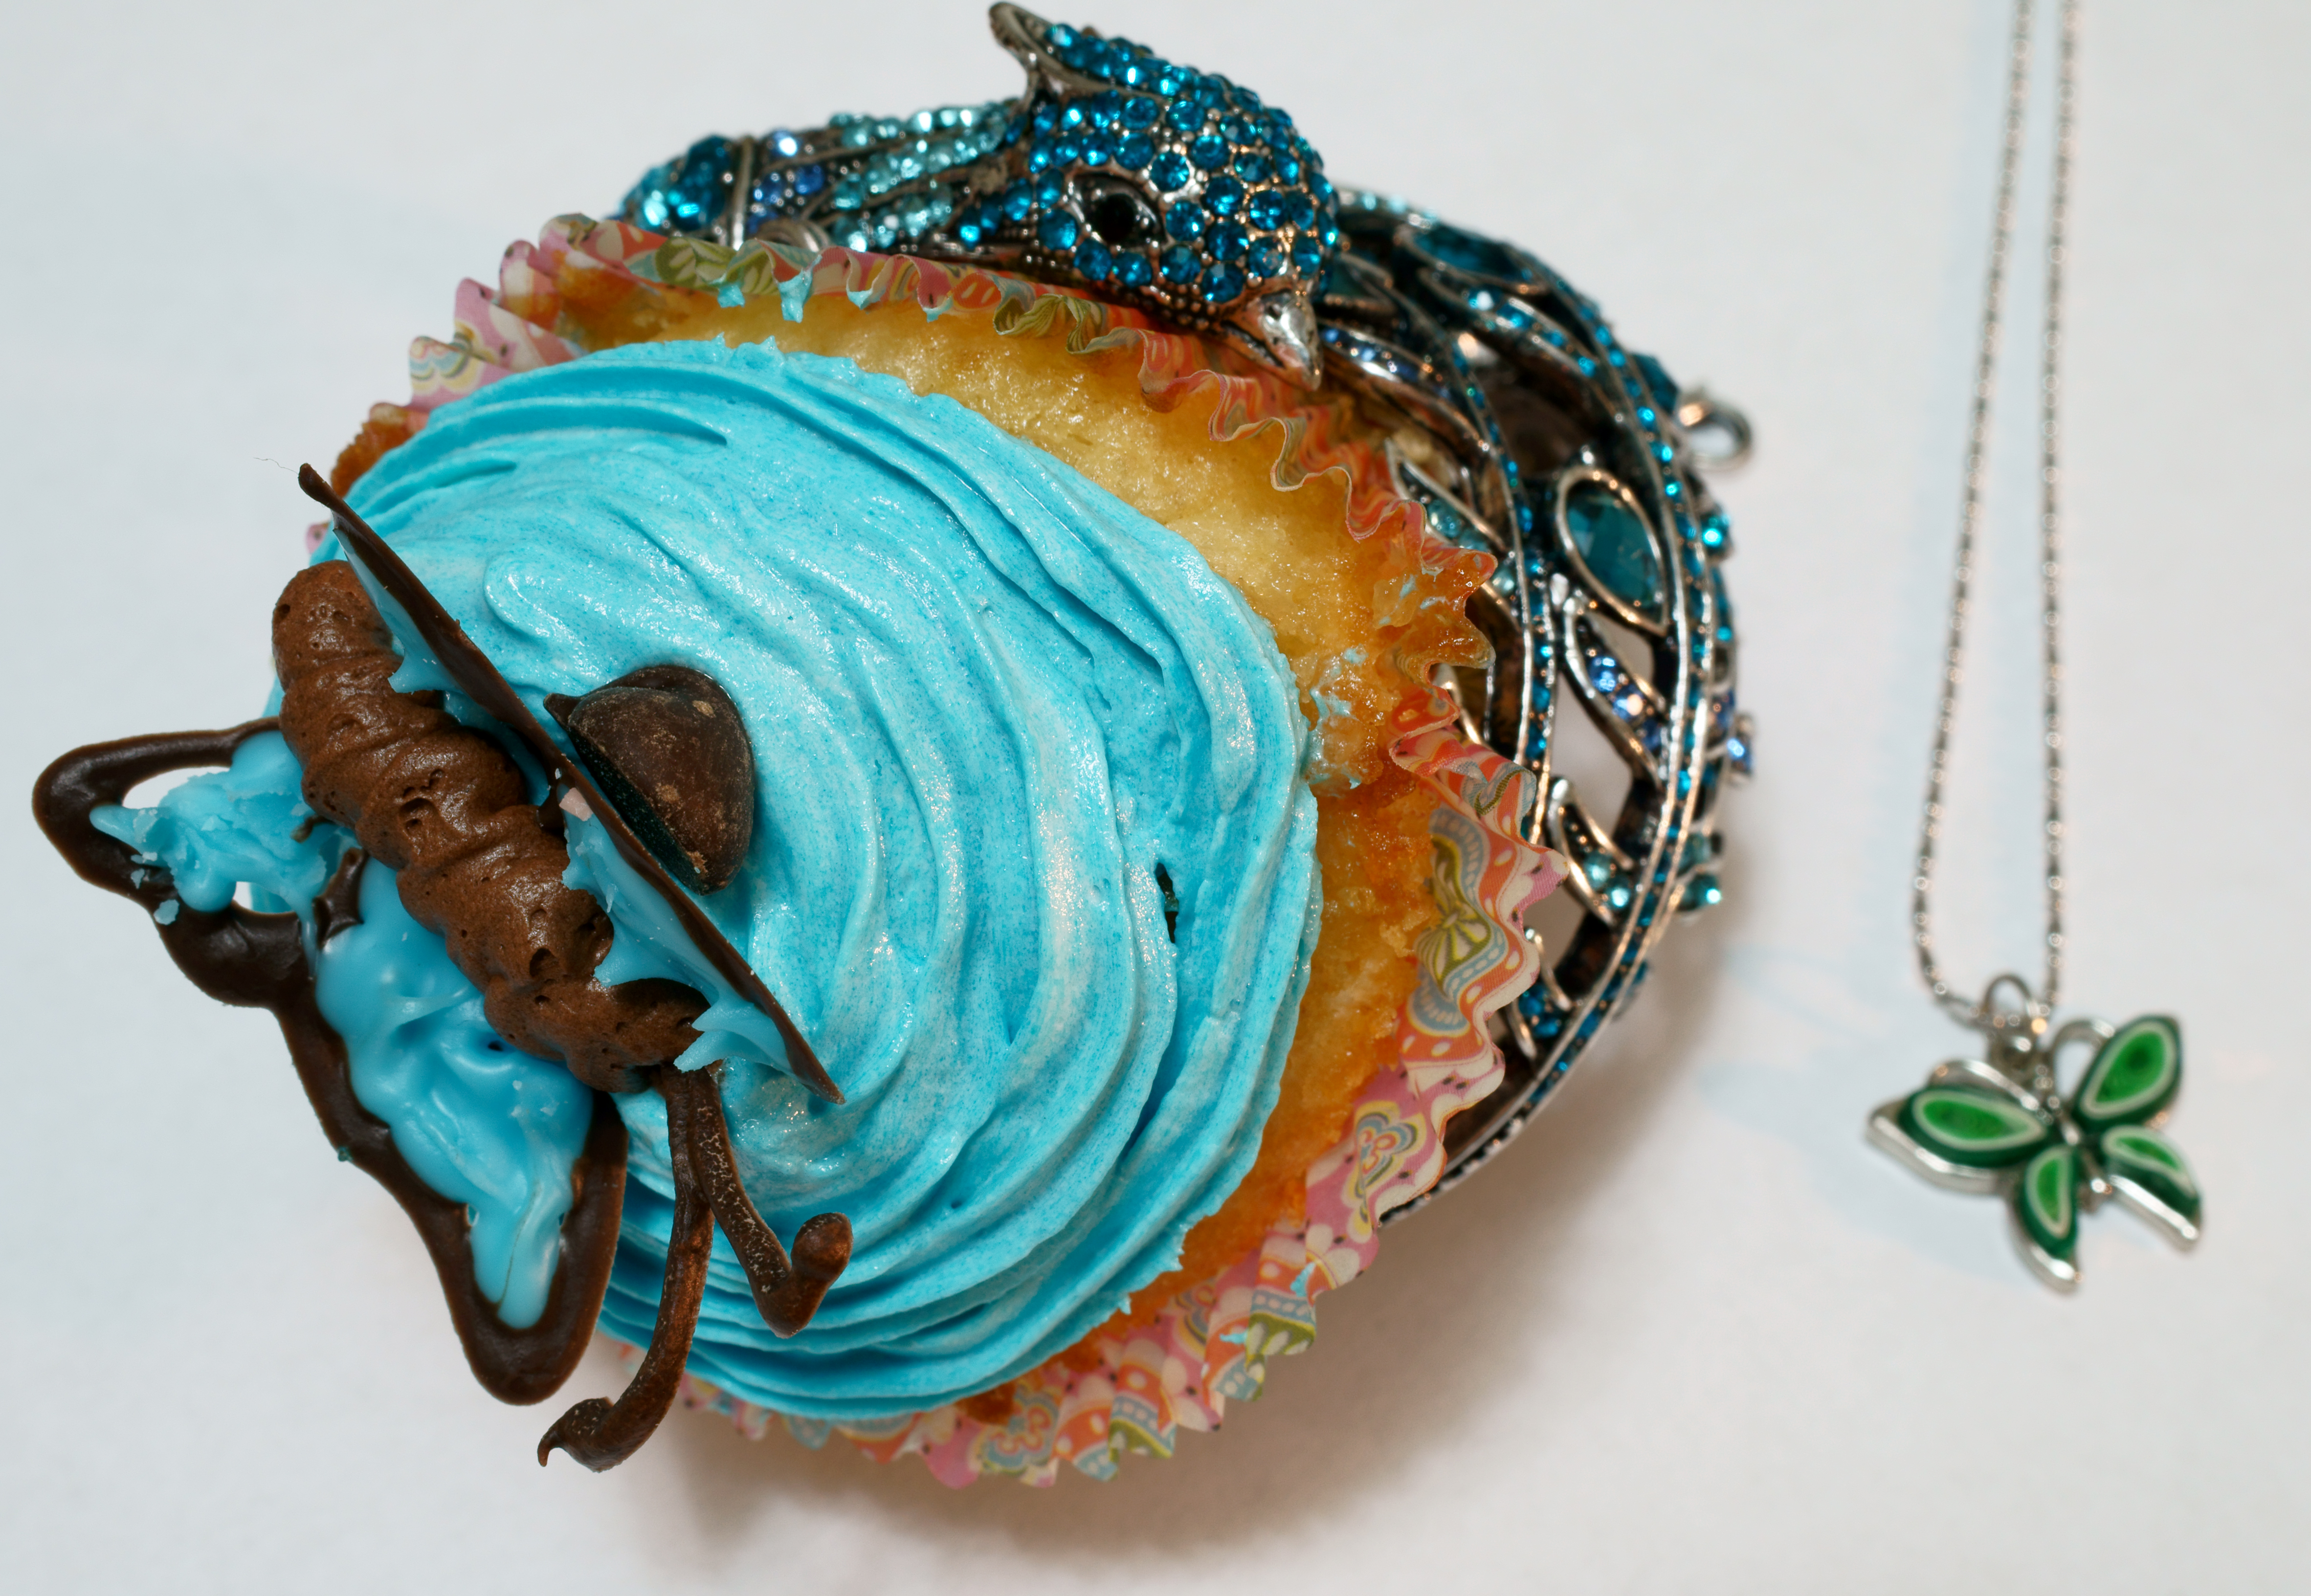
After being invited to my first baby shower, I decided to bring a striking, elegant dessert. I thought about making these fondant cherry cupcakes, but ultimately opted for something new. I discovered these beautiful butterfly cupcakes on Annie’s Eats and instantly fell in love.
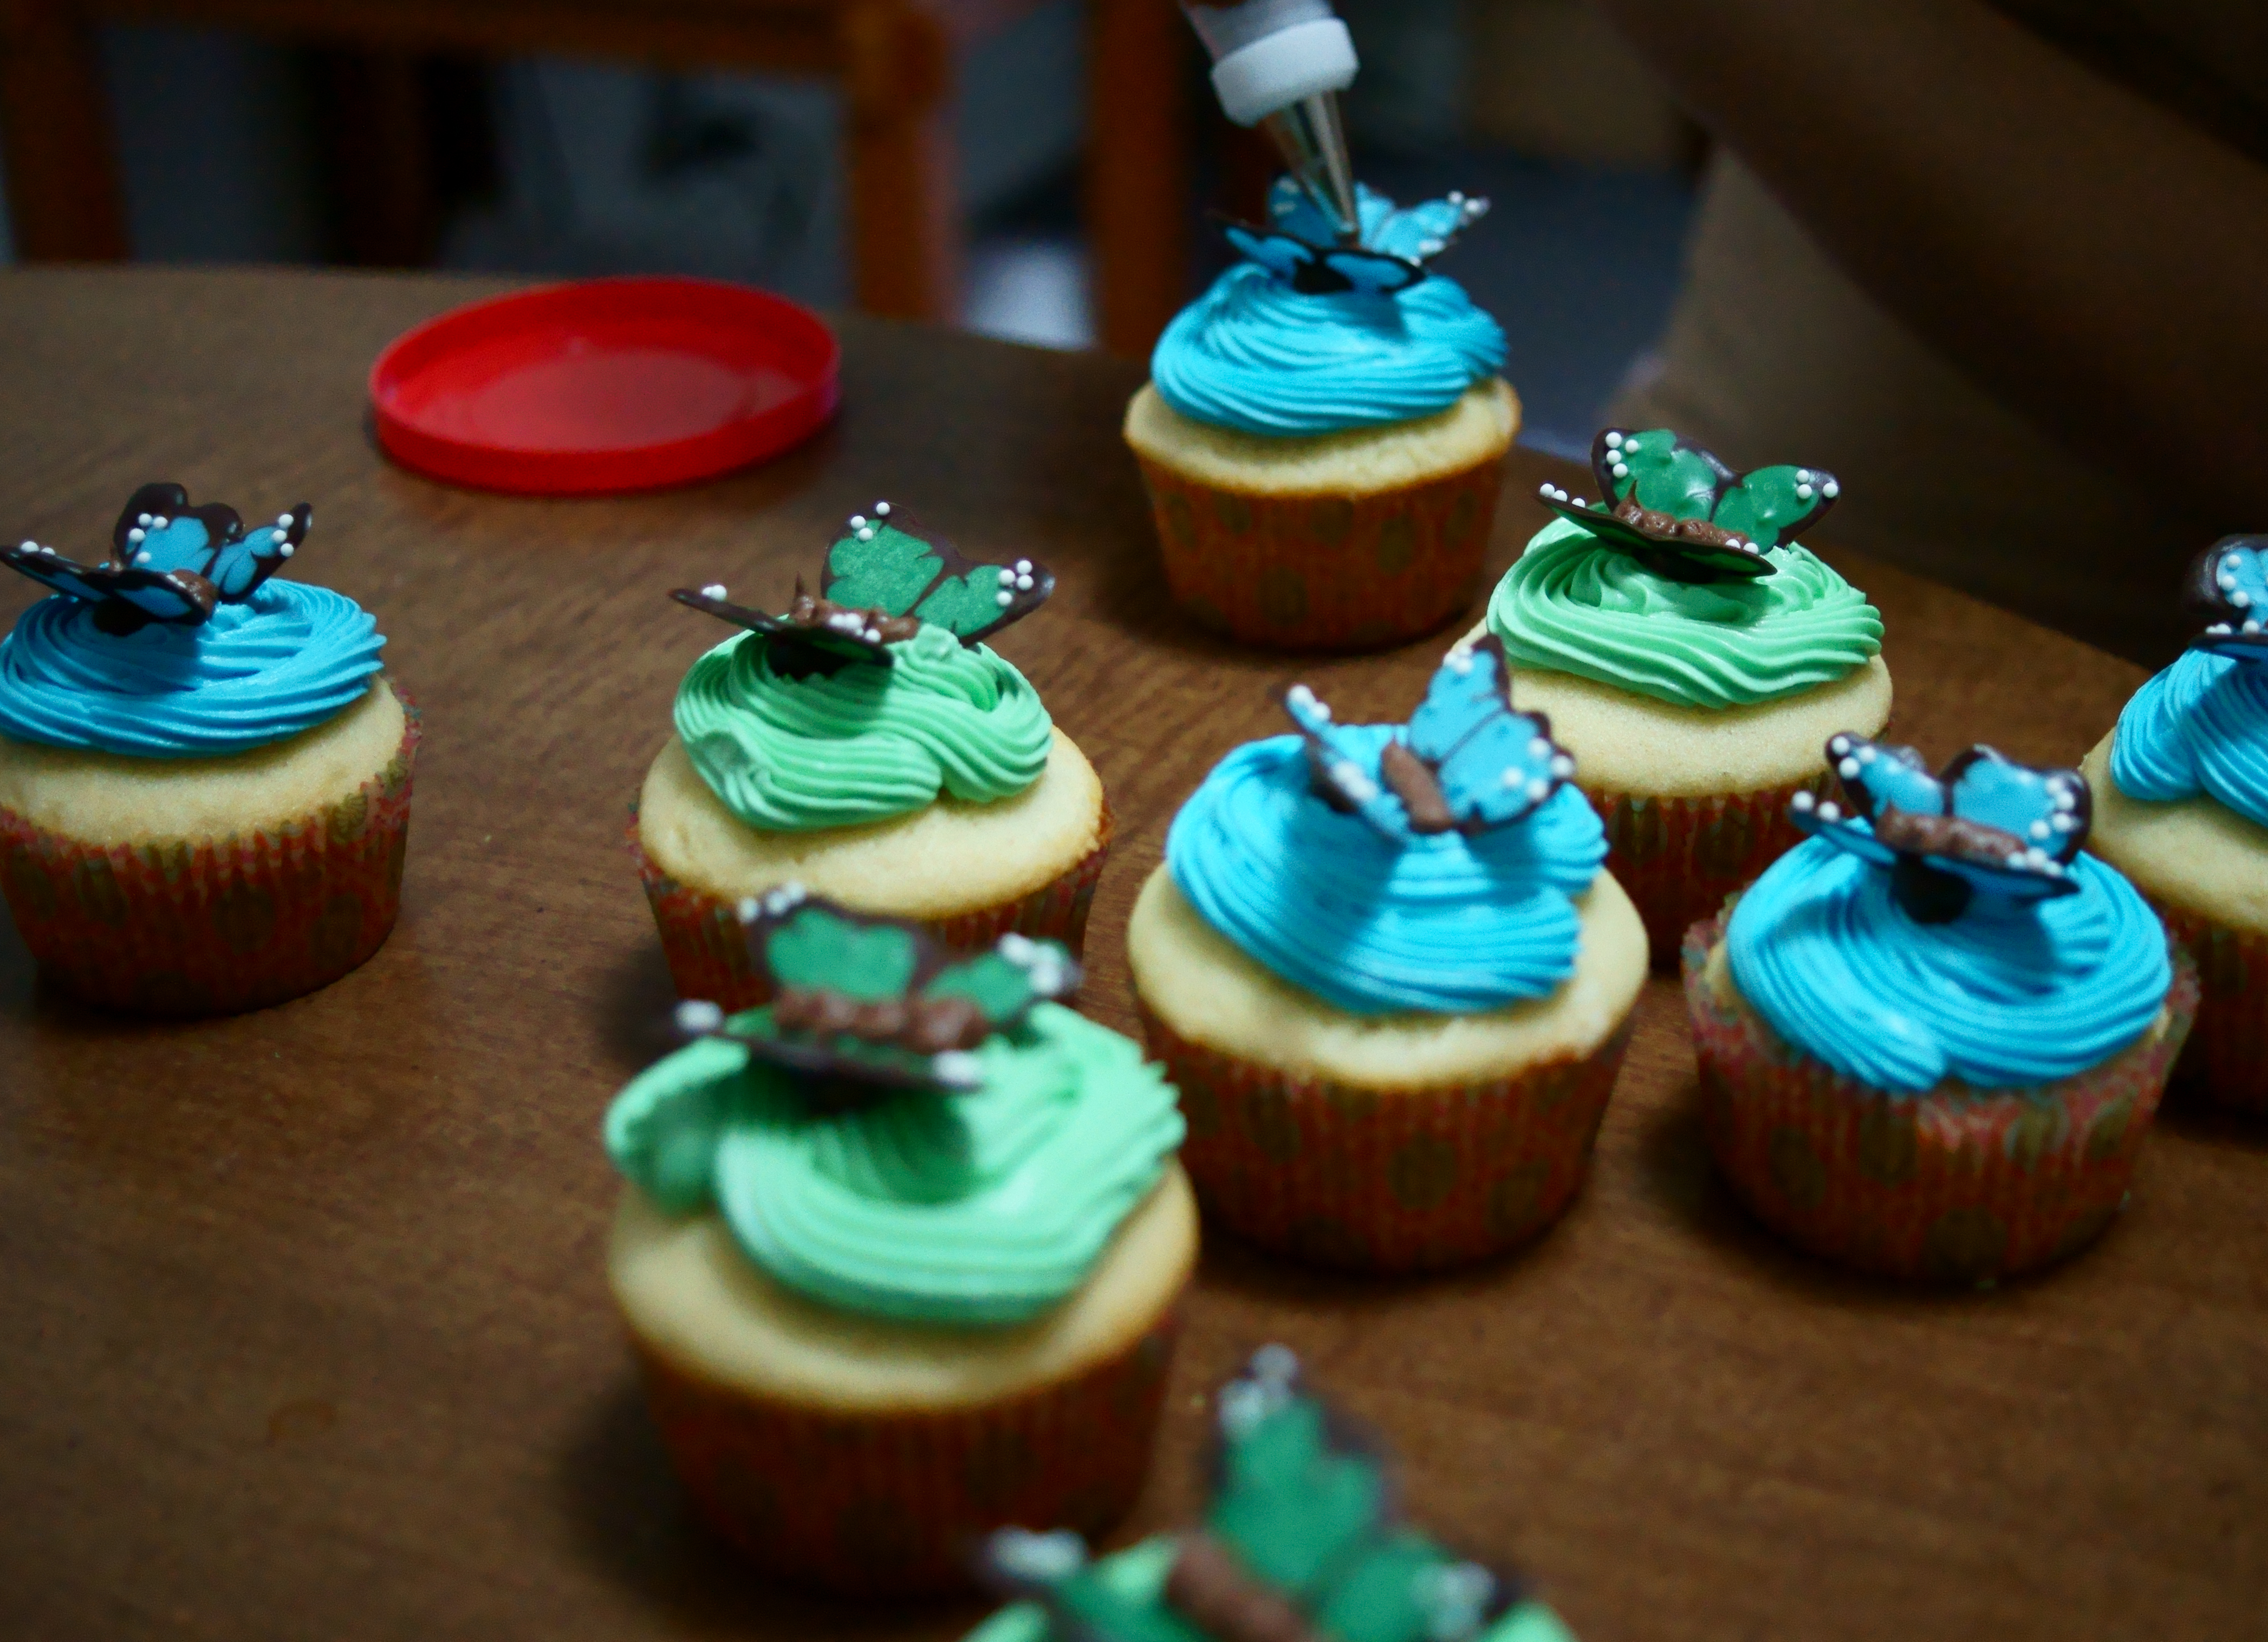
The butterflies look quite realistic, and their outspread wings give them dimension and the illusion of flight. They’re gorgeous perched atop the colored buttercream icing. Even better, the butterflies are pure, delicious chocolate!
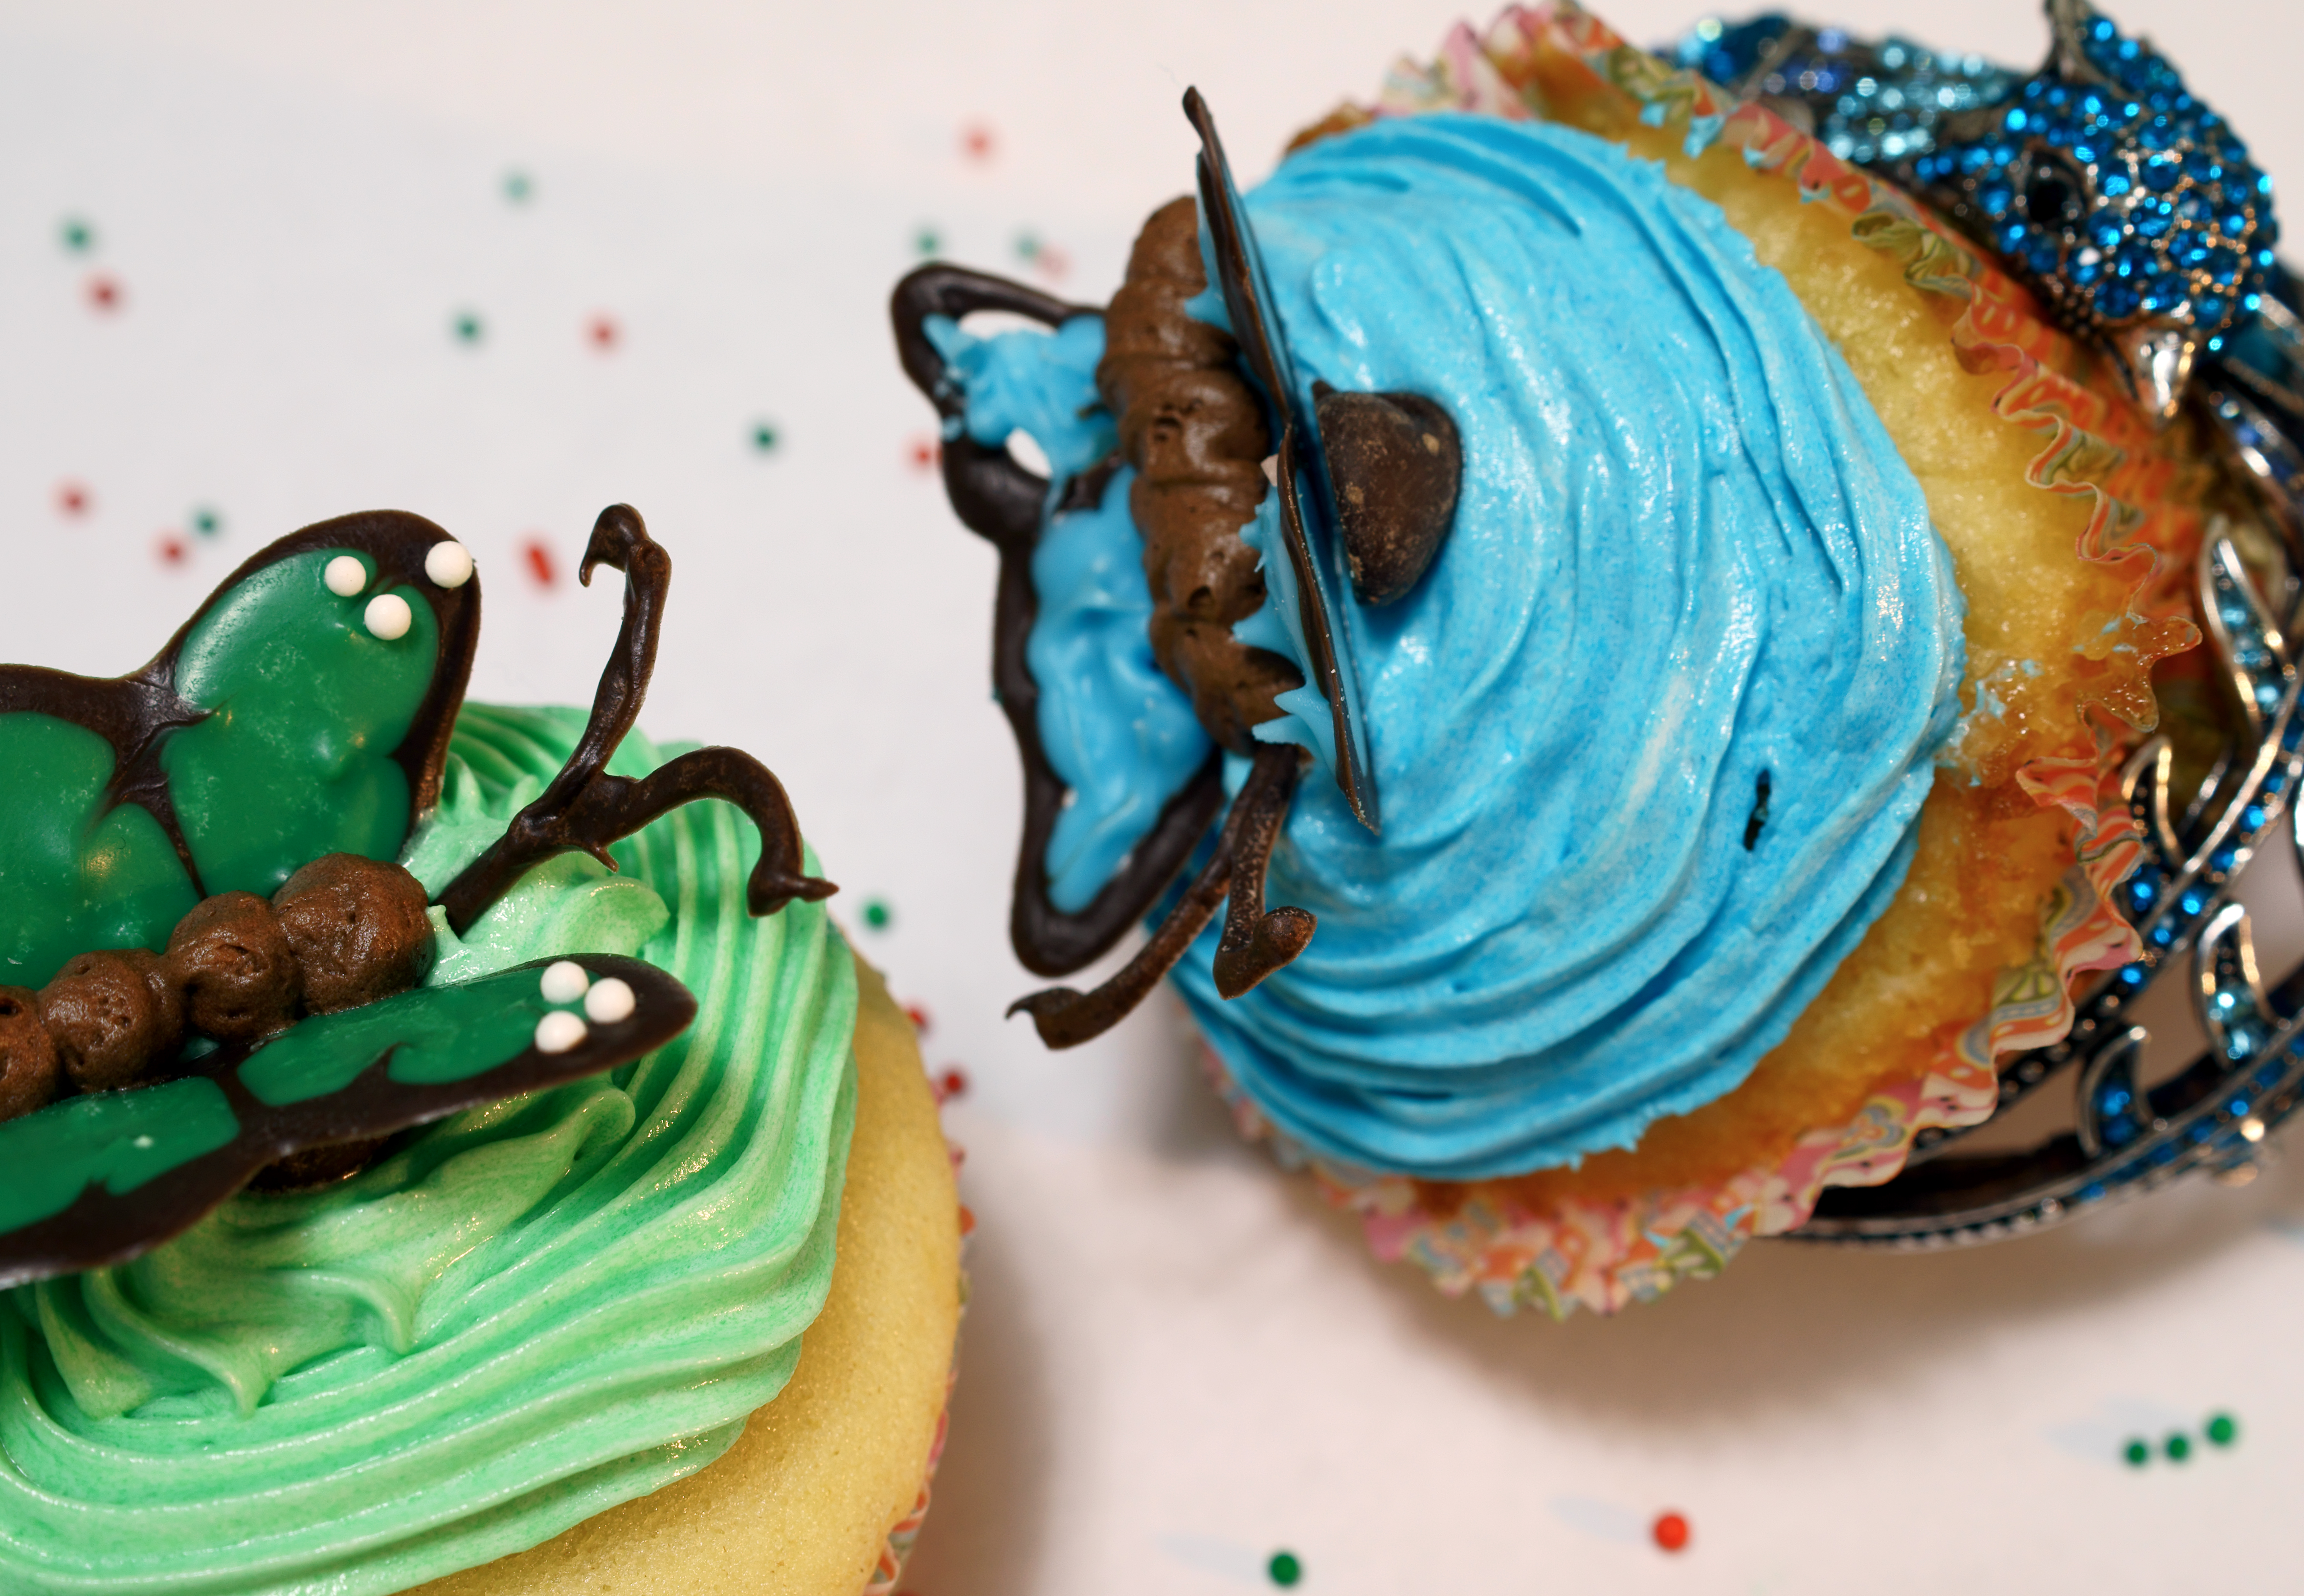
Since my friend is having a baby boy, I chose traditional colors–blue and green.
How to make the butterfly decorations:
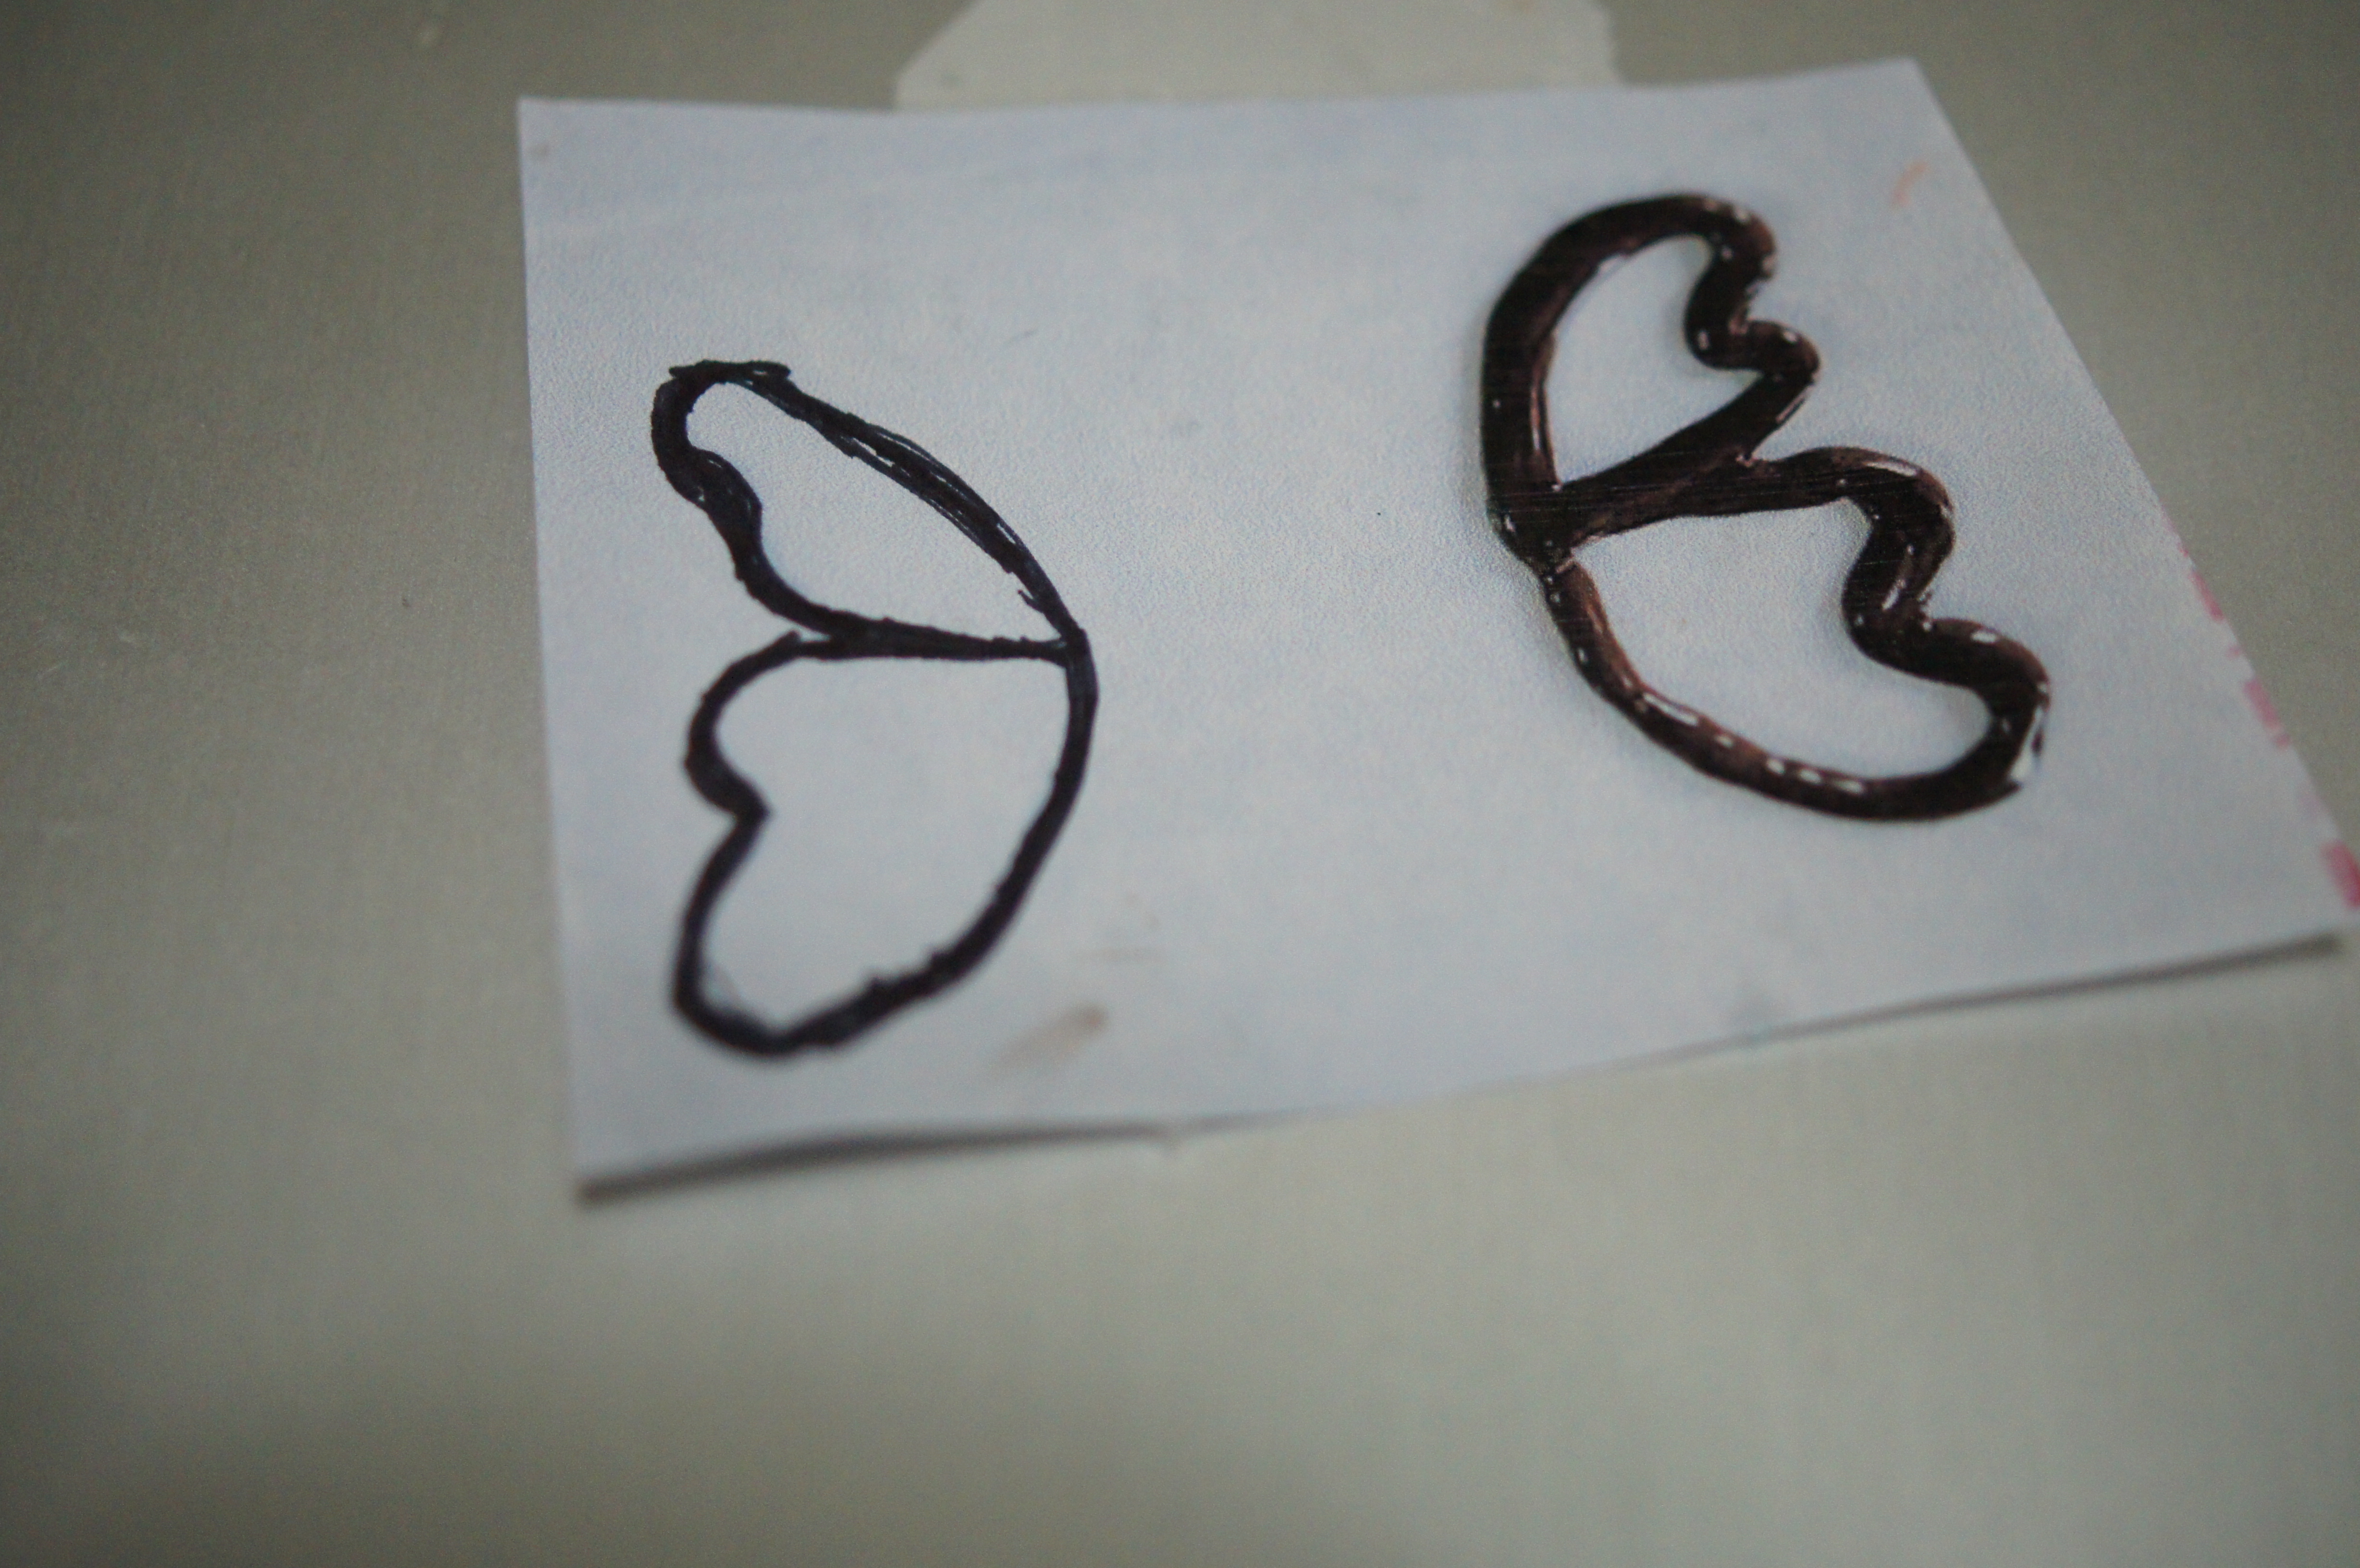
First, draw a template for the wings on a piece of printer paper. Trace over the design with a dark marker, so it can easily be seen through wax paper, which you’ll lay atop it. Cut out squares of wax paper that are slightly larger than the template (1 square per cupcake). Tape the template to a flat work surface.
Fill a Ziploc bag with ½ cup of dark chocolate candy melts, and another Ziploc bag with ½ cup colored candy melts. Microwave in 10-second intervals, unsealed, massaging the candy melts in between, until the candy is completely melted and no lumps remain. Don’t use intervals longer than 10 seconds, because you can burn holes through the plastic bag otherwise. Once the chocolate is completely melted, remove excess air and seal the bag. Cut a very tiny hole in the corner of the bag. The smaller the hole, the easier it will be to precisely pipe the chocolate.
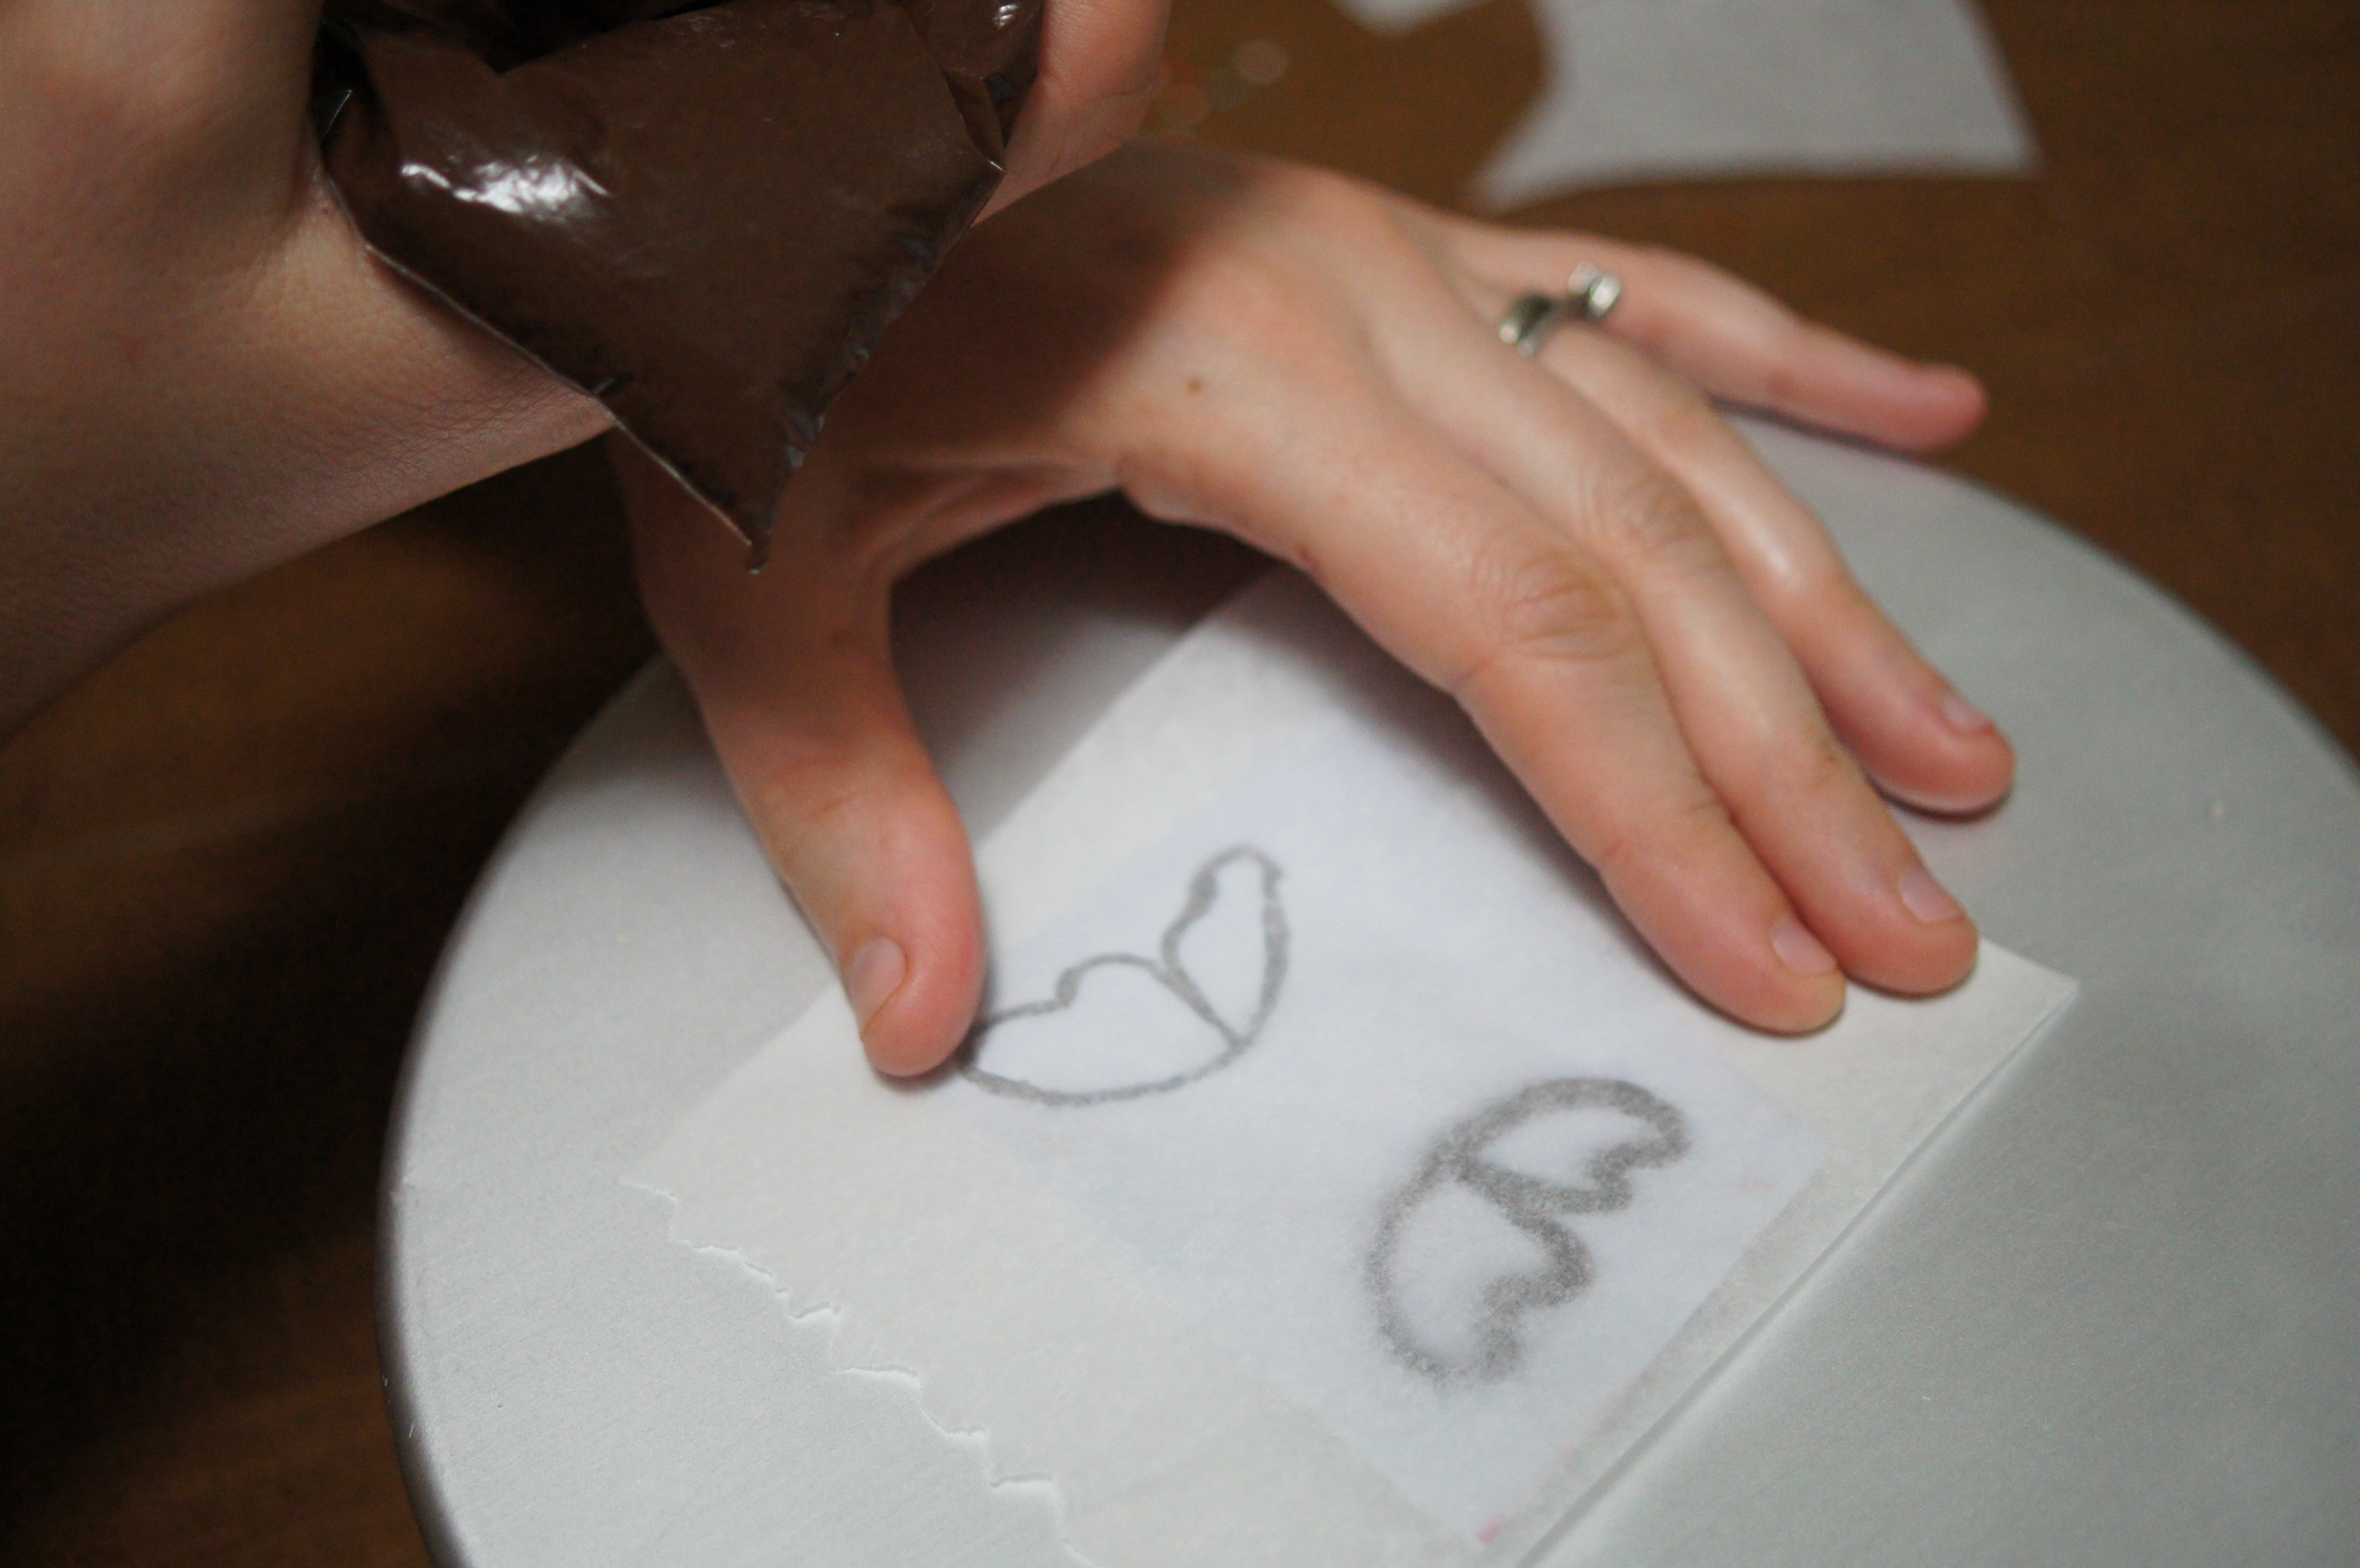
Place a square of wax paper over the template. I forgot to do this the first time, and had to redraw my template.

Gently trace the outline with piped chocolate.

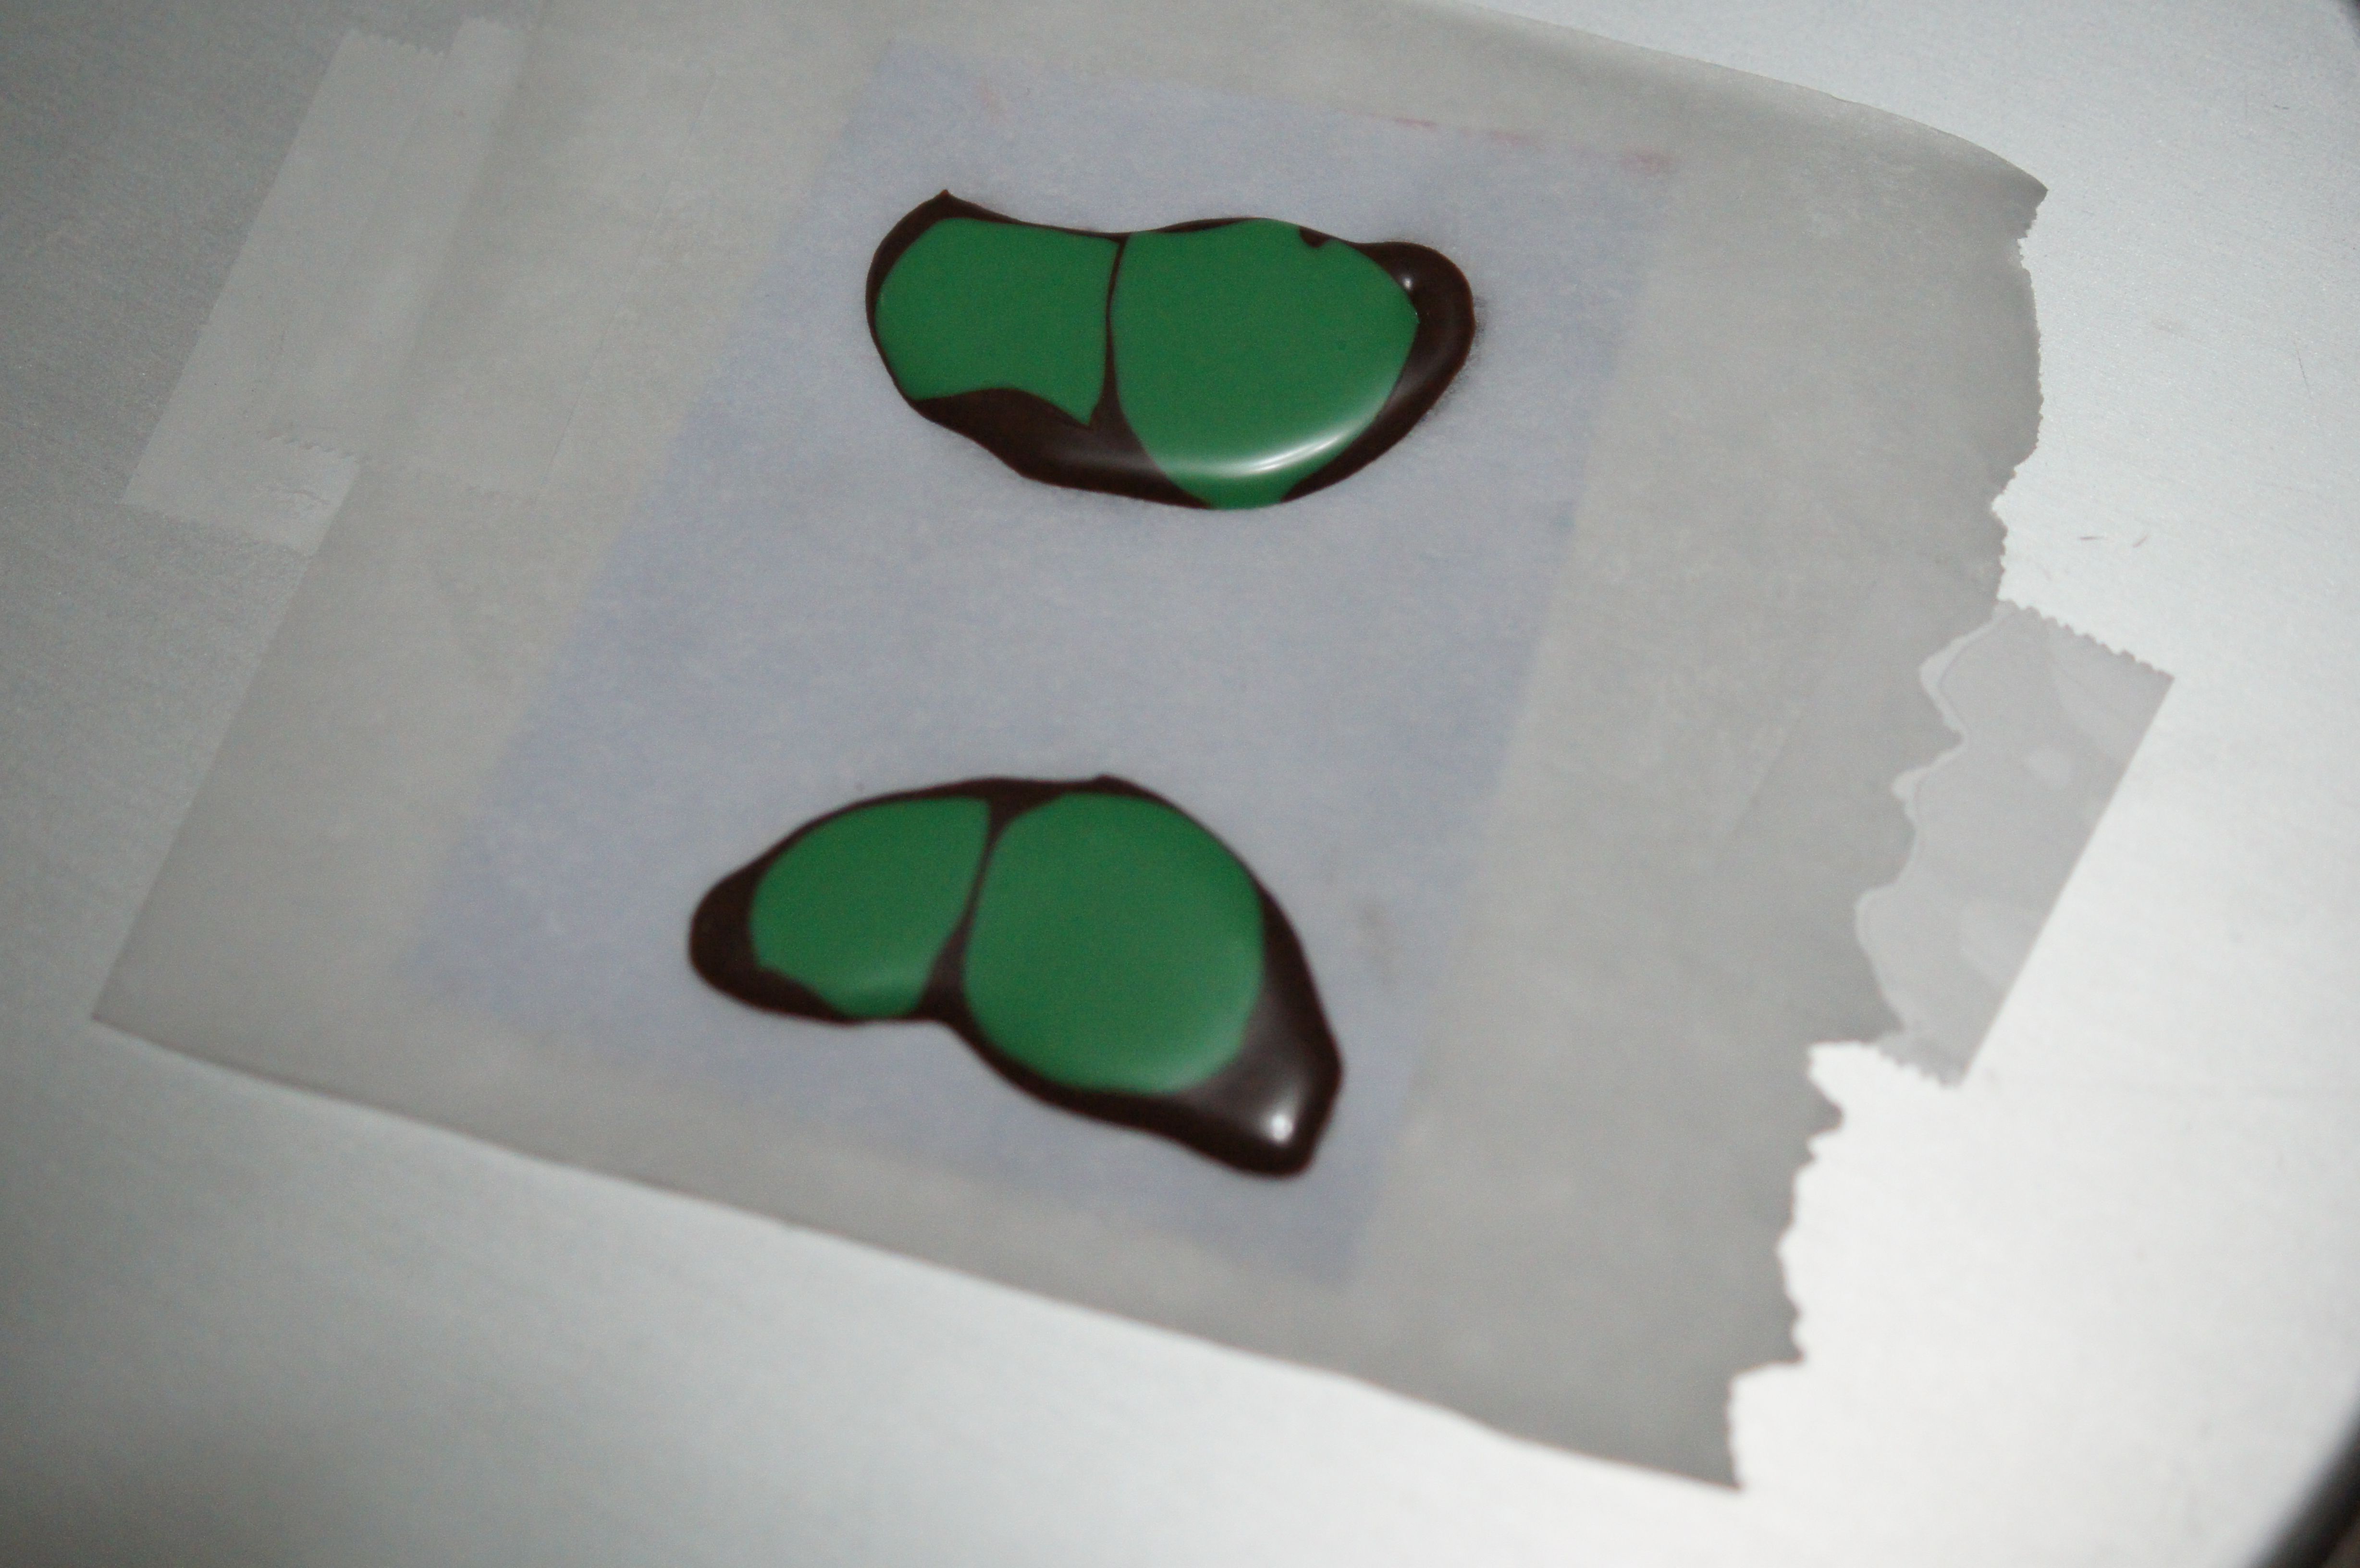
Squeeze a small amount of the colored chocolate into the outline. Gently pick up the wax paper and tap it lightly against a flat surface to fill the wings. You can also tilt it to spread the melted chocolate into the corners. Just do so gradually to avoid overspill.
Use a toothpick to create swirls in the wings.

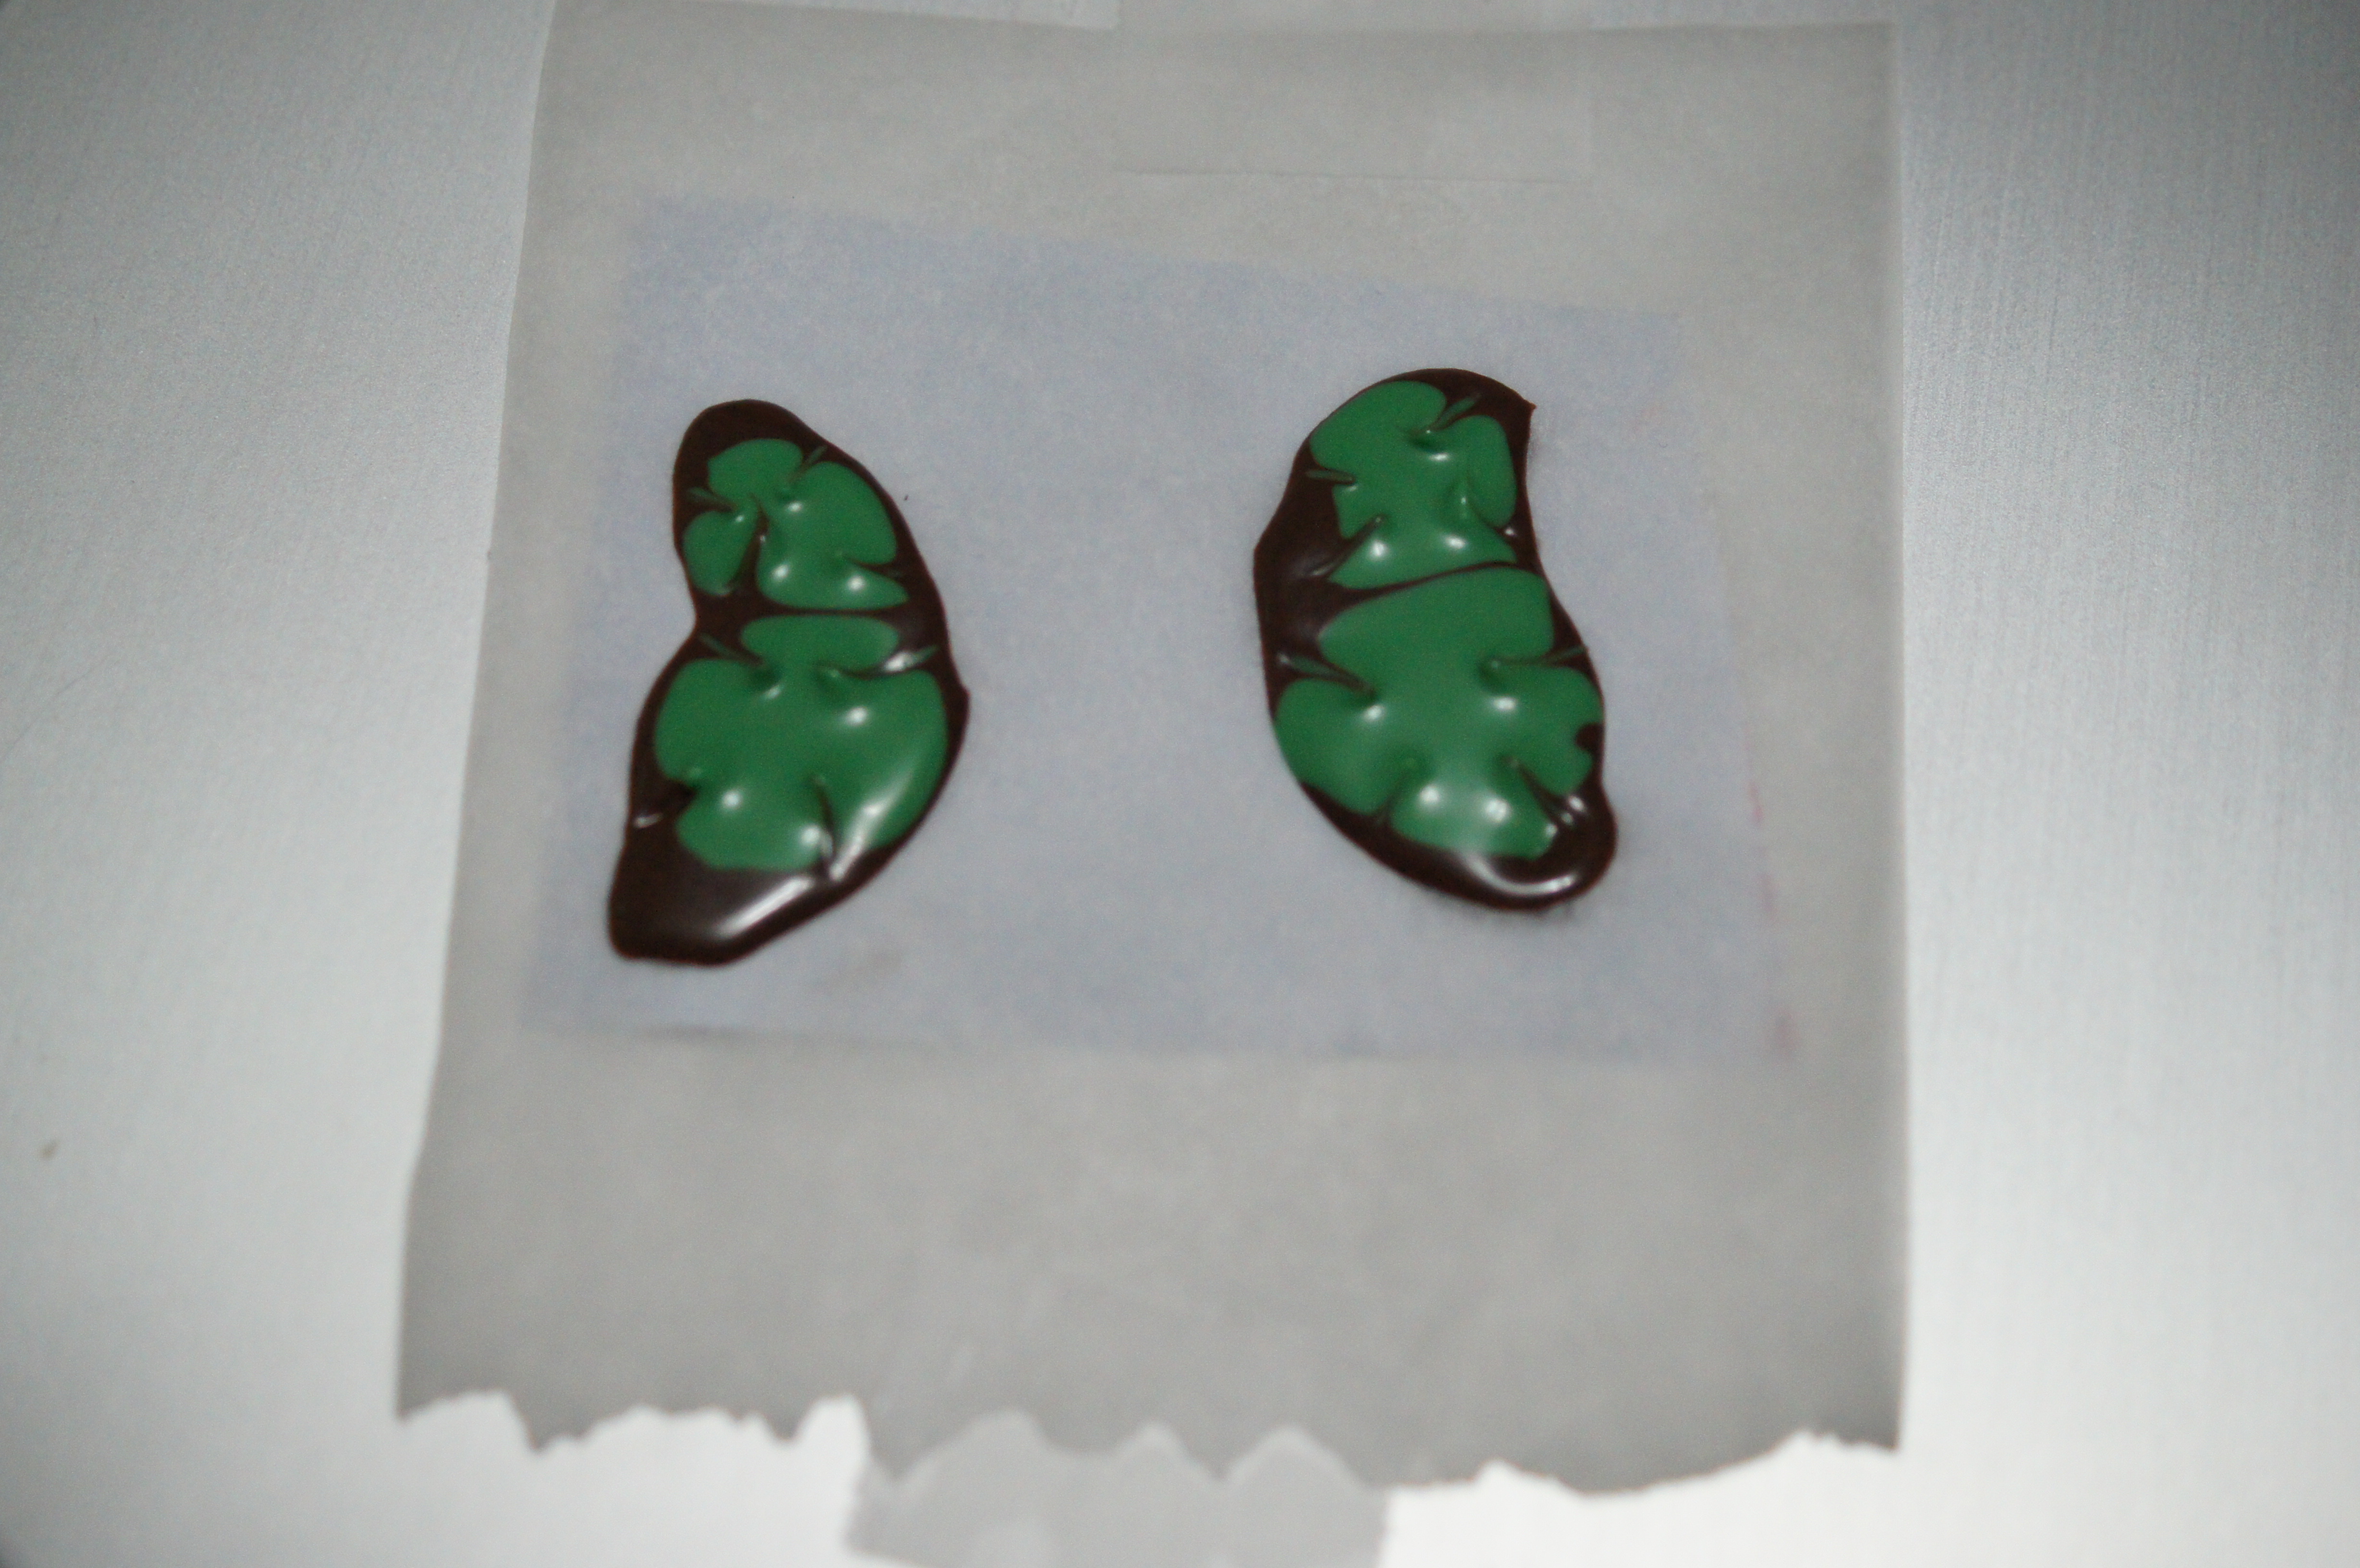
Add white nonpareils to the tips of each wing. The texture and color of the nonpareils contrasted nicely with the dark green chocolate.

Let the wings set completely. Repeat this process until you have enough wings for your cupcakes. The chocolate will begin to harden after a while, making it difficult to pipe. When this happens, just reheat (in 10-second intervals) until it’s smooth once again.
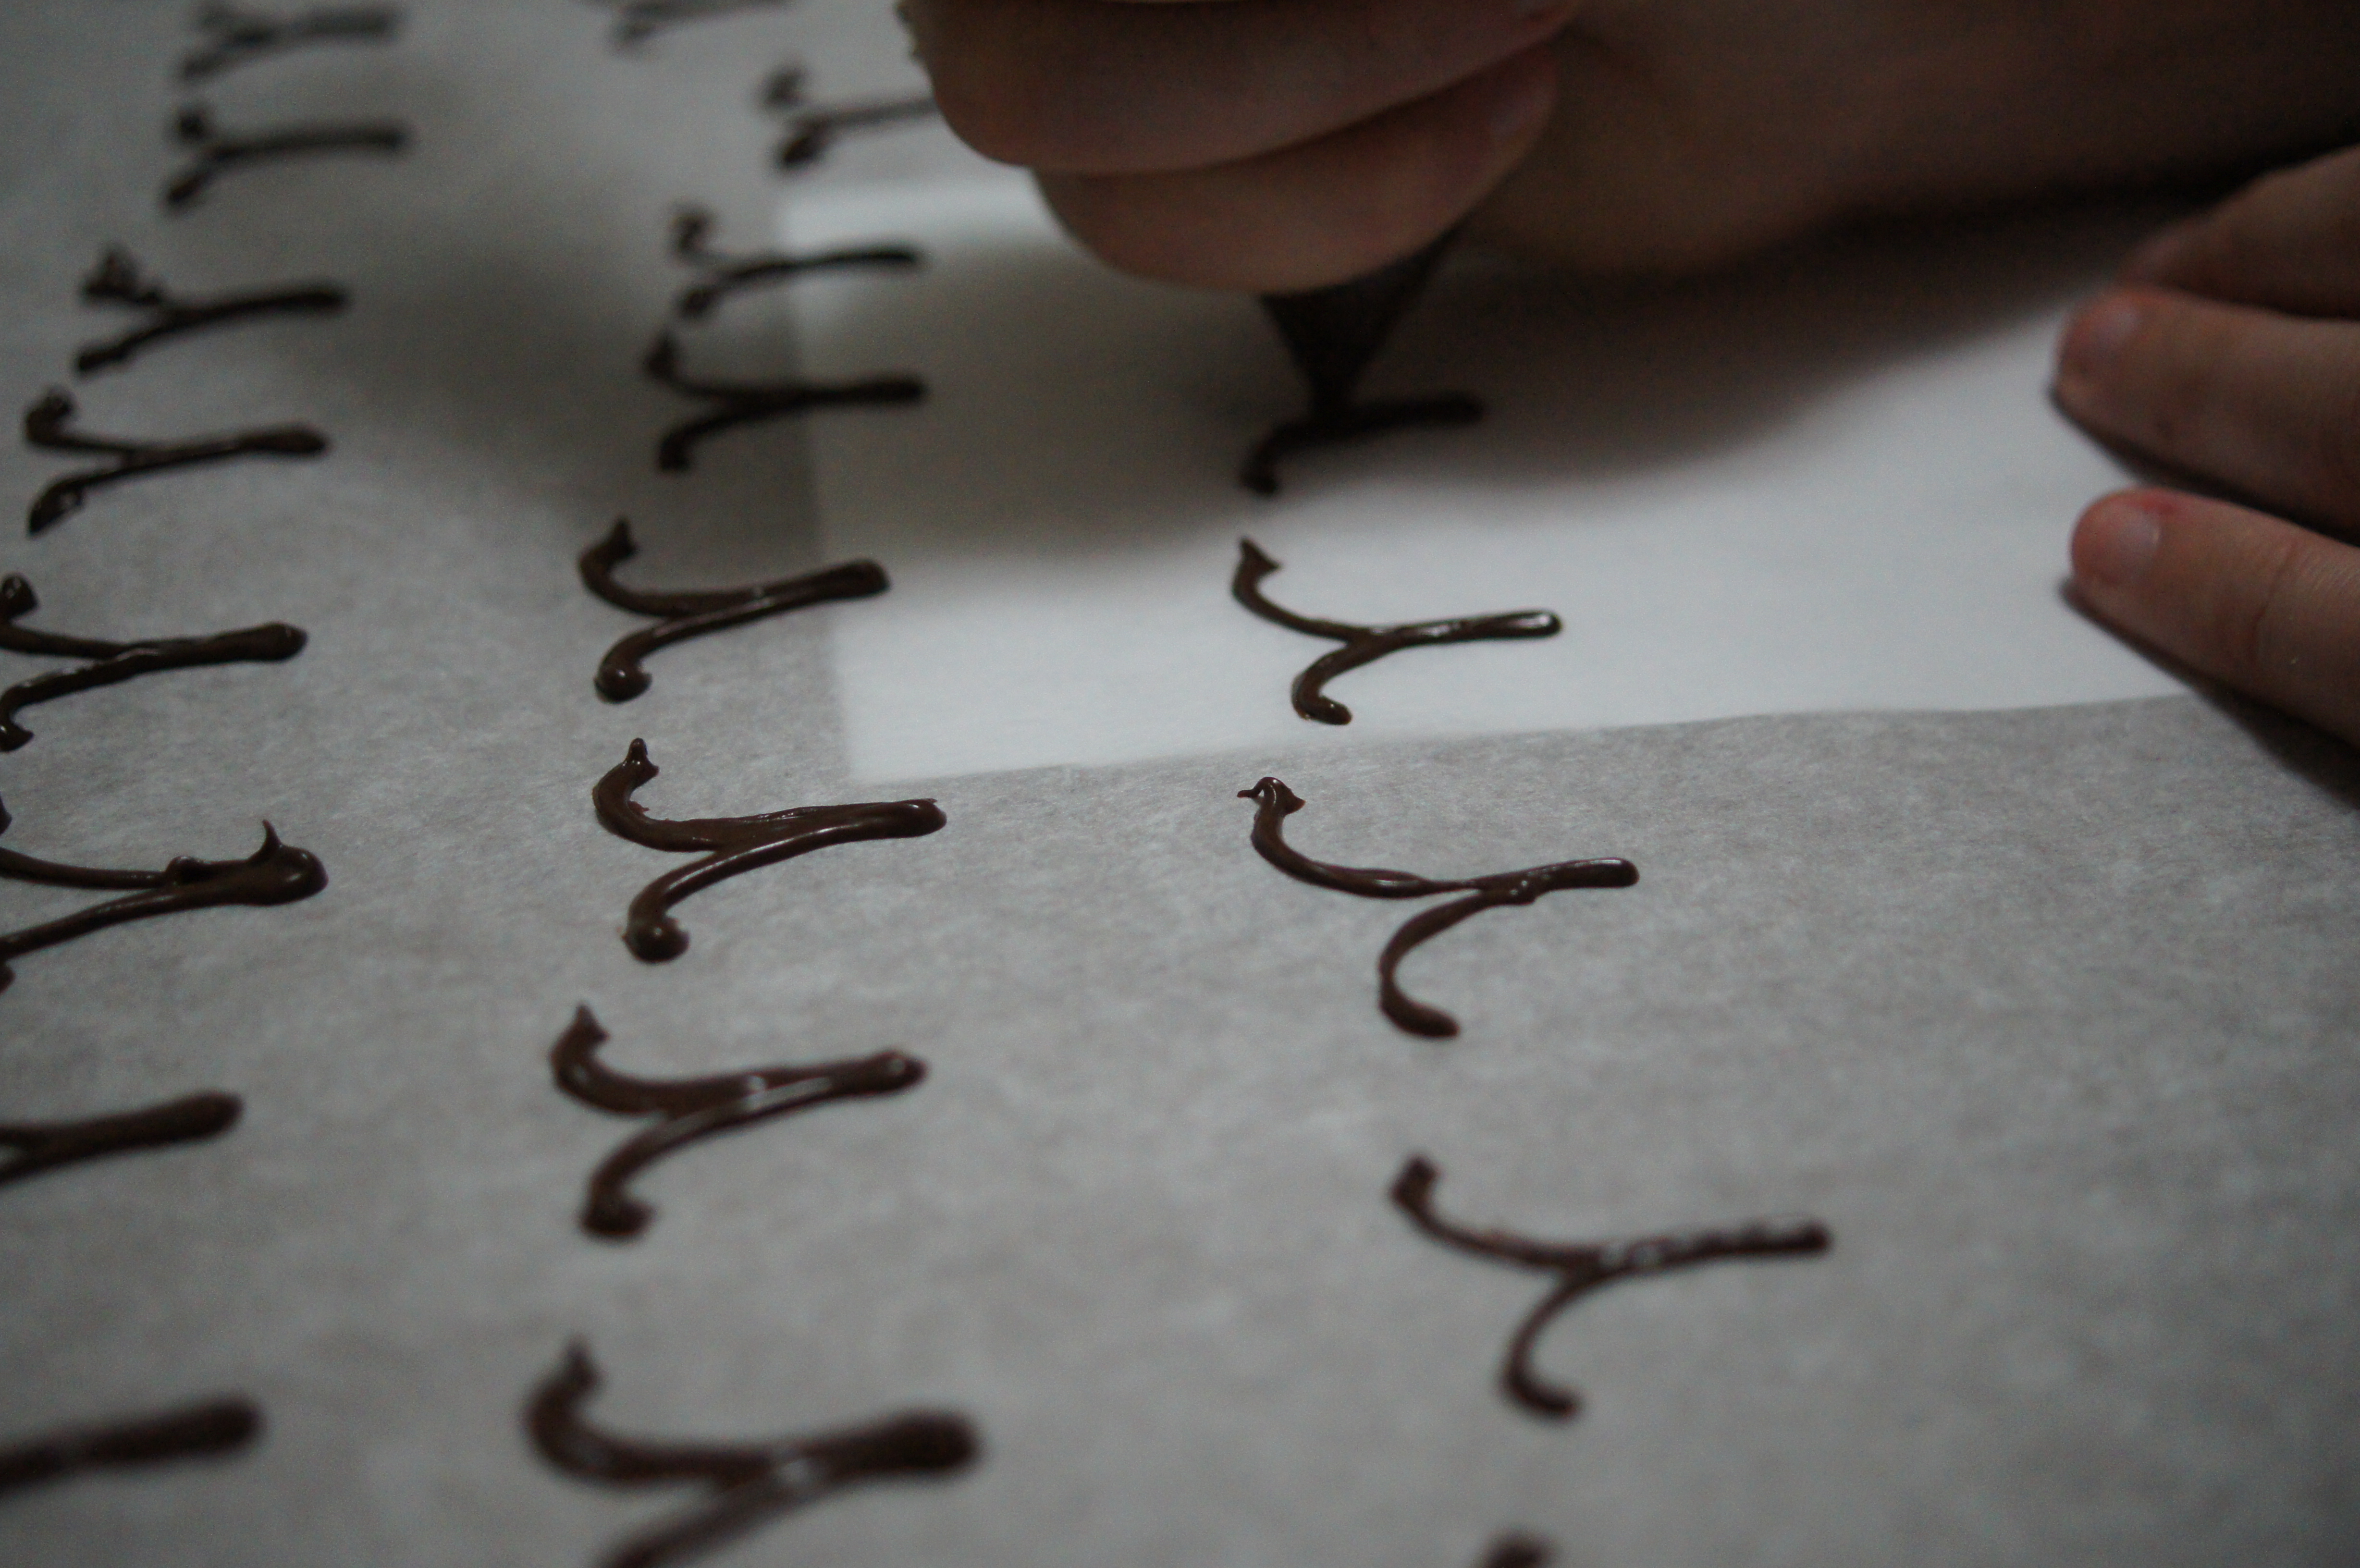
Draw the template for the antennas on a piece of printer paper using a dark marker. Tear off a large sheet of wax paper, then place the template underneath. Trace with the melted dark chocolate. Slide the template over and trace again.
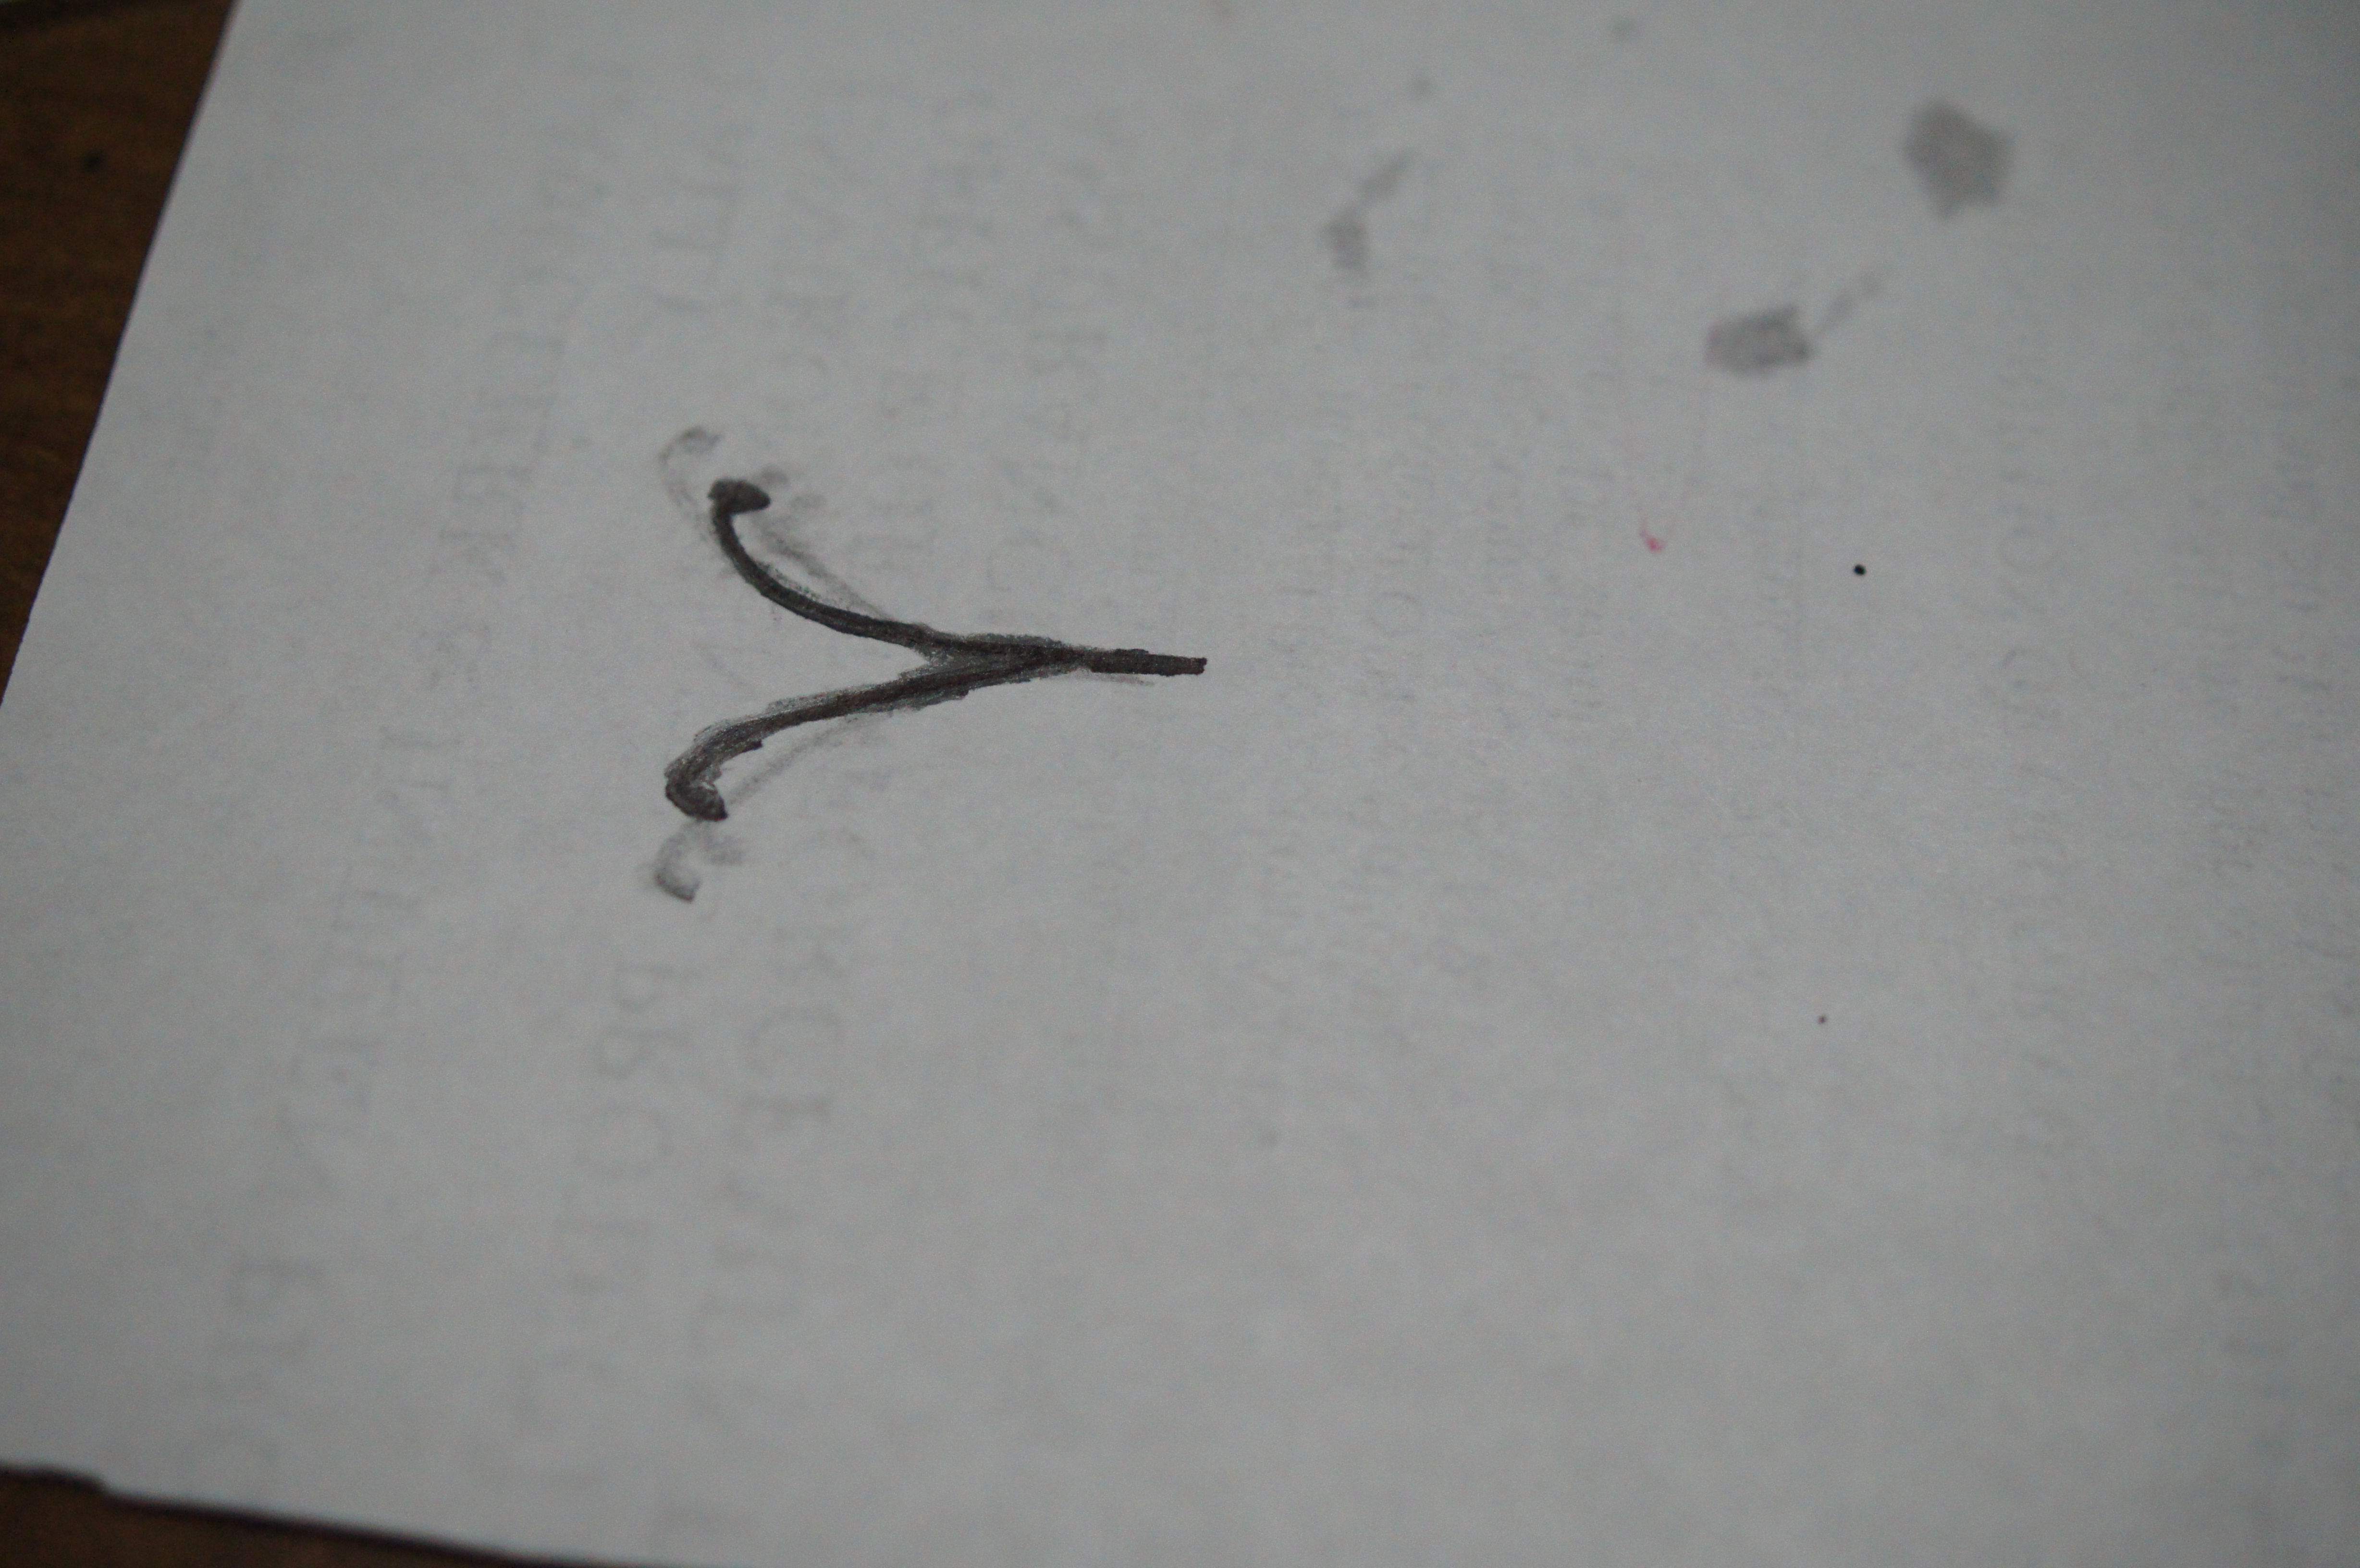
Repeat this process until you have roughly double the number of antennas you actually need. These delicate antennas sometimes break when touched, so it’s best to have extras.
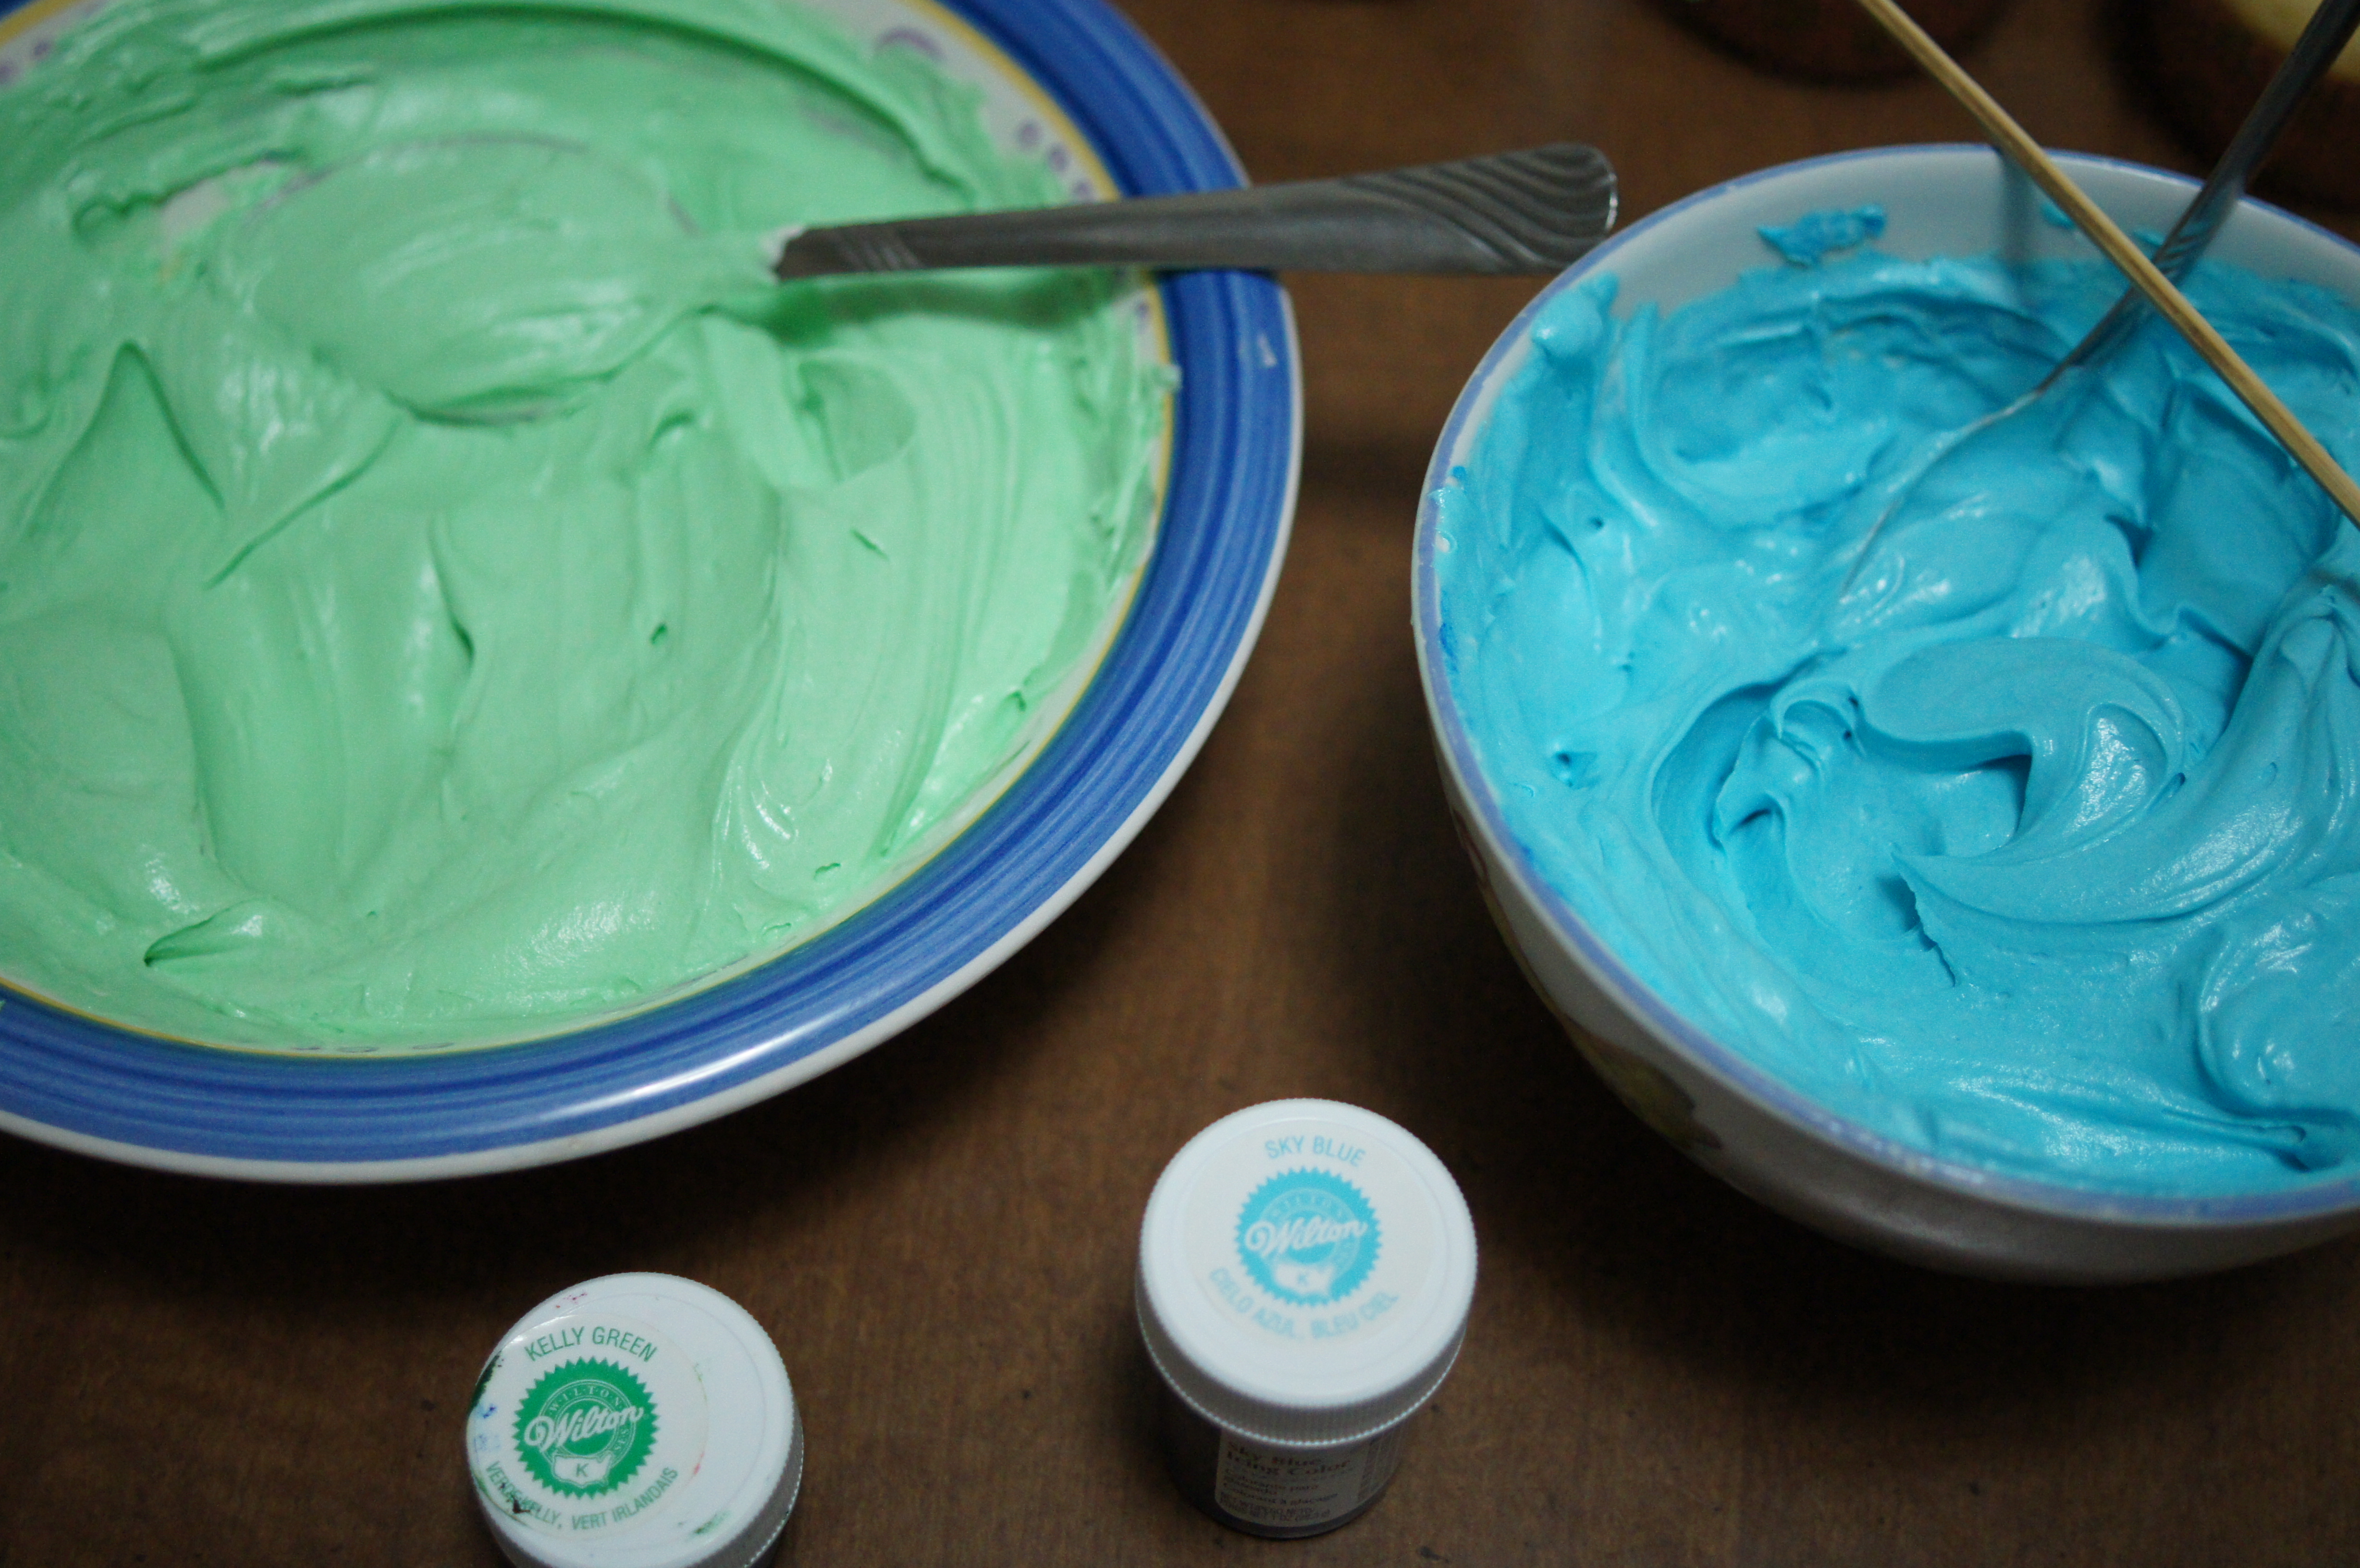
Tint the buttercream icing with the color of your choice. I used Wilton Kelly Green and Sky Blue.
 Frost your cupcakes. I used a piping bag with a star tip. Make a small line in the middle of the cupcake with your finger. This is where the butterfly body will be piped.

Place two chocolate chips at a forty-five degree angle on either side of the line. These will support the butterfly wings.

Stick the butterfly wings into the cupcake atop the chocolate chips.

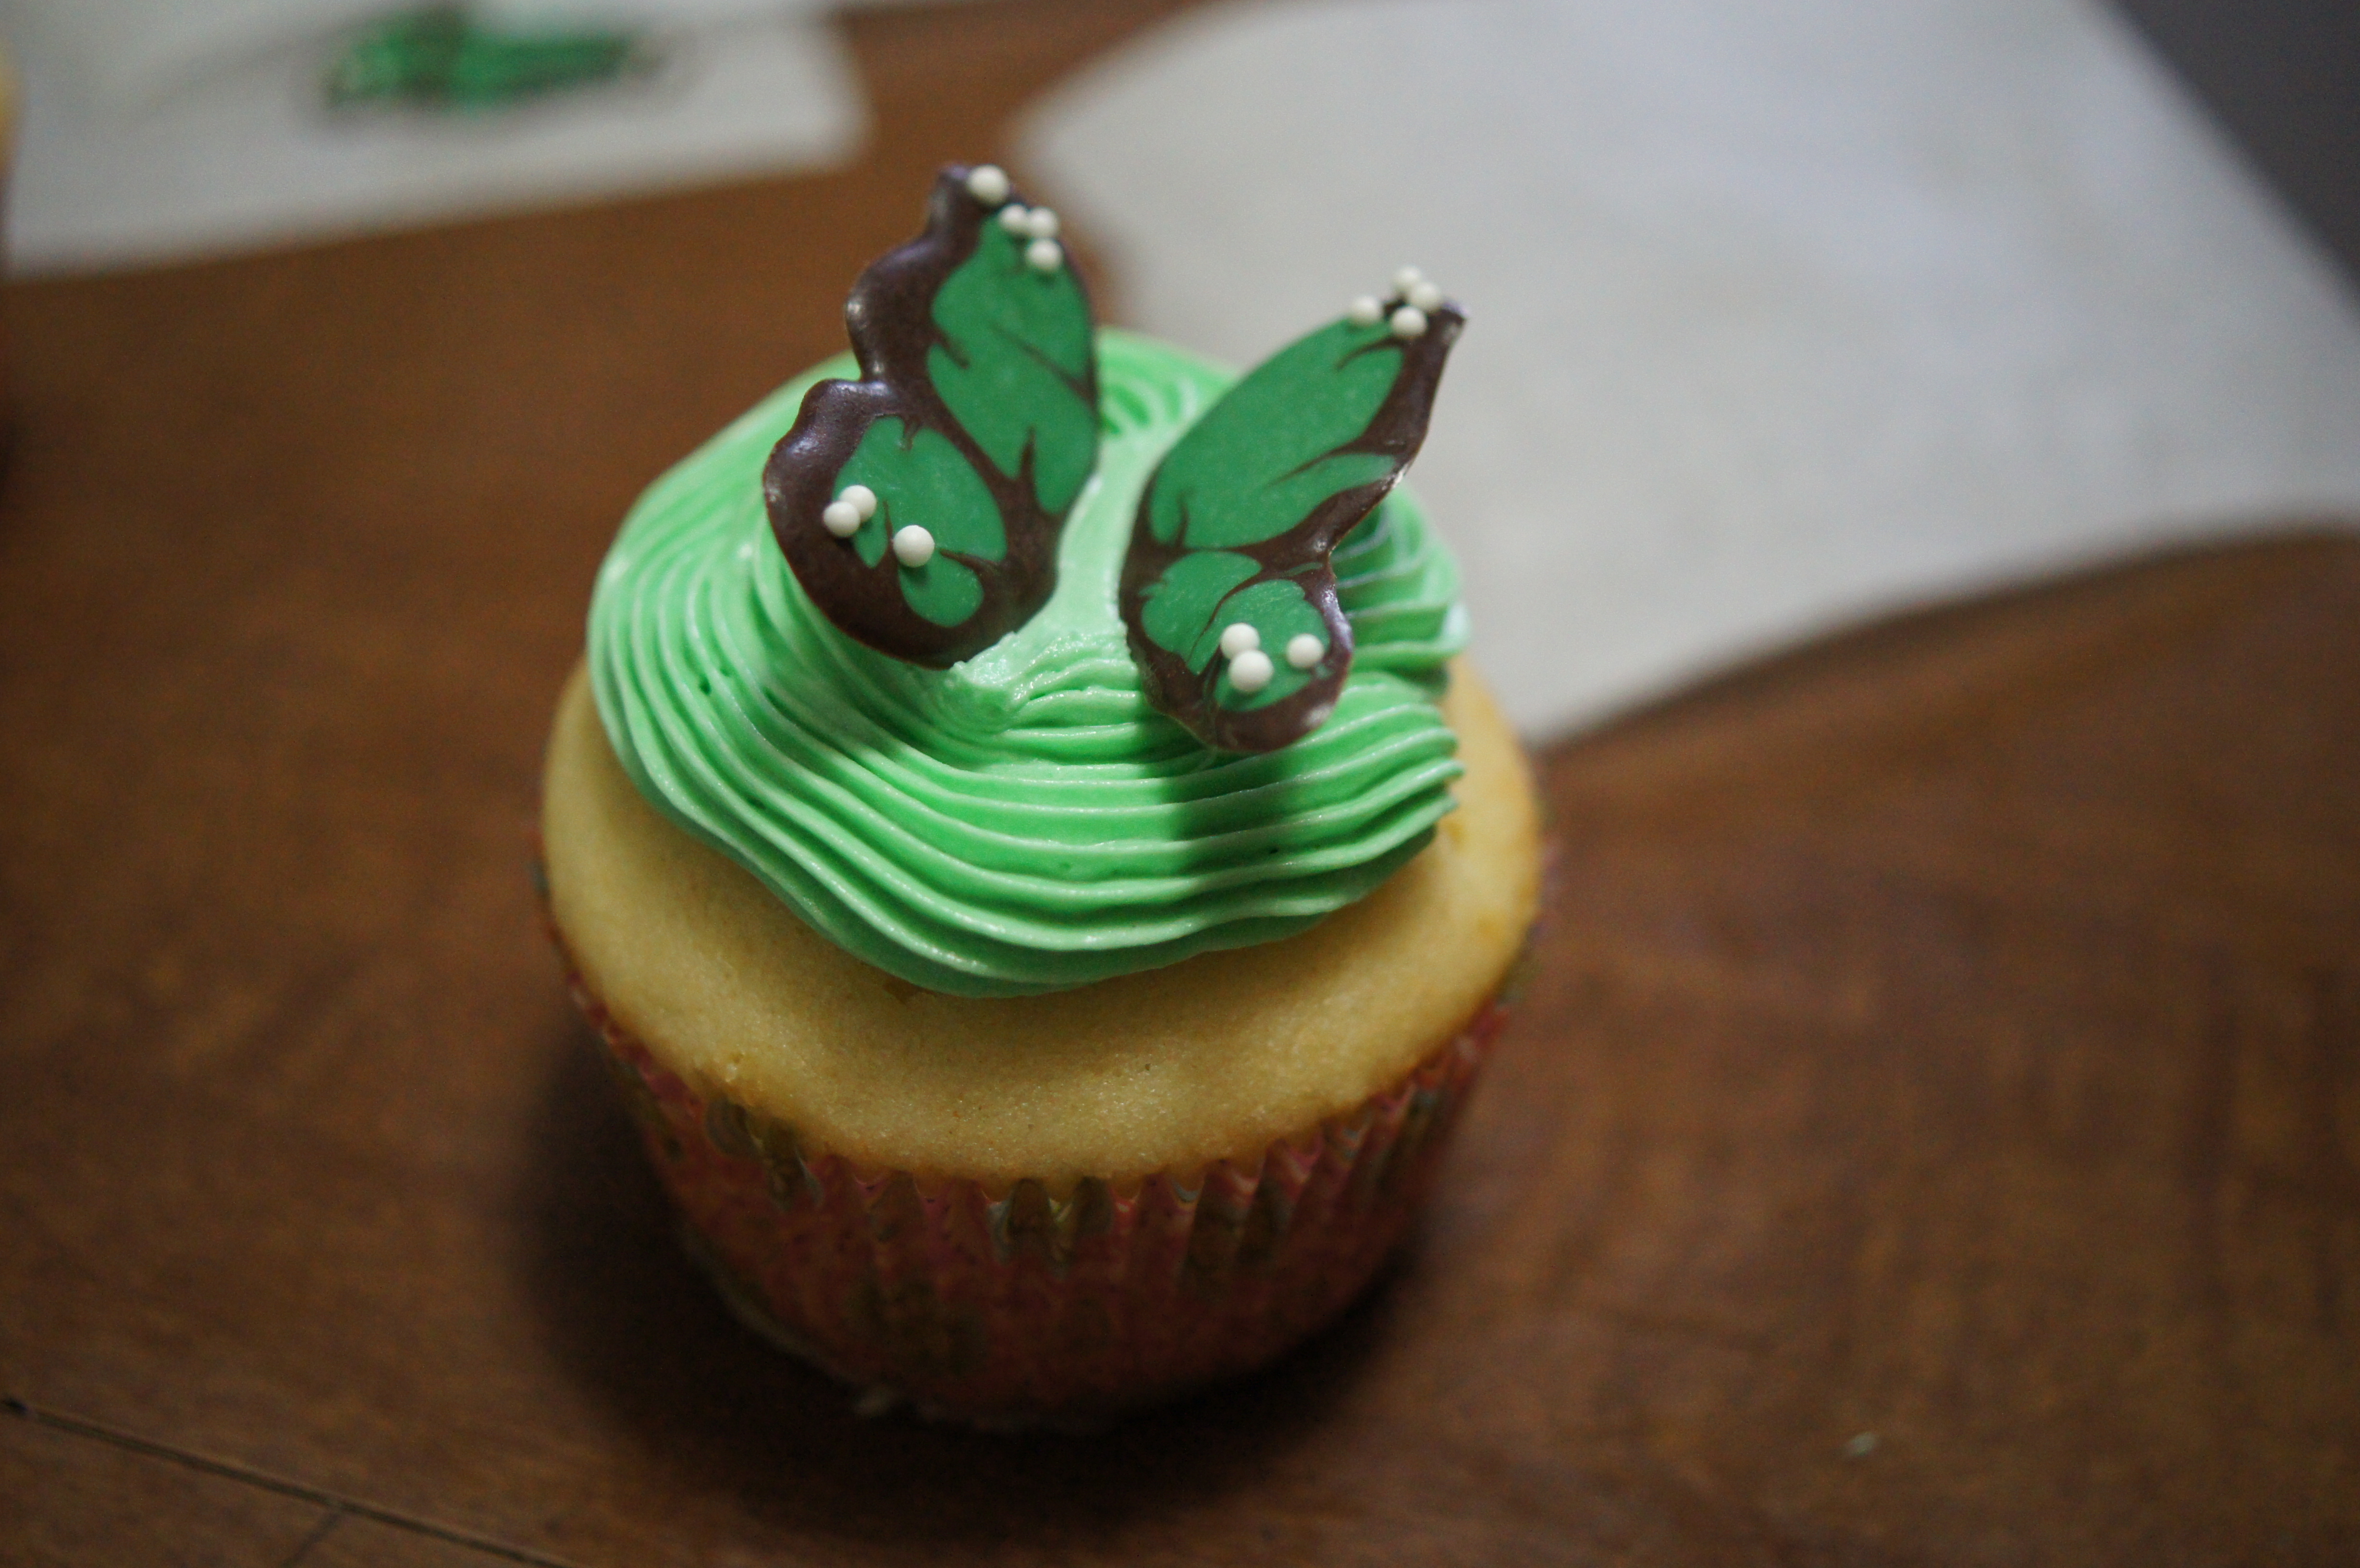 Place chocolate frosting (not candy melts) into a bag and pipe the body of the butterfly onto the cupcakes.
 Place antennas into the cupcakes at the top of the butterfly.
Now you know how to make these butterfly cupcakes. Kids and adults alike will marvel at their beauty!
Much thanks to my friend Annie for helping me make these cupcakes in time for my friend’s baby shower!
If you enjoyed reading this post, like my Facebook page and subscribe to my blog to follow my cooking adventures and flavorful journeys!
Butterfly Cupcakes
 Print recipe
| Website | slightly adapted from Annie's Eats |
Ingredients
- wax paper
- Ziplock bags
- dark cocoa candy melts
- colored candy melts (whatever color you want the wings to be)
- toothpicks
- white nonpareils
- cupcakes
- buttercream icing
- color tints (whatever color you want the icing to be)
- chocolate chips
- can chocolate frosting
Optional
- piping bags (number depends on how many icing colors you use)
- large star tip (number depends on how many icing colors you use)
- couplers (number depends on how many icing colors you use)
Note
The amount of chocolate you need really depends on the number of colors you want to use and the quantity of cupcakes you're going to make. I made 24 cupcakes and used about 1/2 a bag of dark cocoa candy melts, and about 1/2 a bag of blue and green candy melts.
Directions
| Step 1 | |
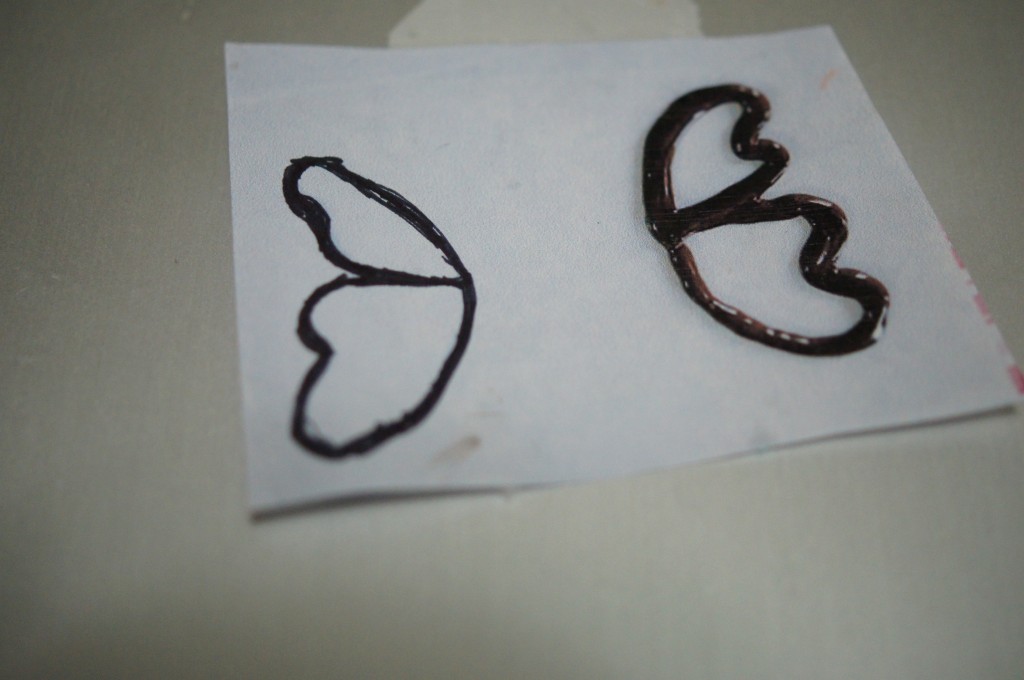 First, draw a template for the wings on a piece of printer paper. Trace over the design with a dark marker, so it can easily be seen through wax paper, which you'll lay atop it. Cut out squares of wax paper that are slightly larger than the template (1 square per cupcake). Tape the template to a flat work surface. | |
| Step 2 | |
 Fill a Ziploc bag with ½ cup of dark chocolate candy melts, and another Ziploc bag with ½ cup colored candy melts. Microwave in 10-second intervals, unsealed, massaging the candy melts in between, until the candy is completely melted and no lumps remain. Once the chocolate is completely melted, remove excess air and seal the bag. Cut a very tiny hole in the corner of the bag. The smaller the hole, the easier it will be to precisely pipe the chocolate. Place a square of wax paper over the template. | |
| Step 3 | |
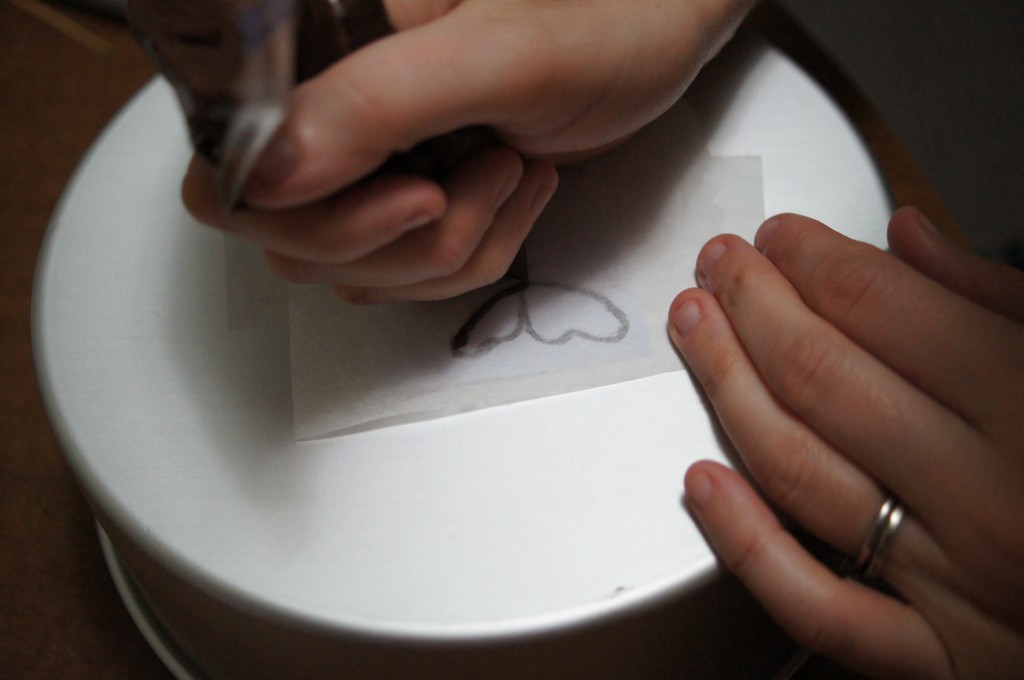 Gently trace the outline with piped chocolate. | |
| Step 4 | |
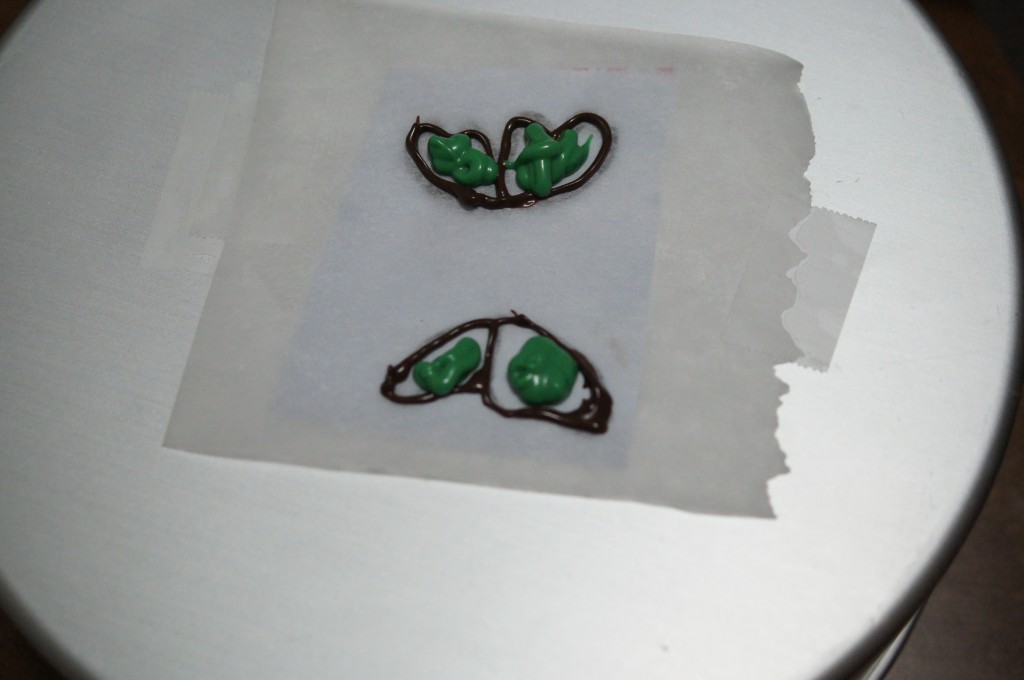 Squeeze a small amount of the colored chocolate into the outline. Gently pick up the wax paper and tap it lightly against a flat surface to fill the wings. You can also tilt it to spread the melted chocolate into the corners. Just do so gradually to avoid overspill. | |
| Step 5 | |
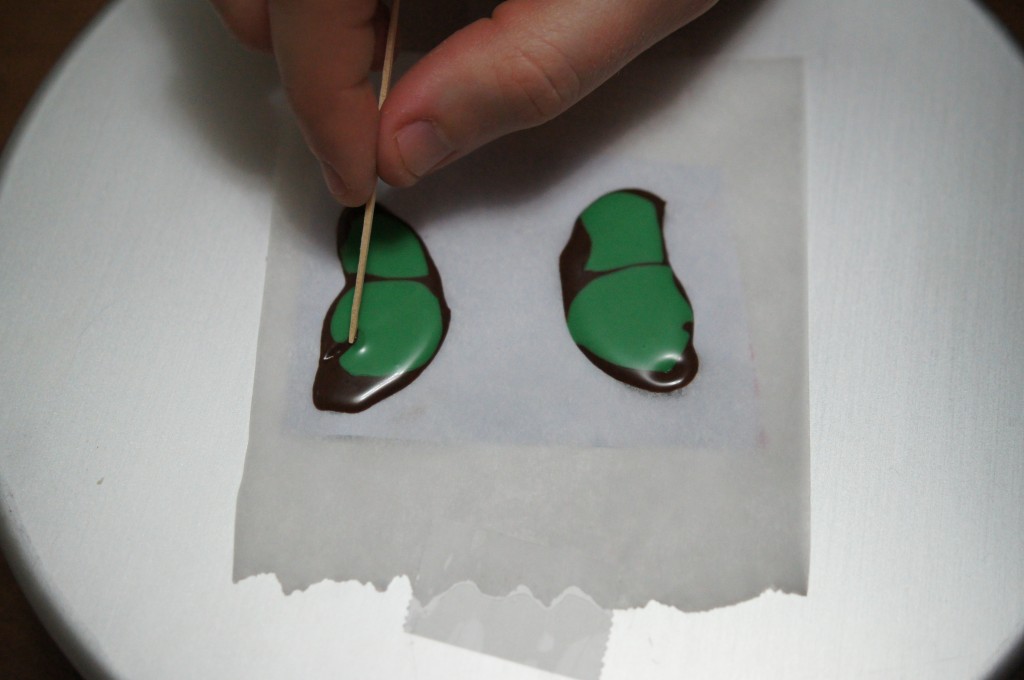 Use a toothpick to create swirls in the wings. | |
| Step 6 | |
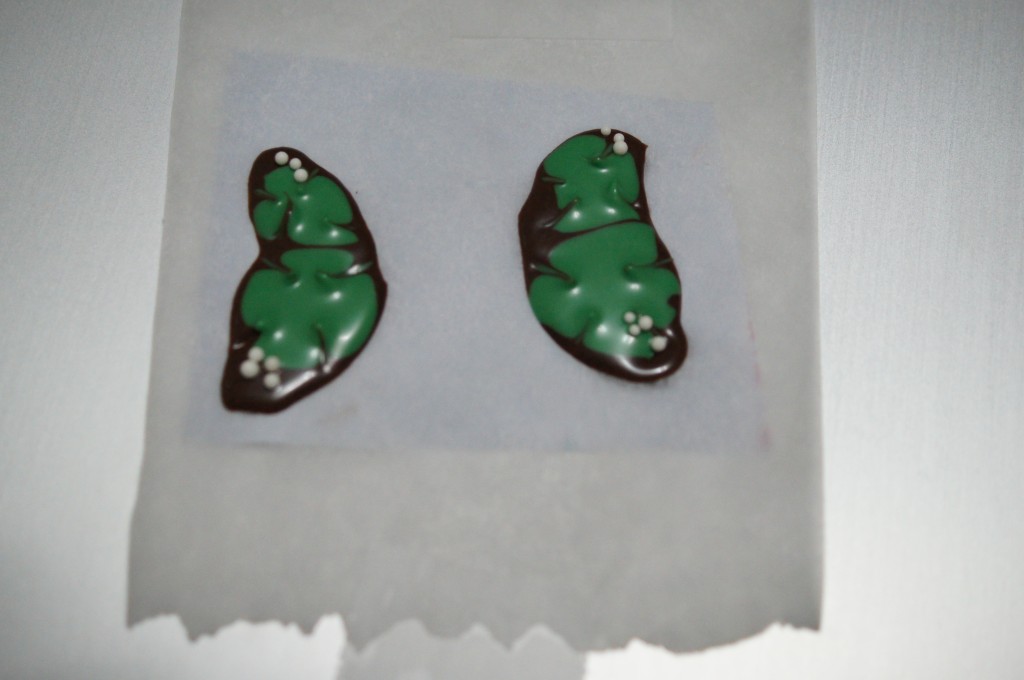 Add white nonpareils to the tips of each wing. | |
| Step 7 | |
| Let the wings set completely. Repeat this process until you have enough wings for your cupcakes. The chocolate will begin to harden after a while, making it difficult to pipe. When this happens, just reheat (in 10-second intervals) until it's smooth once again. | |
| Step 8 | |
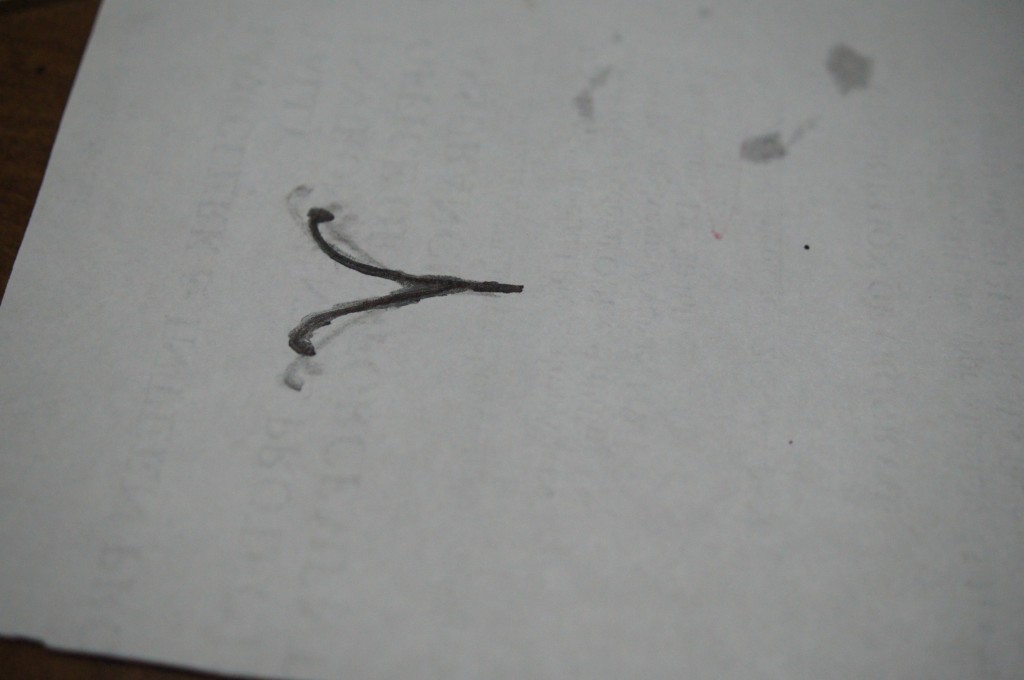 Draw the template for the antennas on a piece of printer paper using a dark marker. Tear off a large sheet of wax paper, then place the template underneath. Trace with the melted dark chocolate. Slide the template over and trace again. Repeat this process until you have roughly double the number of antennas you actually need. These delicate antennas sometimes break when touched, so it's best to have extras. | |
| Step 9 | |
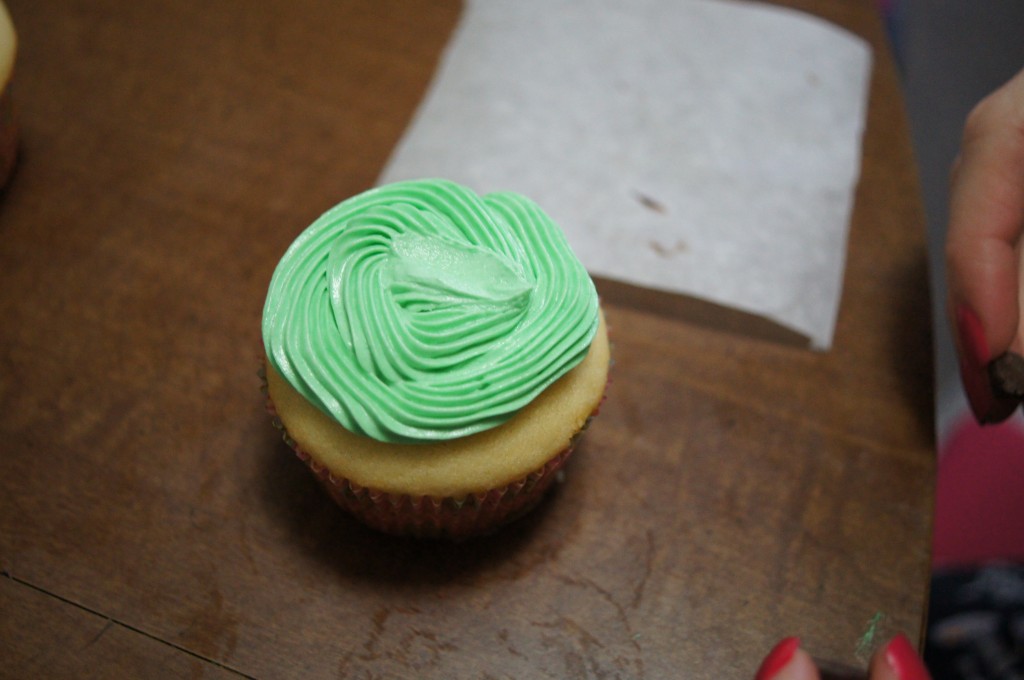 Tint the buttercream icing with the color of your choice. Frost your cupcakes. Make a small line in the middle of the cupcake with your finger. This is where the butterfly body will be piped. | |
| Step 10 | |
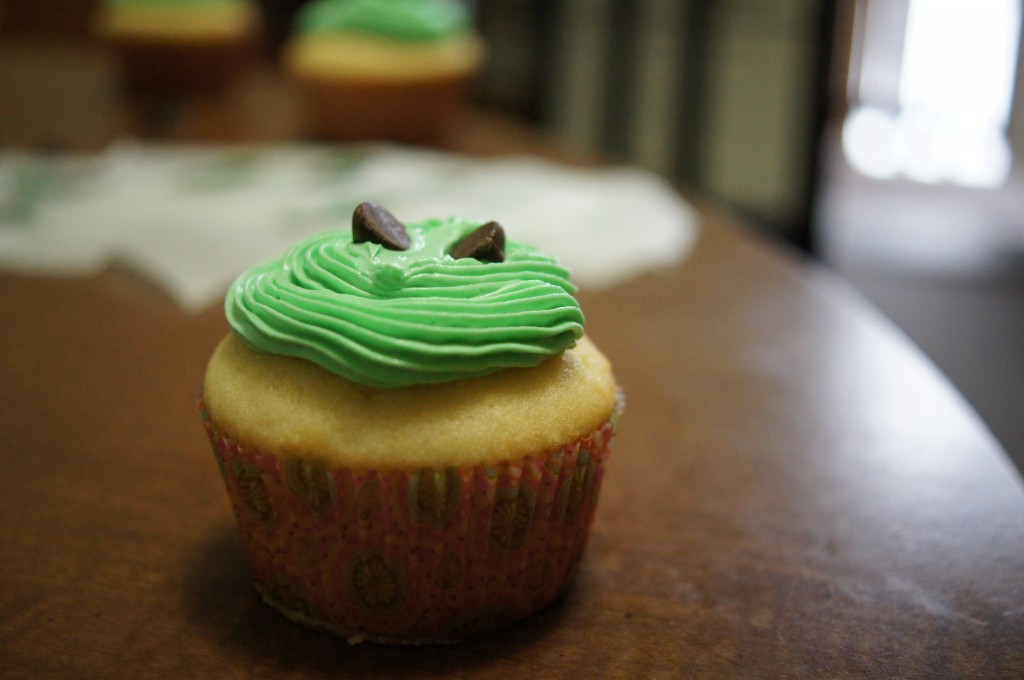 Place two chocolate chips at a forty-five degree angle on either side of the line. These will support the butterfly wings. | |
| Step 11 | |
 Stick the butterfly wings into the cupcake atop the chocolate chips. | |
| Step 12 | |
 Place chocolate frosting (not candy melts) into a bag and pipe the body of the butterfly onto the cupcakes. | |
| Step 13 | |
| Place antennas into the cupcakes at the top of the butterfly. | |
