


I love Christmas and I love all the delicious sweets that surround the holiday. Hot cocoa, apple cider, sugar cookies, eggnog, gingerbread men, candy canes, sandtarts, etc. One of my favorite parts of Christmas is making Christmas cookies. This year I learned a revolutionary technique, at least revolutionary for me! Instead of using icing or sprinkles to decorate your cookies, create decorative patterns using colored dough. Such a marvelous concept. It takes you back to your playdough days, where you roll out snakes and balls. For once, you can encourage your kids to play with their food! Take this simple recipe for dough and let your imagination go wild. This recipe can apply to all holidays and themes, just change the cookie cutter shapes and dye the dough whatever color you want. Voilà! Instant hit.
If you enjoyed reading this post, like my Facebook page and subscribe to my blog to follow my cooking adventures and flavorful journeys!
Colored Dough Decorative Cookies
 Print recipe
| From magazine | Everyday Food, December 2012 |
Ingredients
- 2 teaspoons pure vanilla extract
- food coloring (red, green, yellow, and blue)
- 3 1/2 cups all-purpose flour (spooned and leveled)
- 1/2 teaspoon fine salt
- 2 sticks unsalted butter (room temperature)
- 2 cups sugar
- 2 large eggs
Directions
| Dough | |
| Step 1 | |
| Whisk together flour and salt. In a large bowl, using a mixer, beat butter and sugar on medium-high until pale and fluffy, 4 minutes. Beat in eggs, one at a time, then vanilla. Reduce speed to low, add flour mixture, and beat until combined. Tint dough by mixing in food coloring. If making candy canes, separate dough in half and tint half red, leaving the other half plain. If making Christmas trees, tint two-thirds the dough green; tint some of the remaining dough red and some yellow; leave some plain. If making snowflakes, tint two-thirds blue and leave remaining third plain. Divide dough into disks. Individually wrap all dough in plastic and refrigerate 1 hour or up to 3 days. | |
| Christmas trees | |
| Step 2 | |
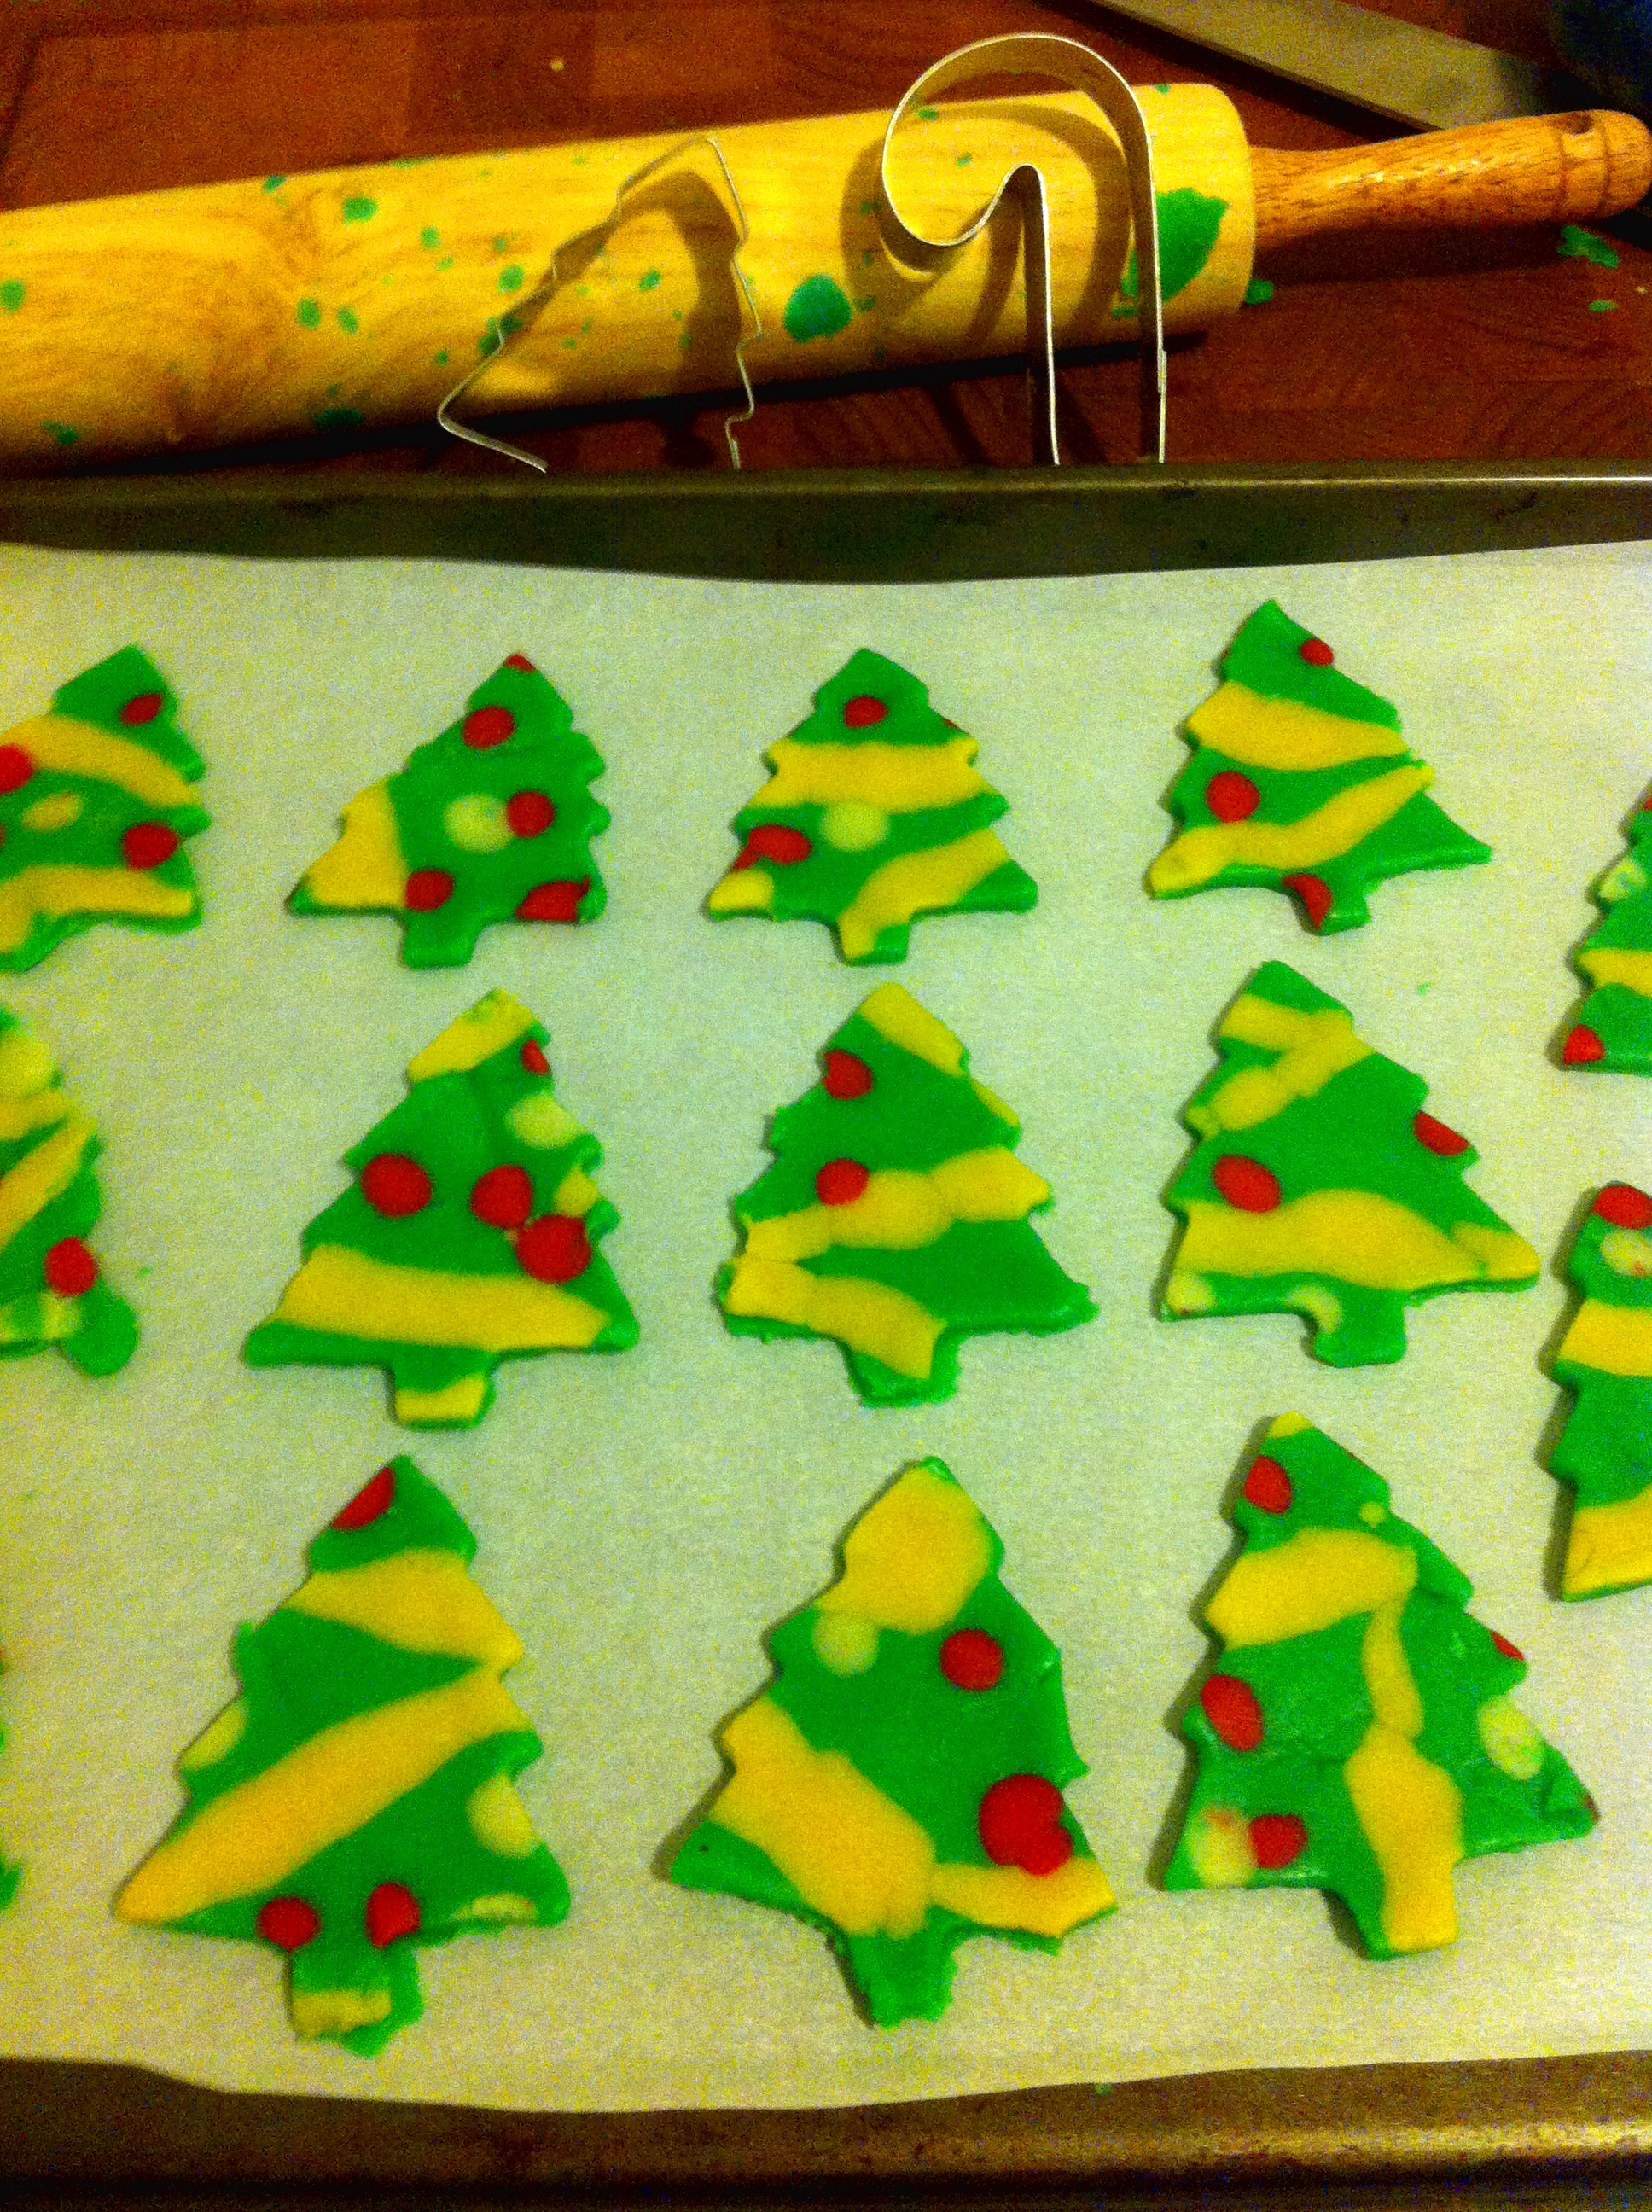
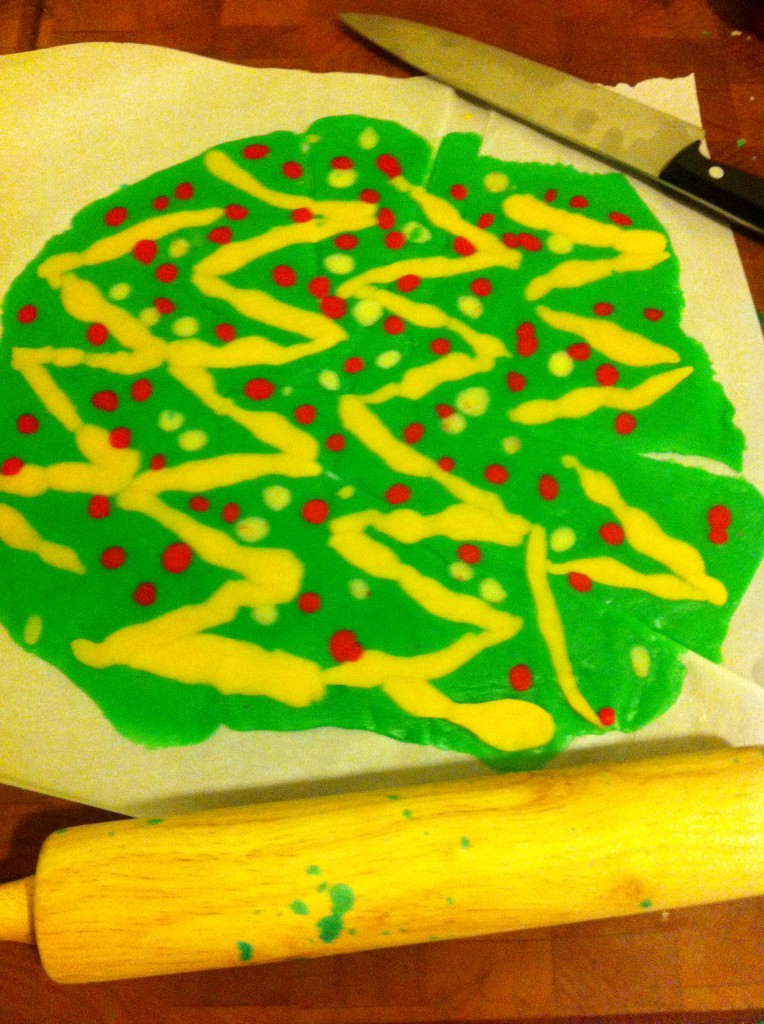 On a large sheet of parchment paper, place 1 disk of green dough, cover with a sheet of parchment paper and roll dough to ¼ inch thickness. Roll pieces of yellow dough into snakes. Arrange on top of green dough in desired patterns. If dough gets to soft to work with, place in freezer for 5 minutes. Roll red and plain dough into very small balls and arrange on top of green dough in desired pattern. | |
| Candy Canes | |
| Step 3 | |
 On a large sheet of parchment paper, place 1 disk of plain dough, cover with a sheet of parchment paper and roll dough to ¼ inch thickness. Roll pieces of red dough into thin snakes. Place snakes across the plain dough diagonally. If dough gets to soft to work with, place in freezer for 5 minutes. | |
| Snowflakes | |
| Step 4 | |
| On a large sheet of parchment paper, place 1 disk of blue dough, cover with a sheet of parchment paper and roll dough to ¼ inch thickness. Roll plain dough into pea-size balls and drop randomly onto blue dough. If dough gets to soft to work with, place in the freezer for 5 minutes. | |
| Cut and Bake | |
| Step 5 | |
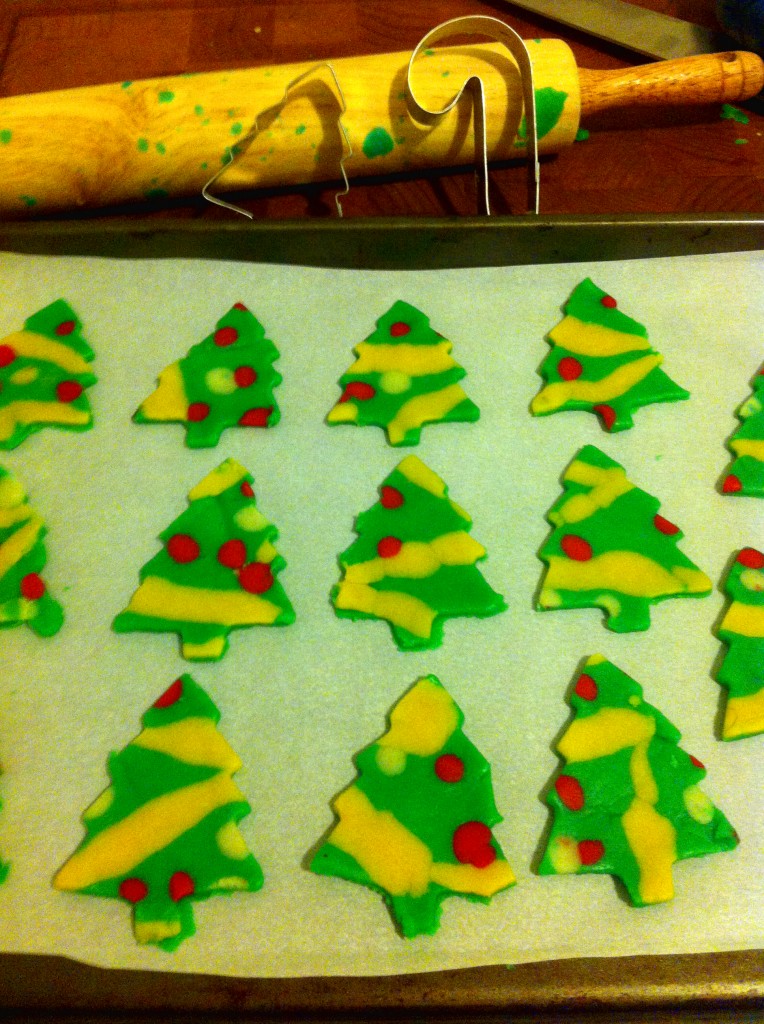 Preheat oven to 350˚. Top dough with more parchment paper and gently roll over dough until decorative pieces are flush with base dough. Carefully remove top sheet of parchment paper. Cut out cookies with desired cookie cutter. Transfer dough on parchment paper to baking sheets and freeze until firm, 15 minutes. Gently remove dough surrounding the cutouts, then transfer the cutouts to newly lined baking sheets. Bake until set, 8 minutes. Cool on sheets, then transfer to wire wracks. Store in airtight container, us to one week. | |
