

Every summer my family reunites in Cape San Blas, Florida, for two weeks. This beach trip is one of my favorite times of the year. Not only do I get to spend time with everyone, but I get good food to boot. When my family gets together, we really cook (sometimes for half the day)!
Some nights have a theme, which my grandmother usually picks and organizes. For instance, we had a “pirate night” this year, during which everyone dressed up in pirate clothes they’d made during the day. The gastronomical highlight of the night were these candy treasure chests.
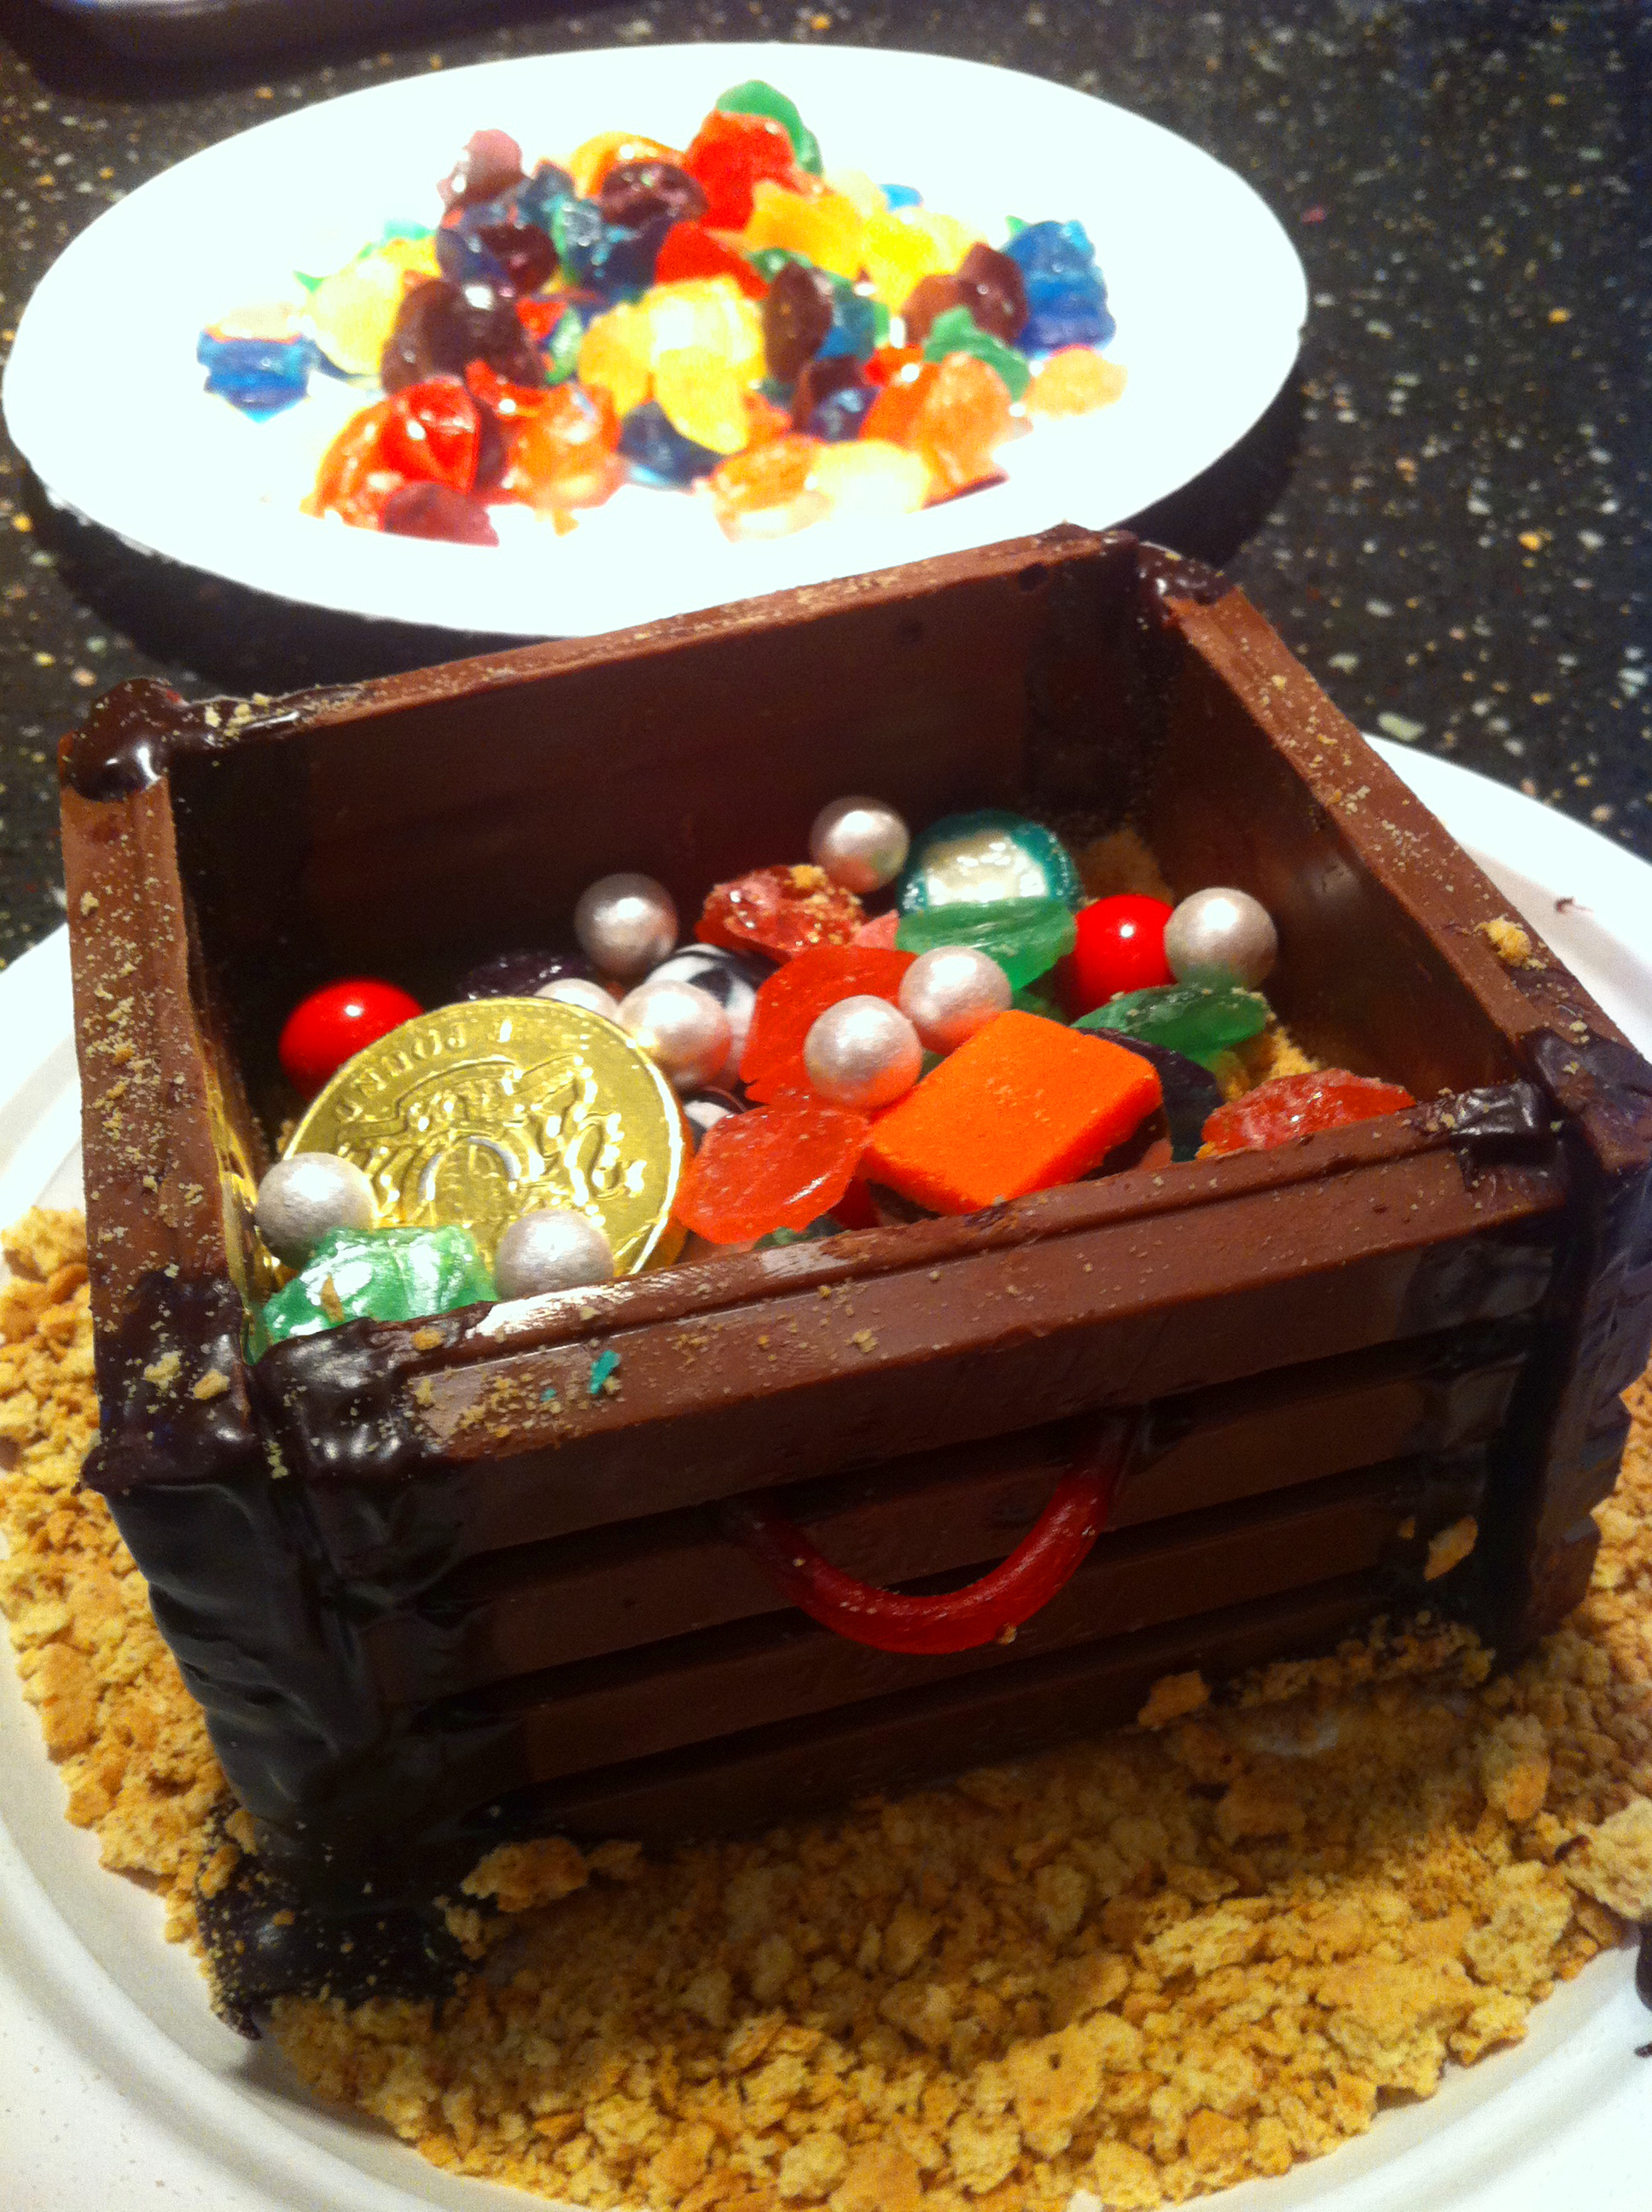
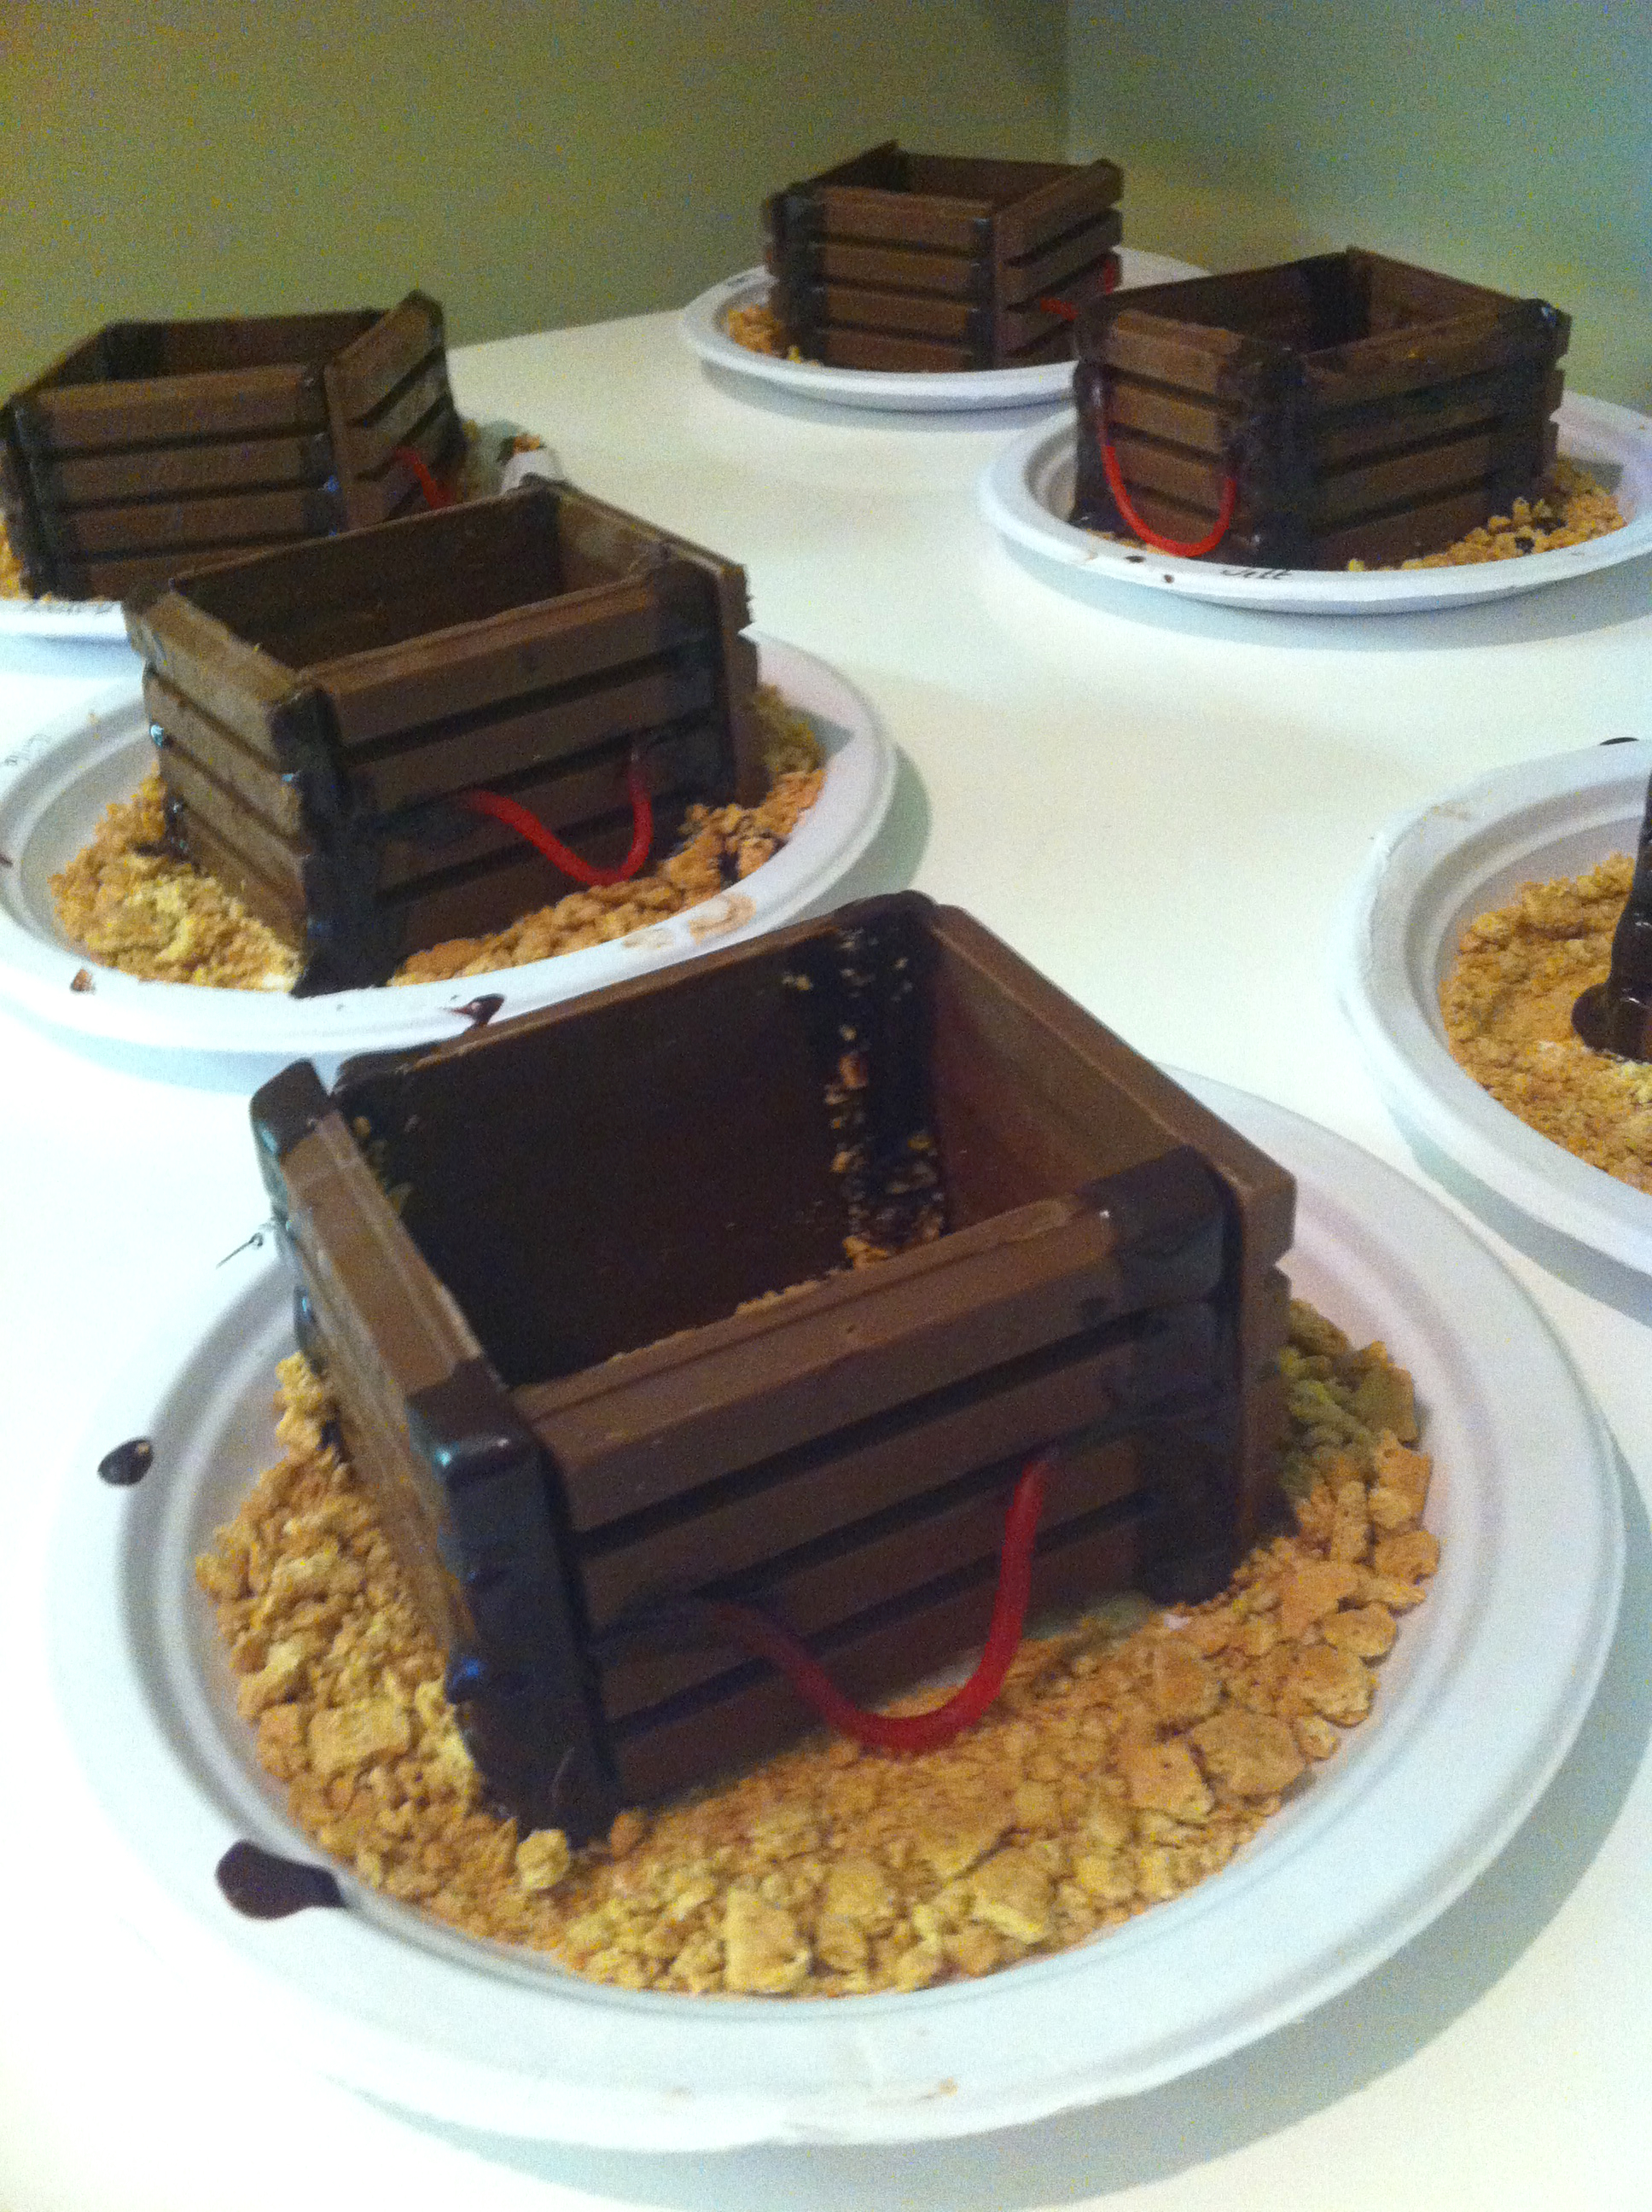
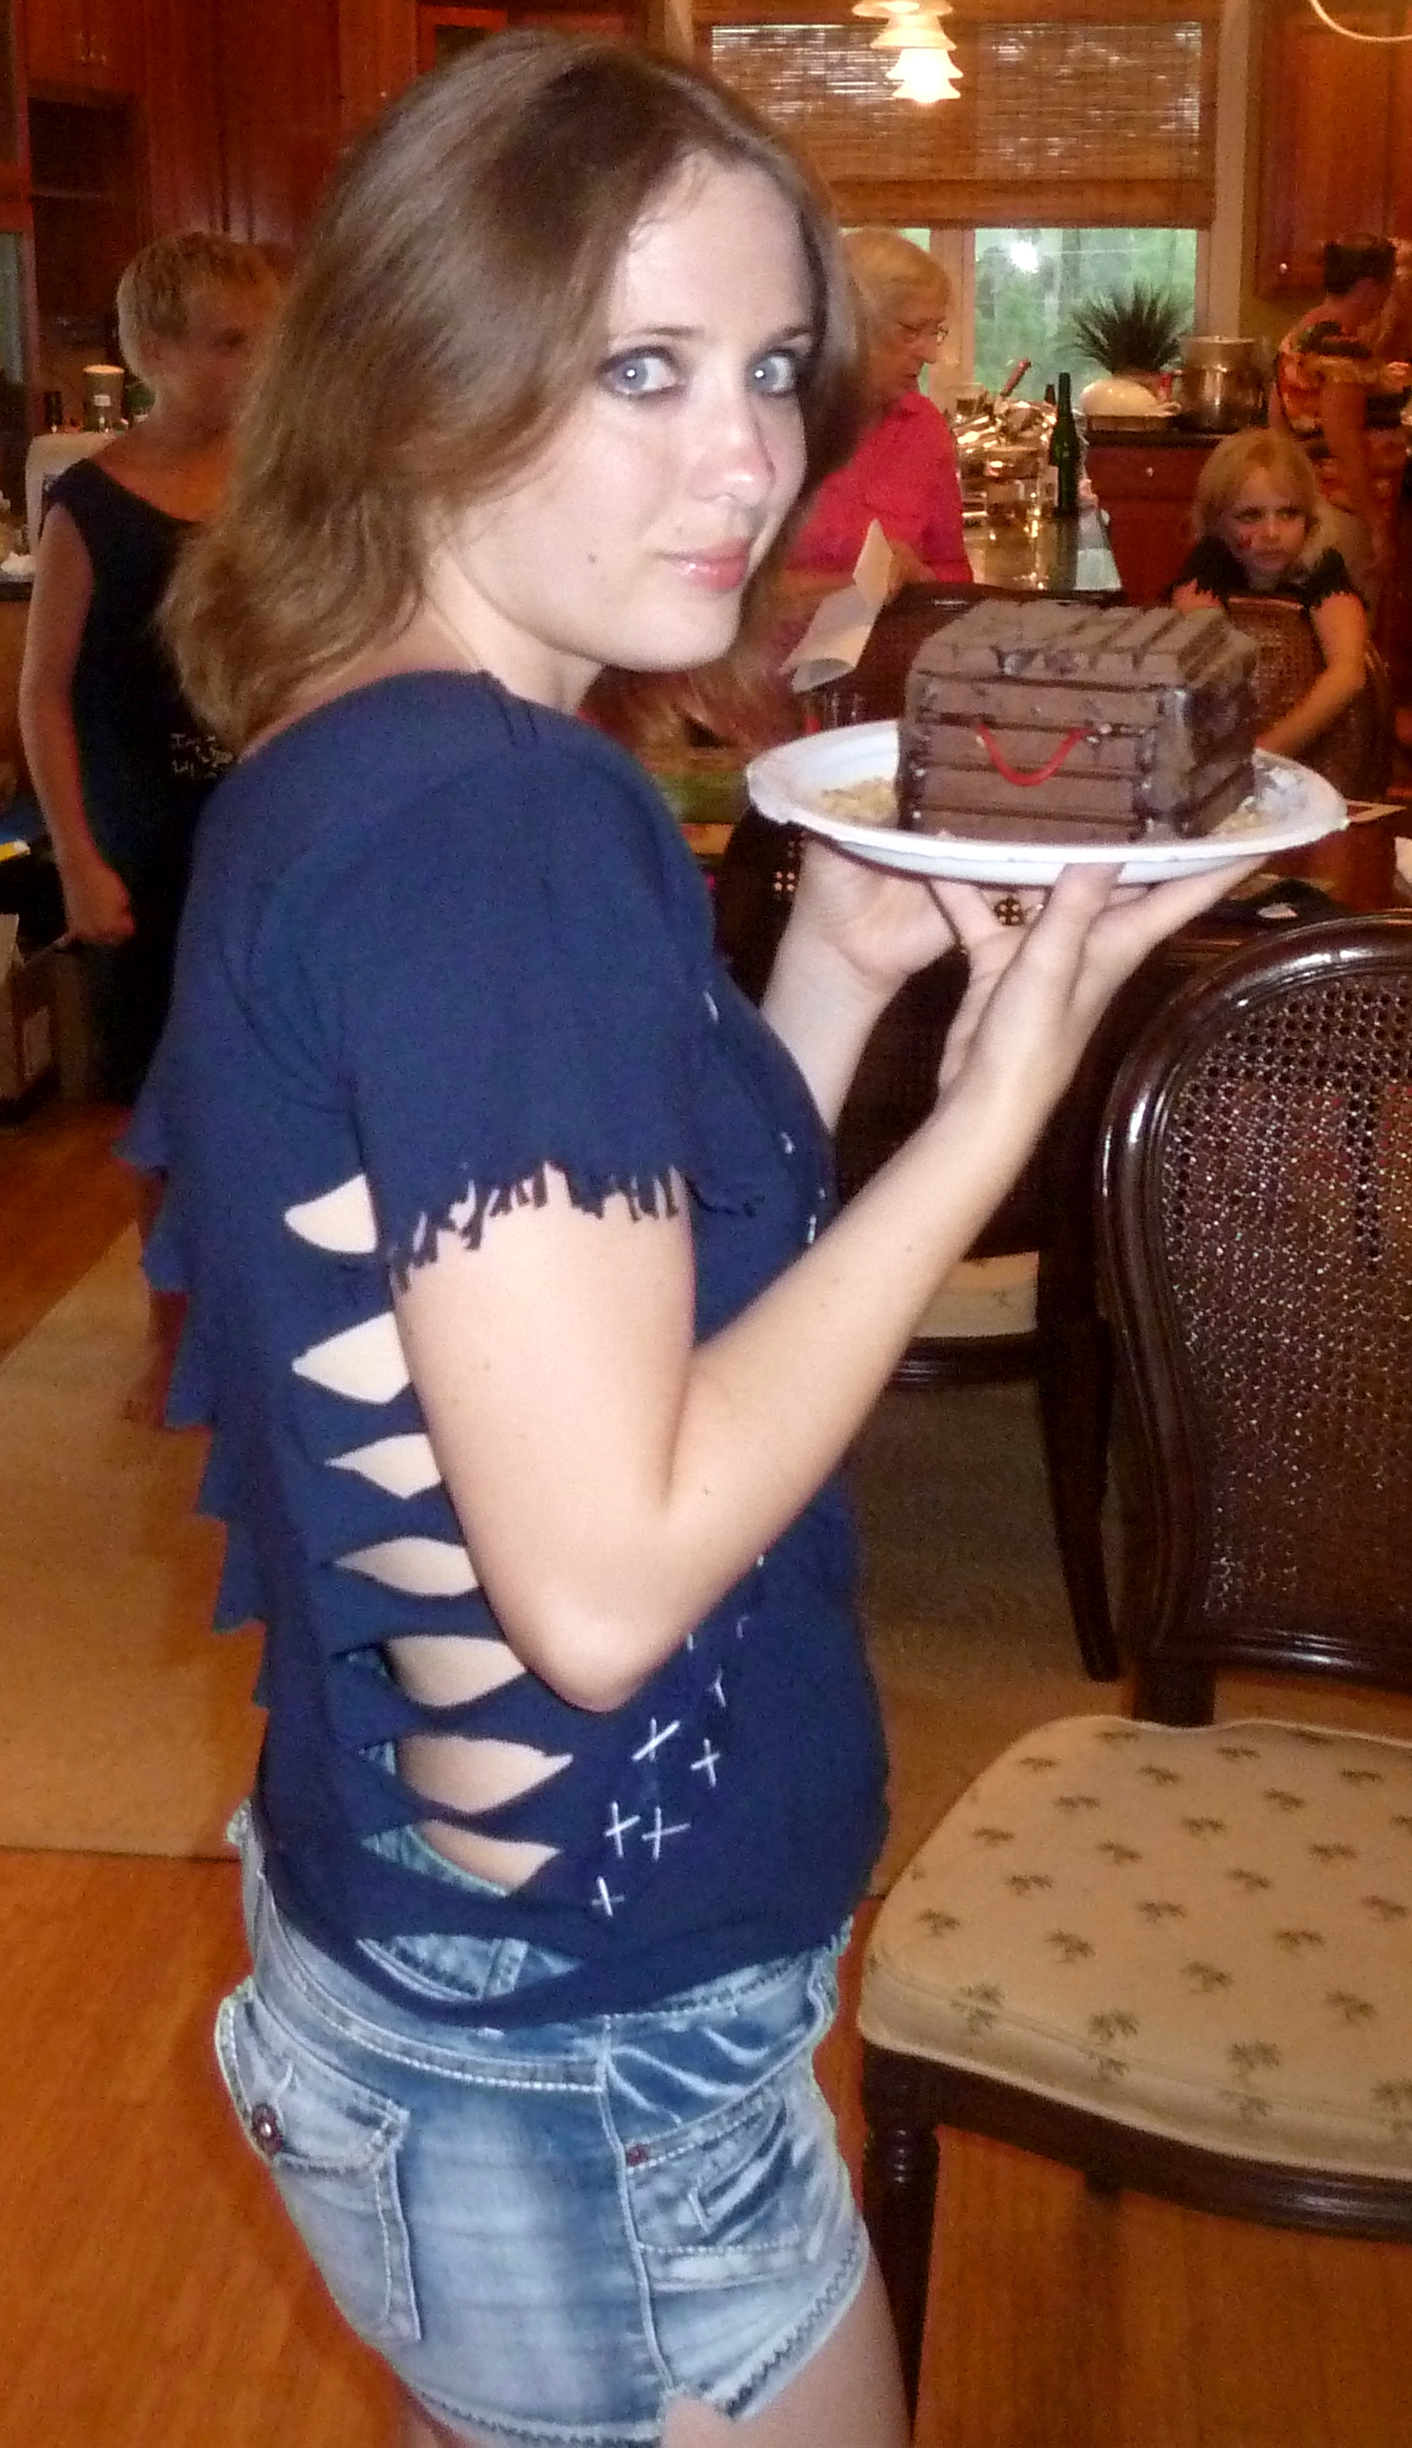
Candy treasure chests are constructed from Kit-Kat bars fused together with molten chocolate. Crumbled graham crackers imitate the sand of the beach, and the whole box is filled with candy. Imagine a child’s delight (and an adult’s too) at having an edible box of candy! Suffice it to say, the kids loved it, and I think they would’ve tried to eat the whole box in one sitting if allowed to.
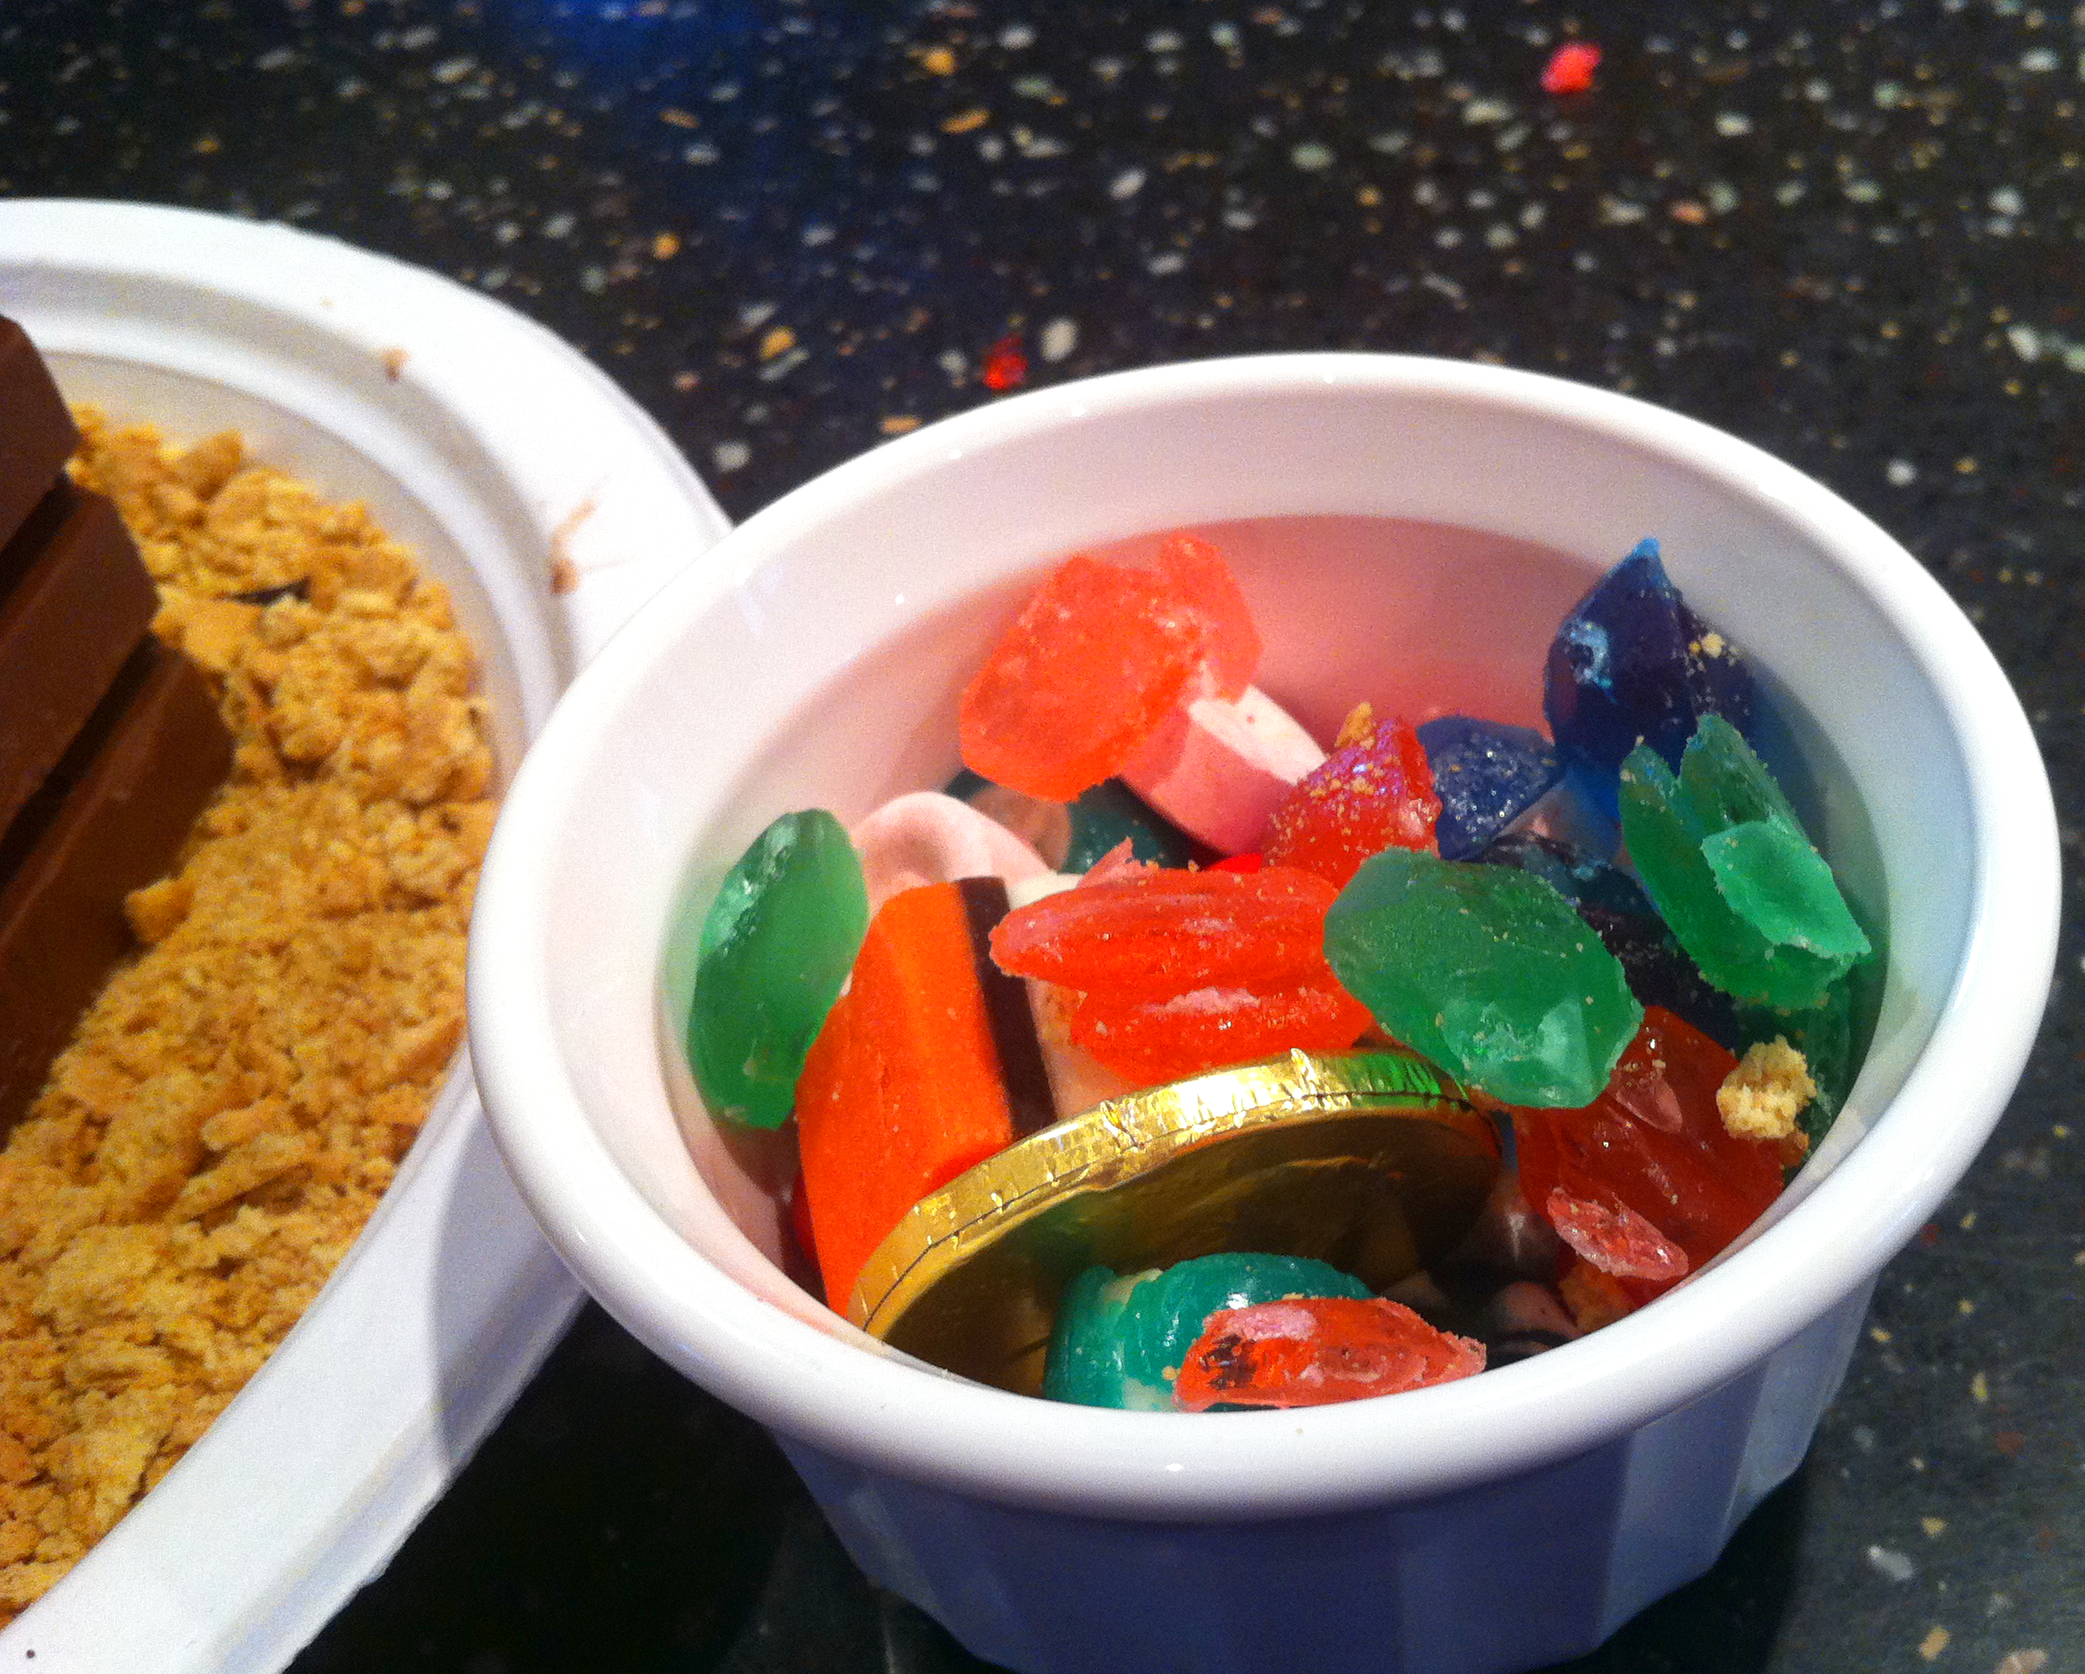
One of my aunts lives in New Zealand with her husband and two children. Every year they bring candies (or “lollies,” as they’re referred to there) from the other side of the world. The candies we used came from America and New Zealand, and I like to think this represented the fusion of our cultures.
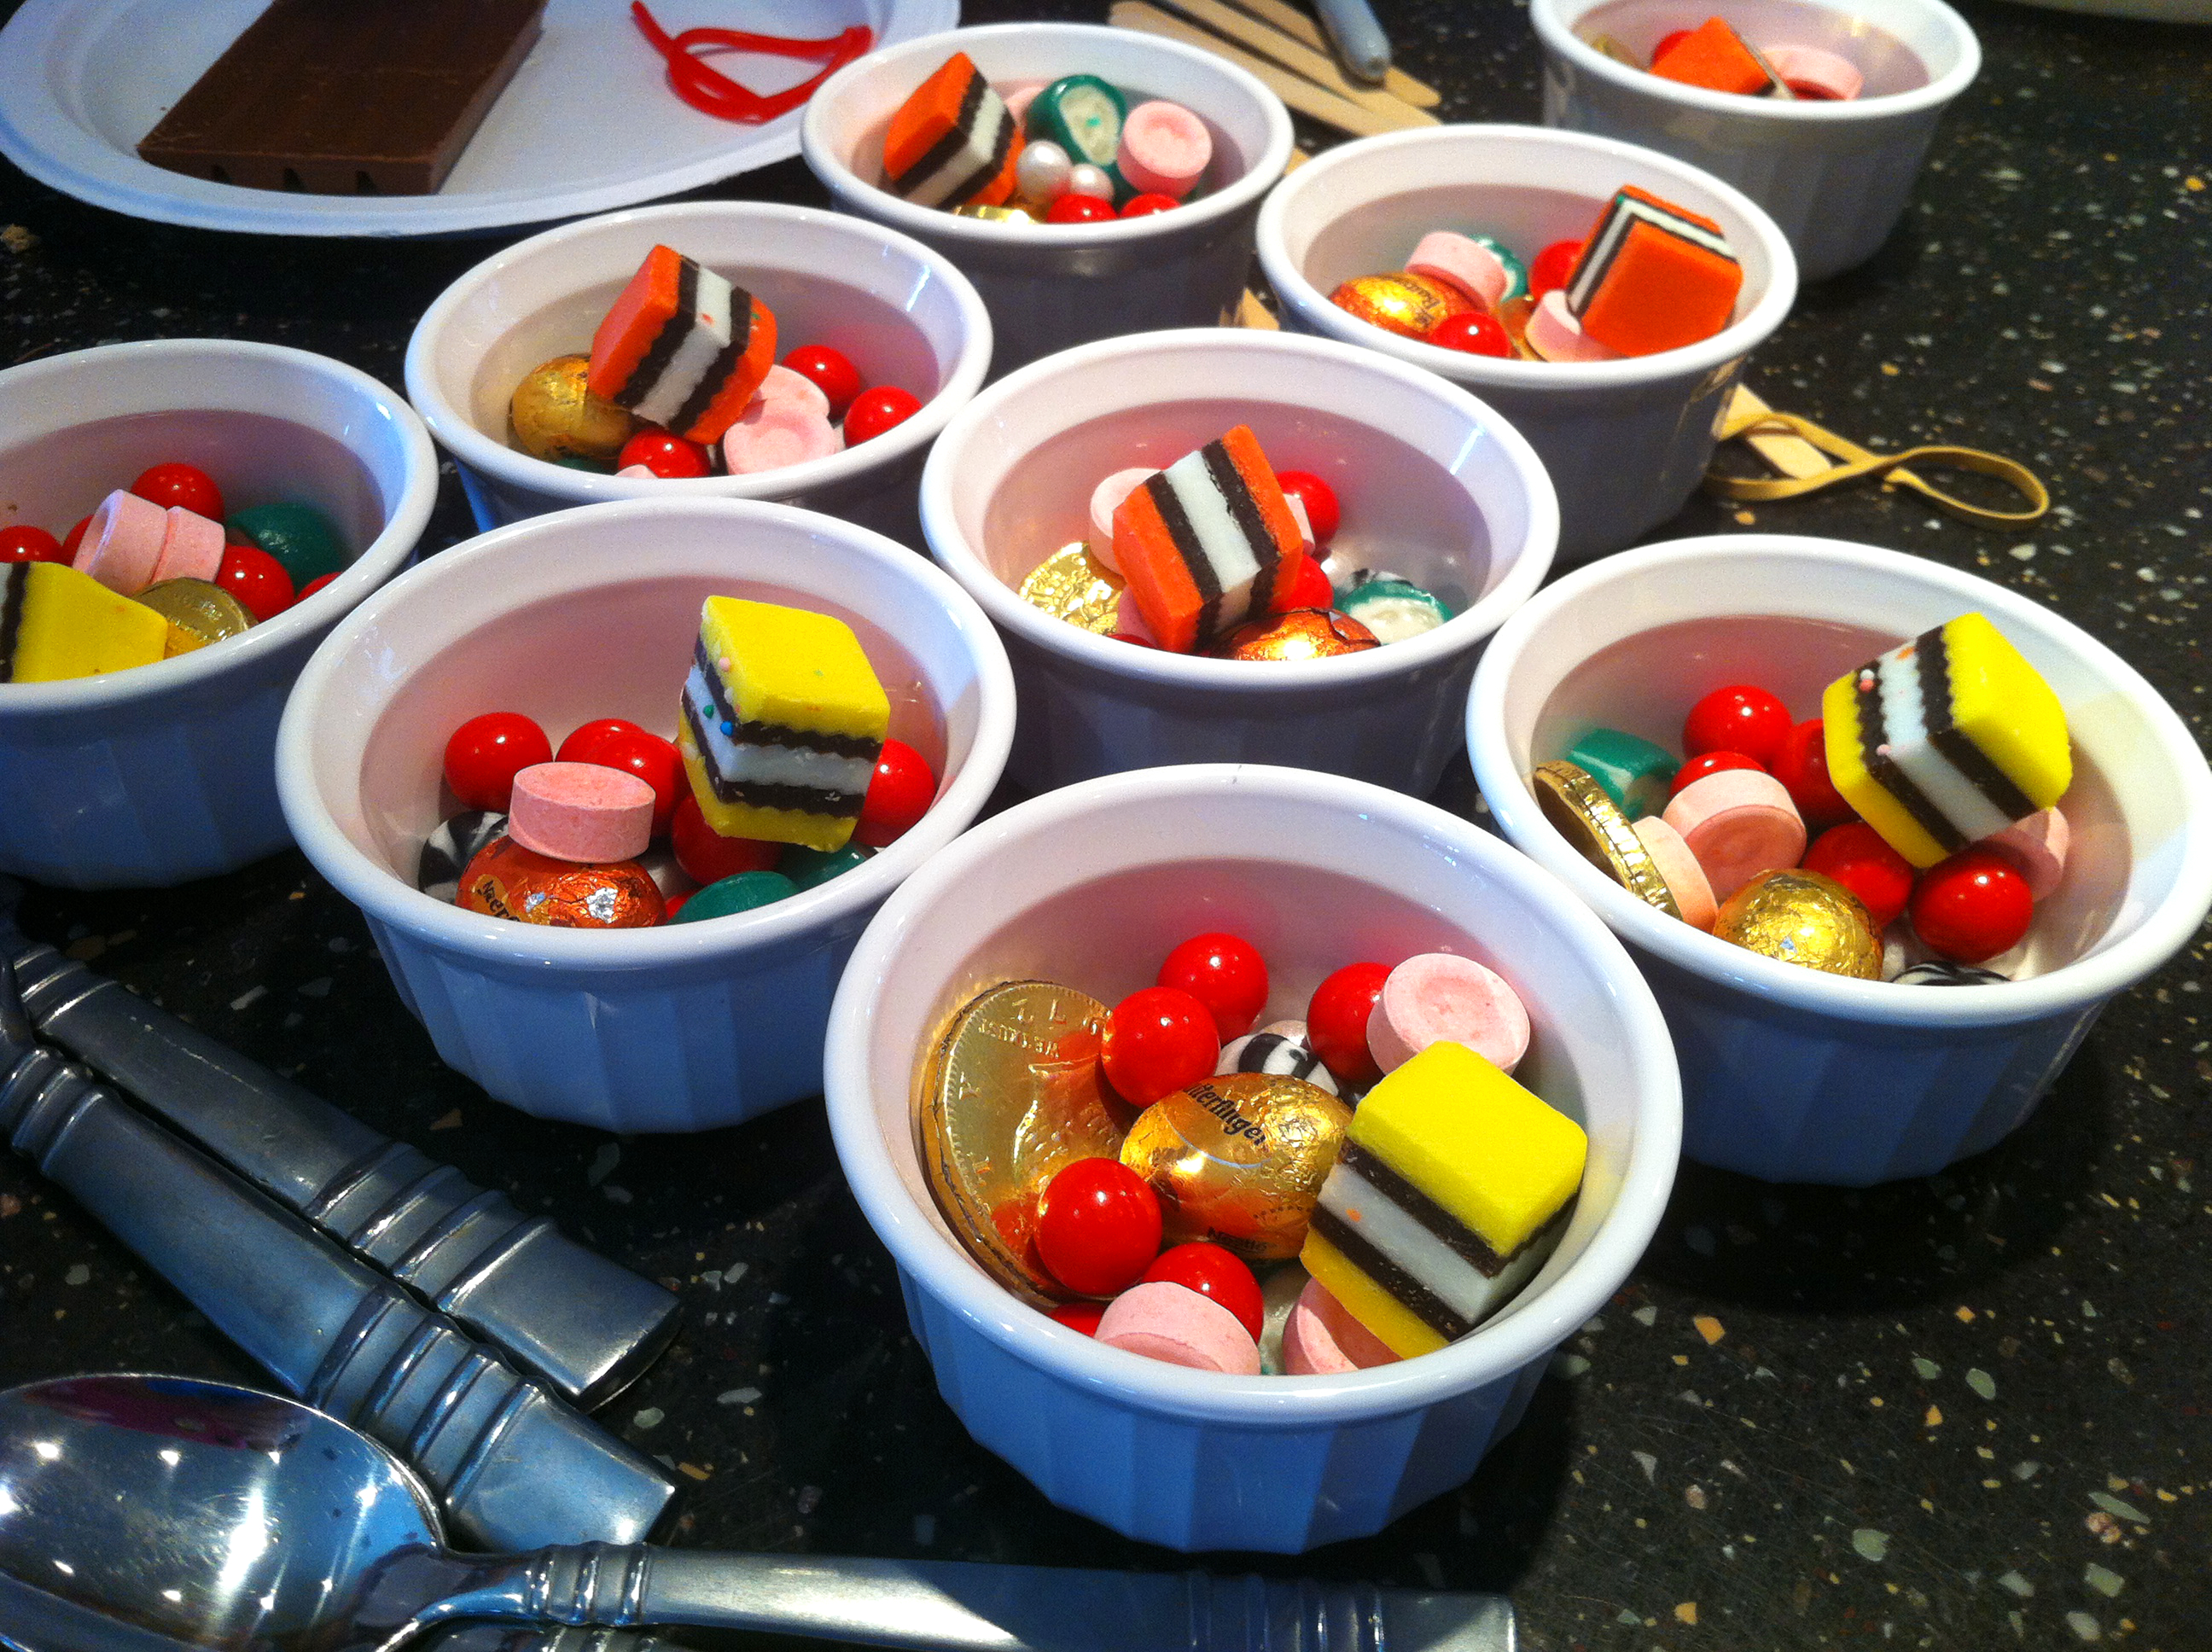
Here’s a list of the candies we used:
Pink Smokers – a Kiwi candy similar in shape to Sweet Tarts, with a clove and aniseed flavor.
Licorice Allsorts – a colorful assortment of licorice confections with a variety of different flavors.
Jaffas – a round red candy with a chocolate filling and hard-shelled orange coating
Feijoa Rock – a hard candy made to look and taste like the feijoa fruit grown in New Zealand.
Candy Jewels – these can be found on Etsy
Gold Foil-Wrapped Chocolate Coins
Red Licorice Lace – for the handles
Kit-Kat Bars – for the boxes
Constructing the Candy Treasure Chests
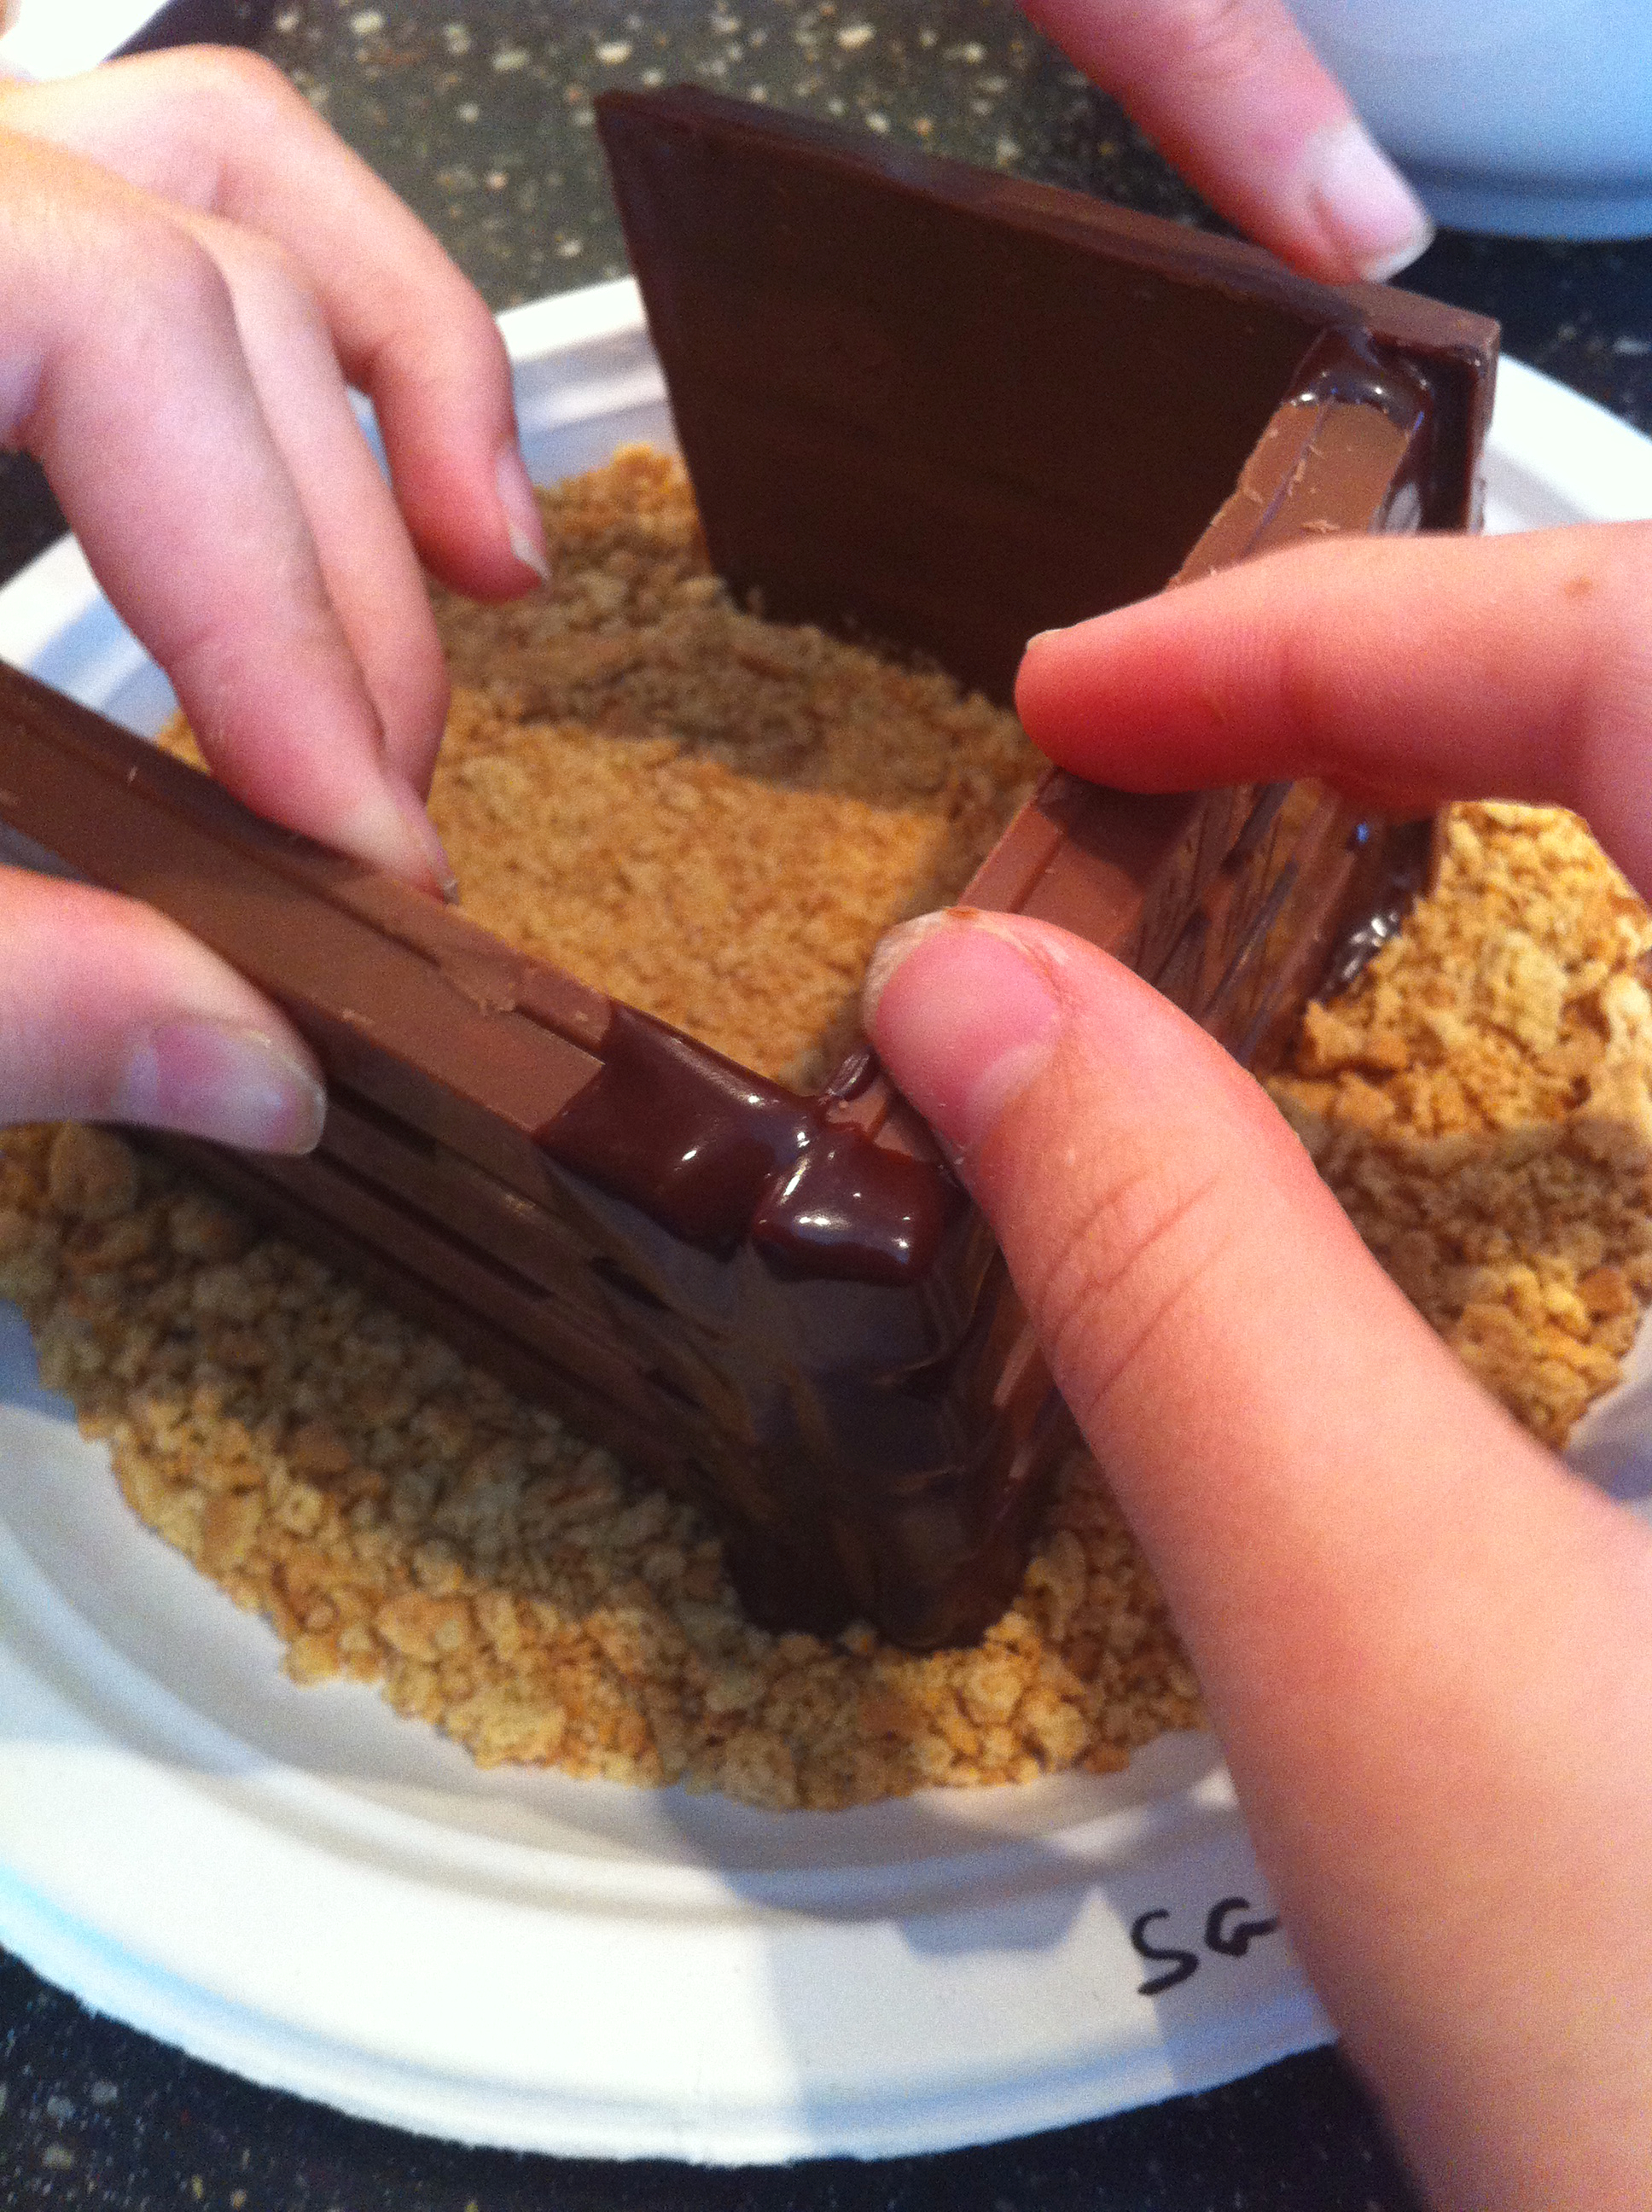
Brush melted chocolate to the ends of the Kit-Kat bars and hold together until able to stand on its own, 1-2 minutes.
Tip: It’s helpful to have a second pair of hands.
Making and Attaching the Handles
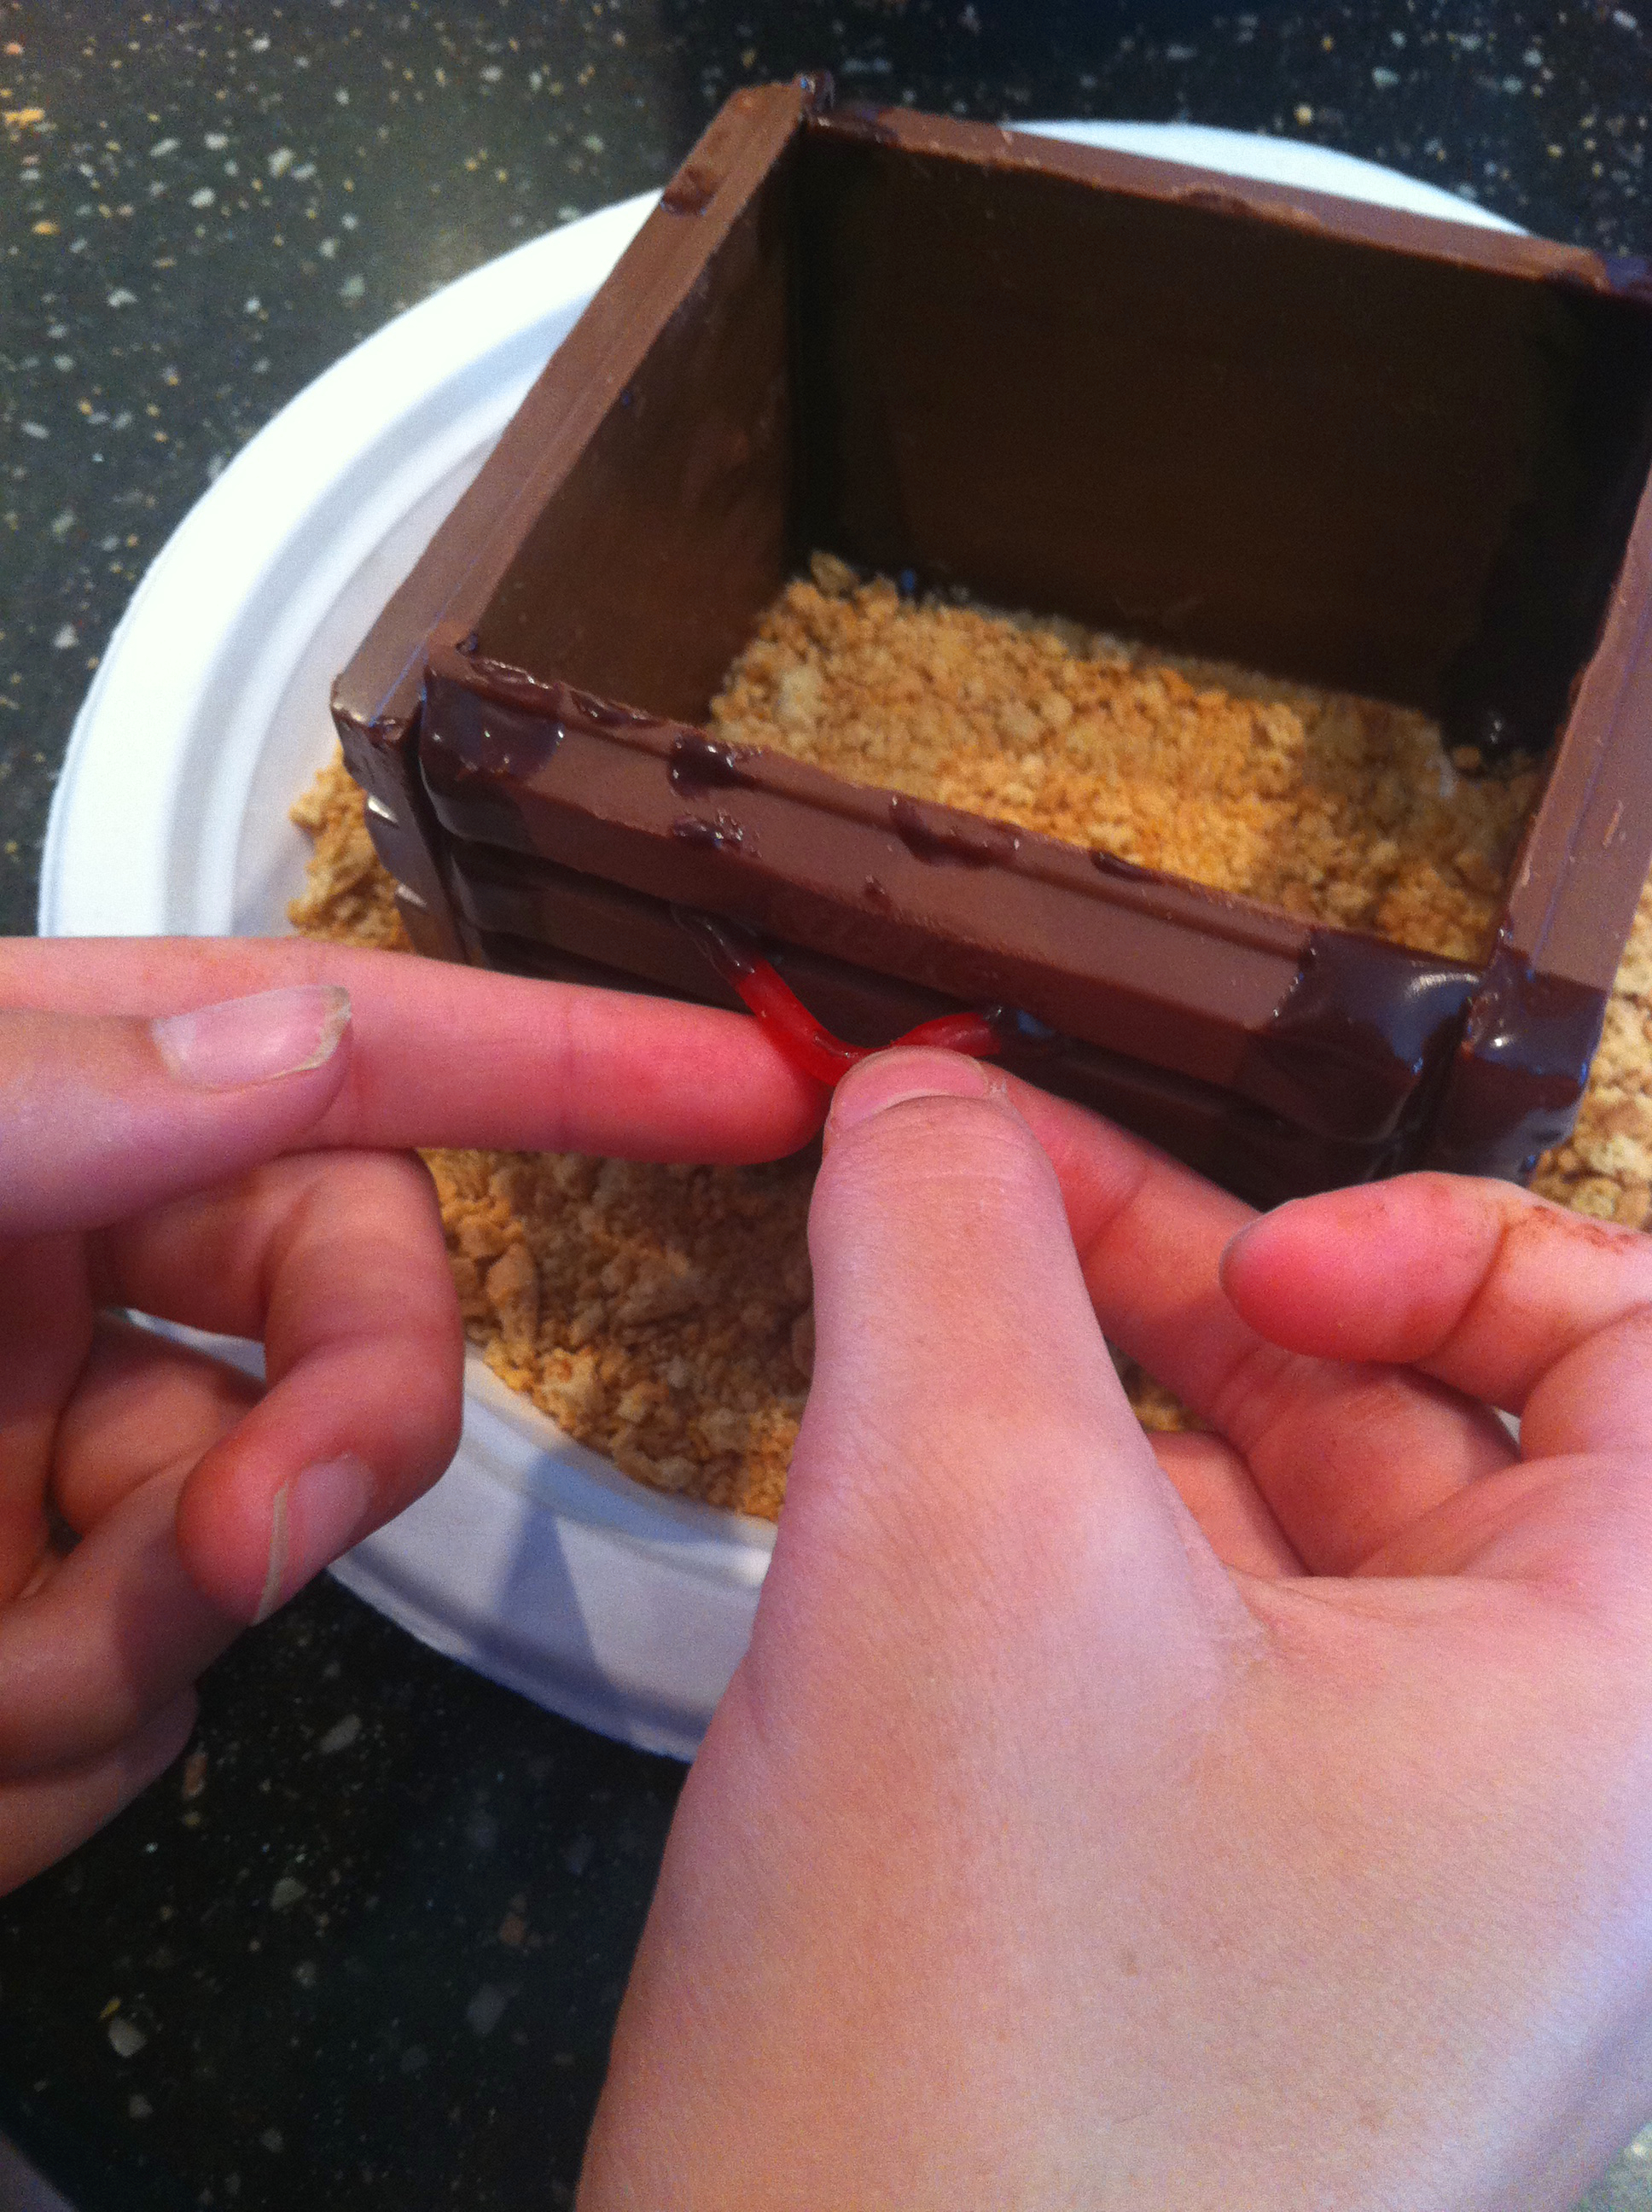
Cut the licorice lace into two 2-4 inch pieces. Bend the licorice pieces slightly to create a curve. Dip each end of the licorice into the melted chocolate. Press the ends of a licorice piece into a break-apart perforation and hold until the chocolate adheres. Repeat process on the other side of the box with the remaining licorice piece.
Candy Jewels
The Finished Candy Treasure Chest

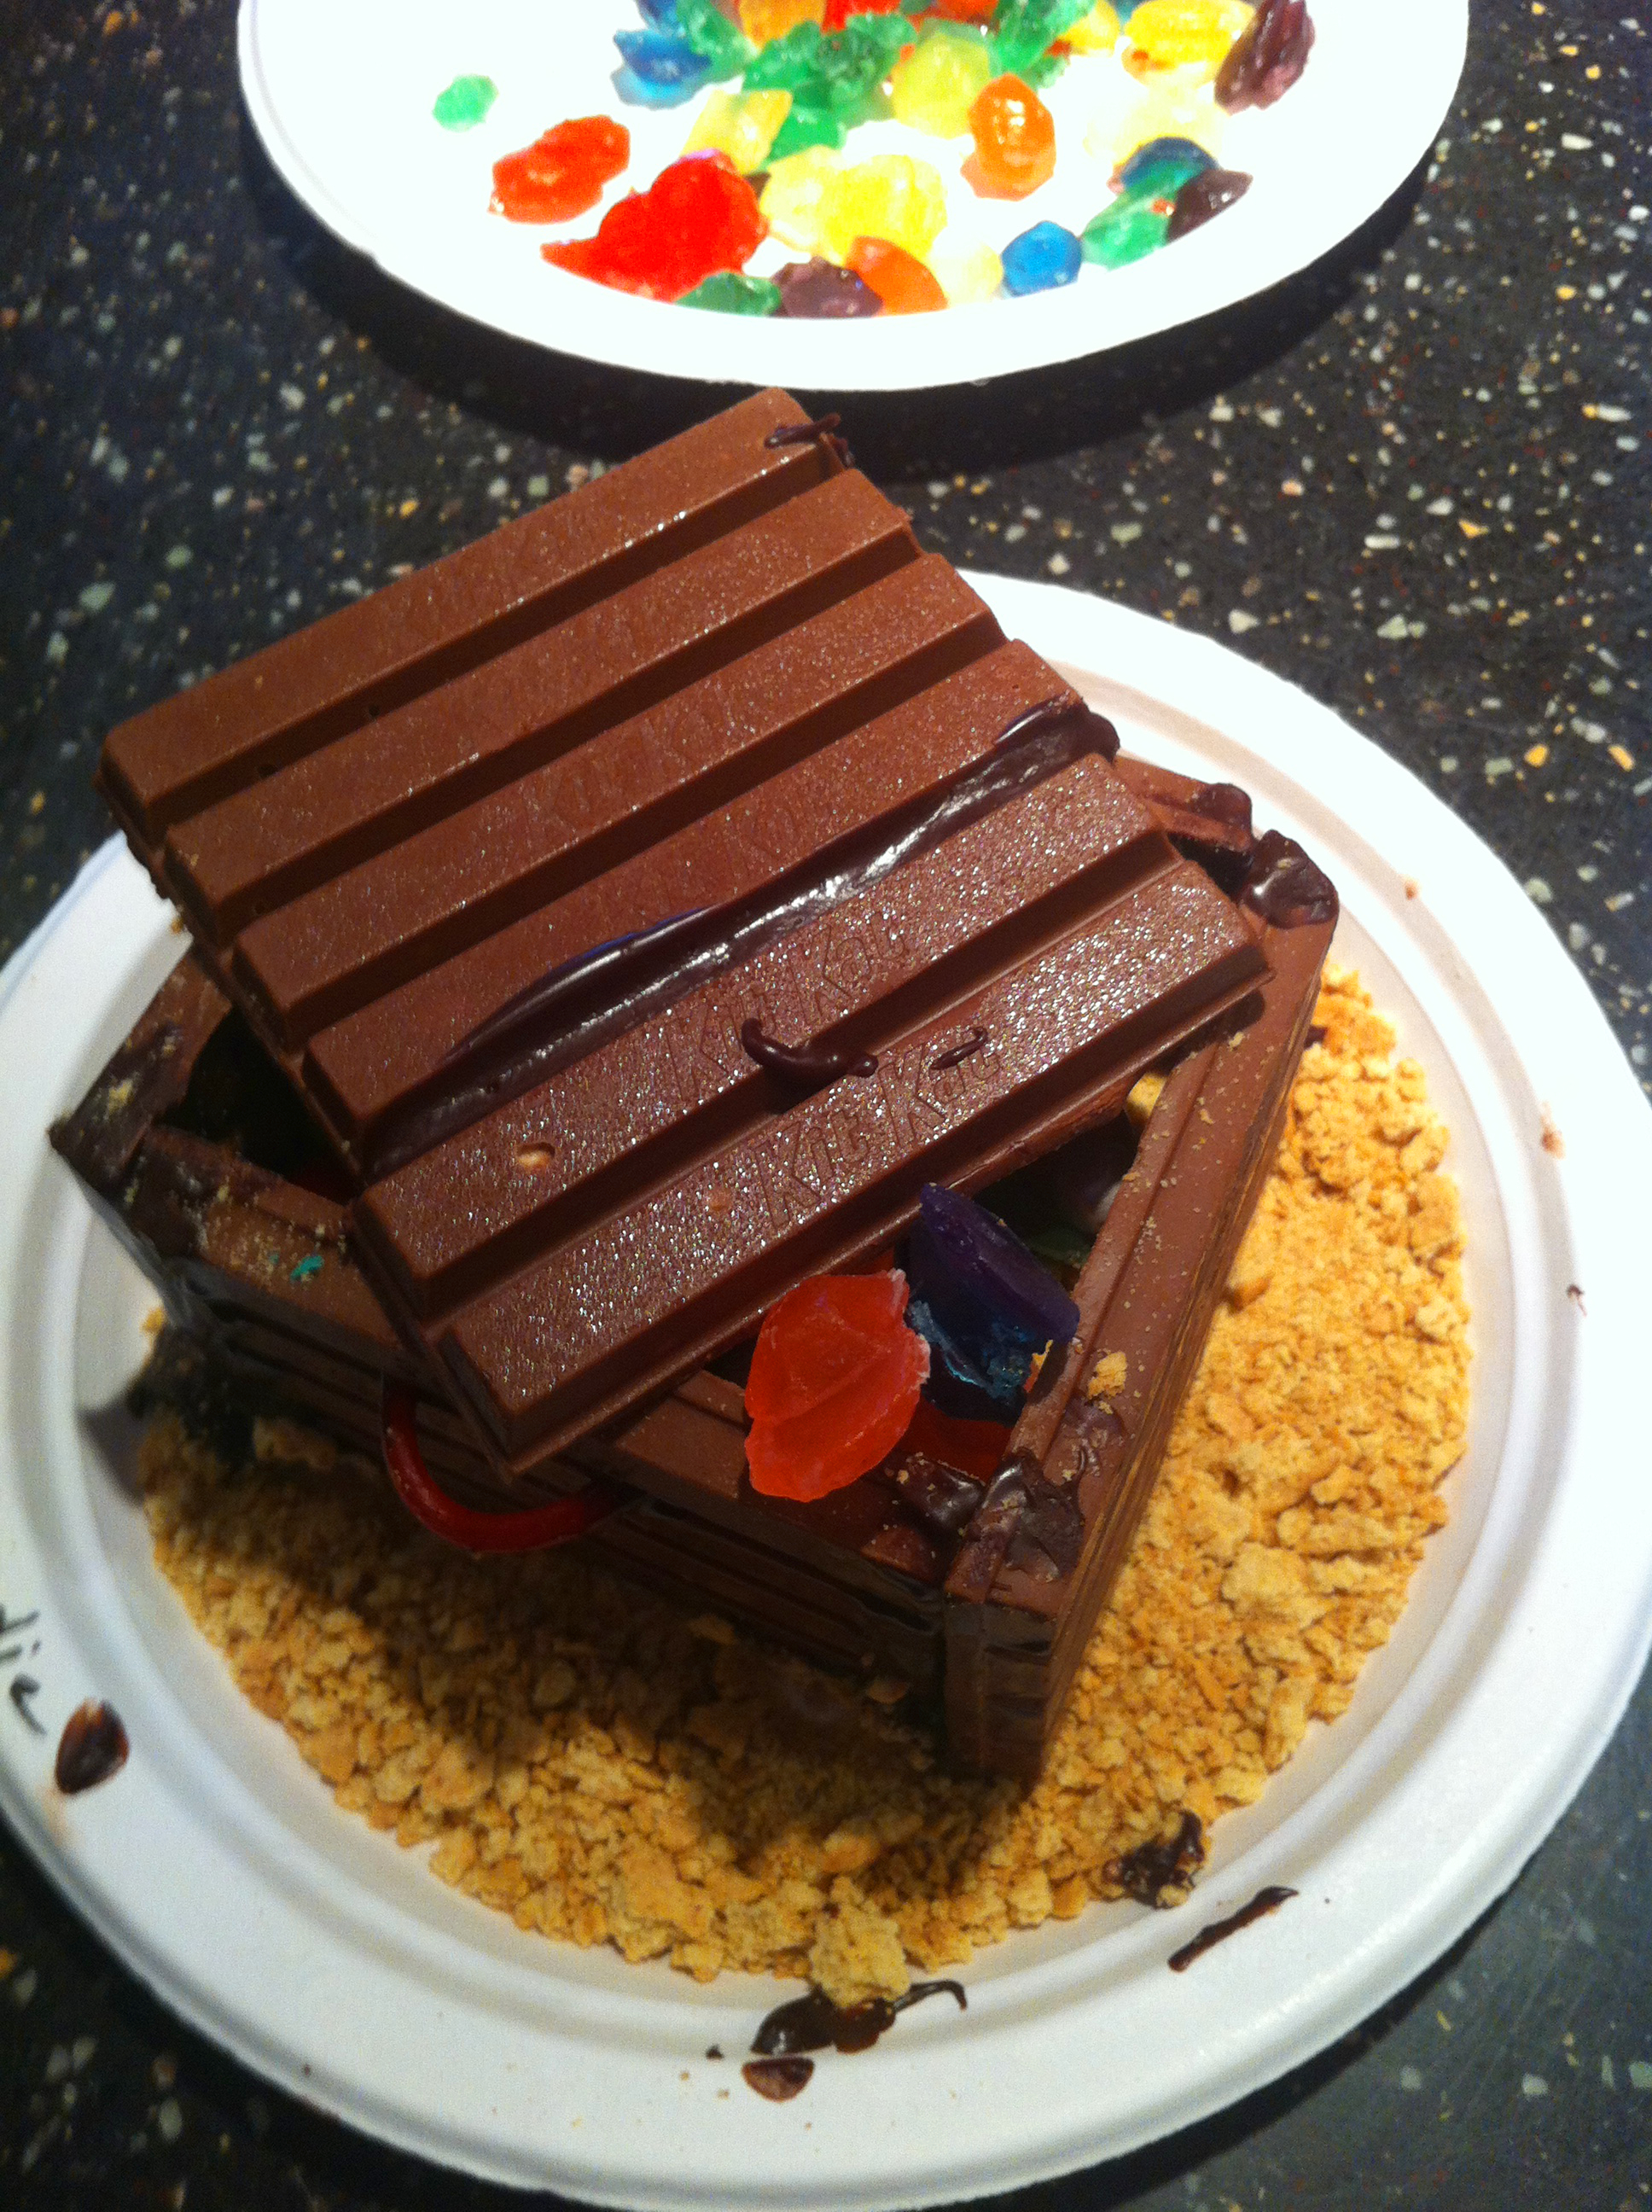
To make the lid: adhere one whole Kit-Kat bar (4 Kit-Kat pieces) with half of another (2 Kit-Kat pieces) using melted chocolate. Refrigerate the lid until firm.
Note: If you don’t want the melted chocolate to show, brush cocoa powder over the seams using a dry pastry brush. This will give the box an aged look.
My Family
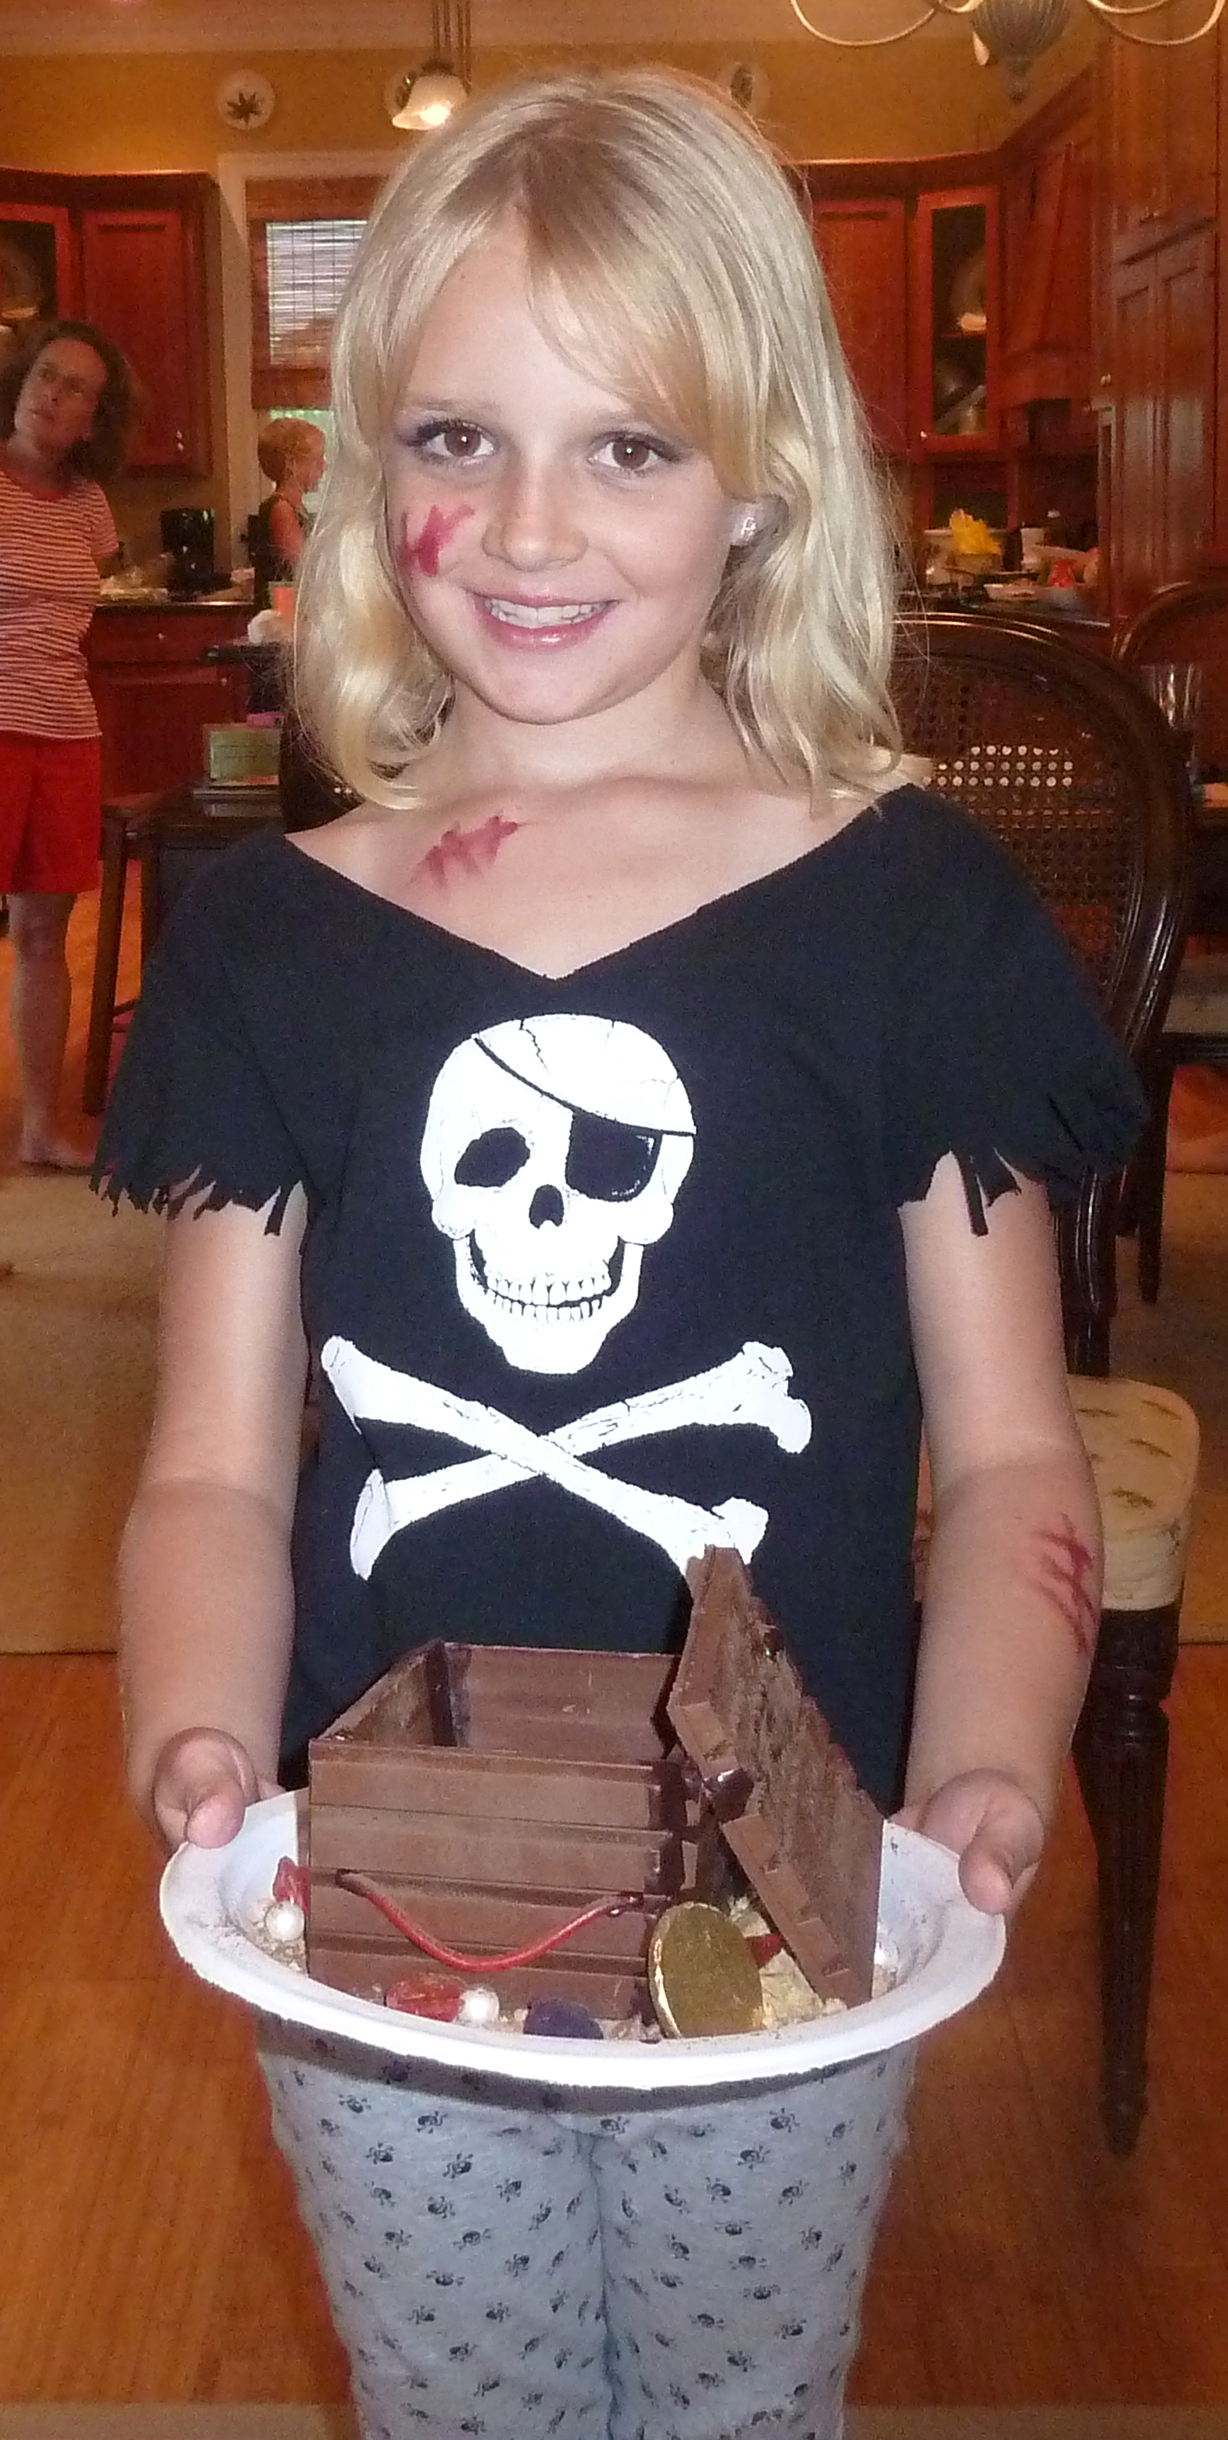
Meet Lucy
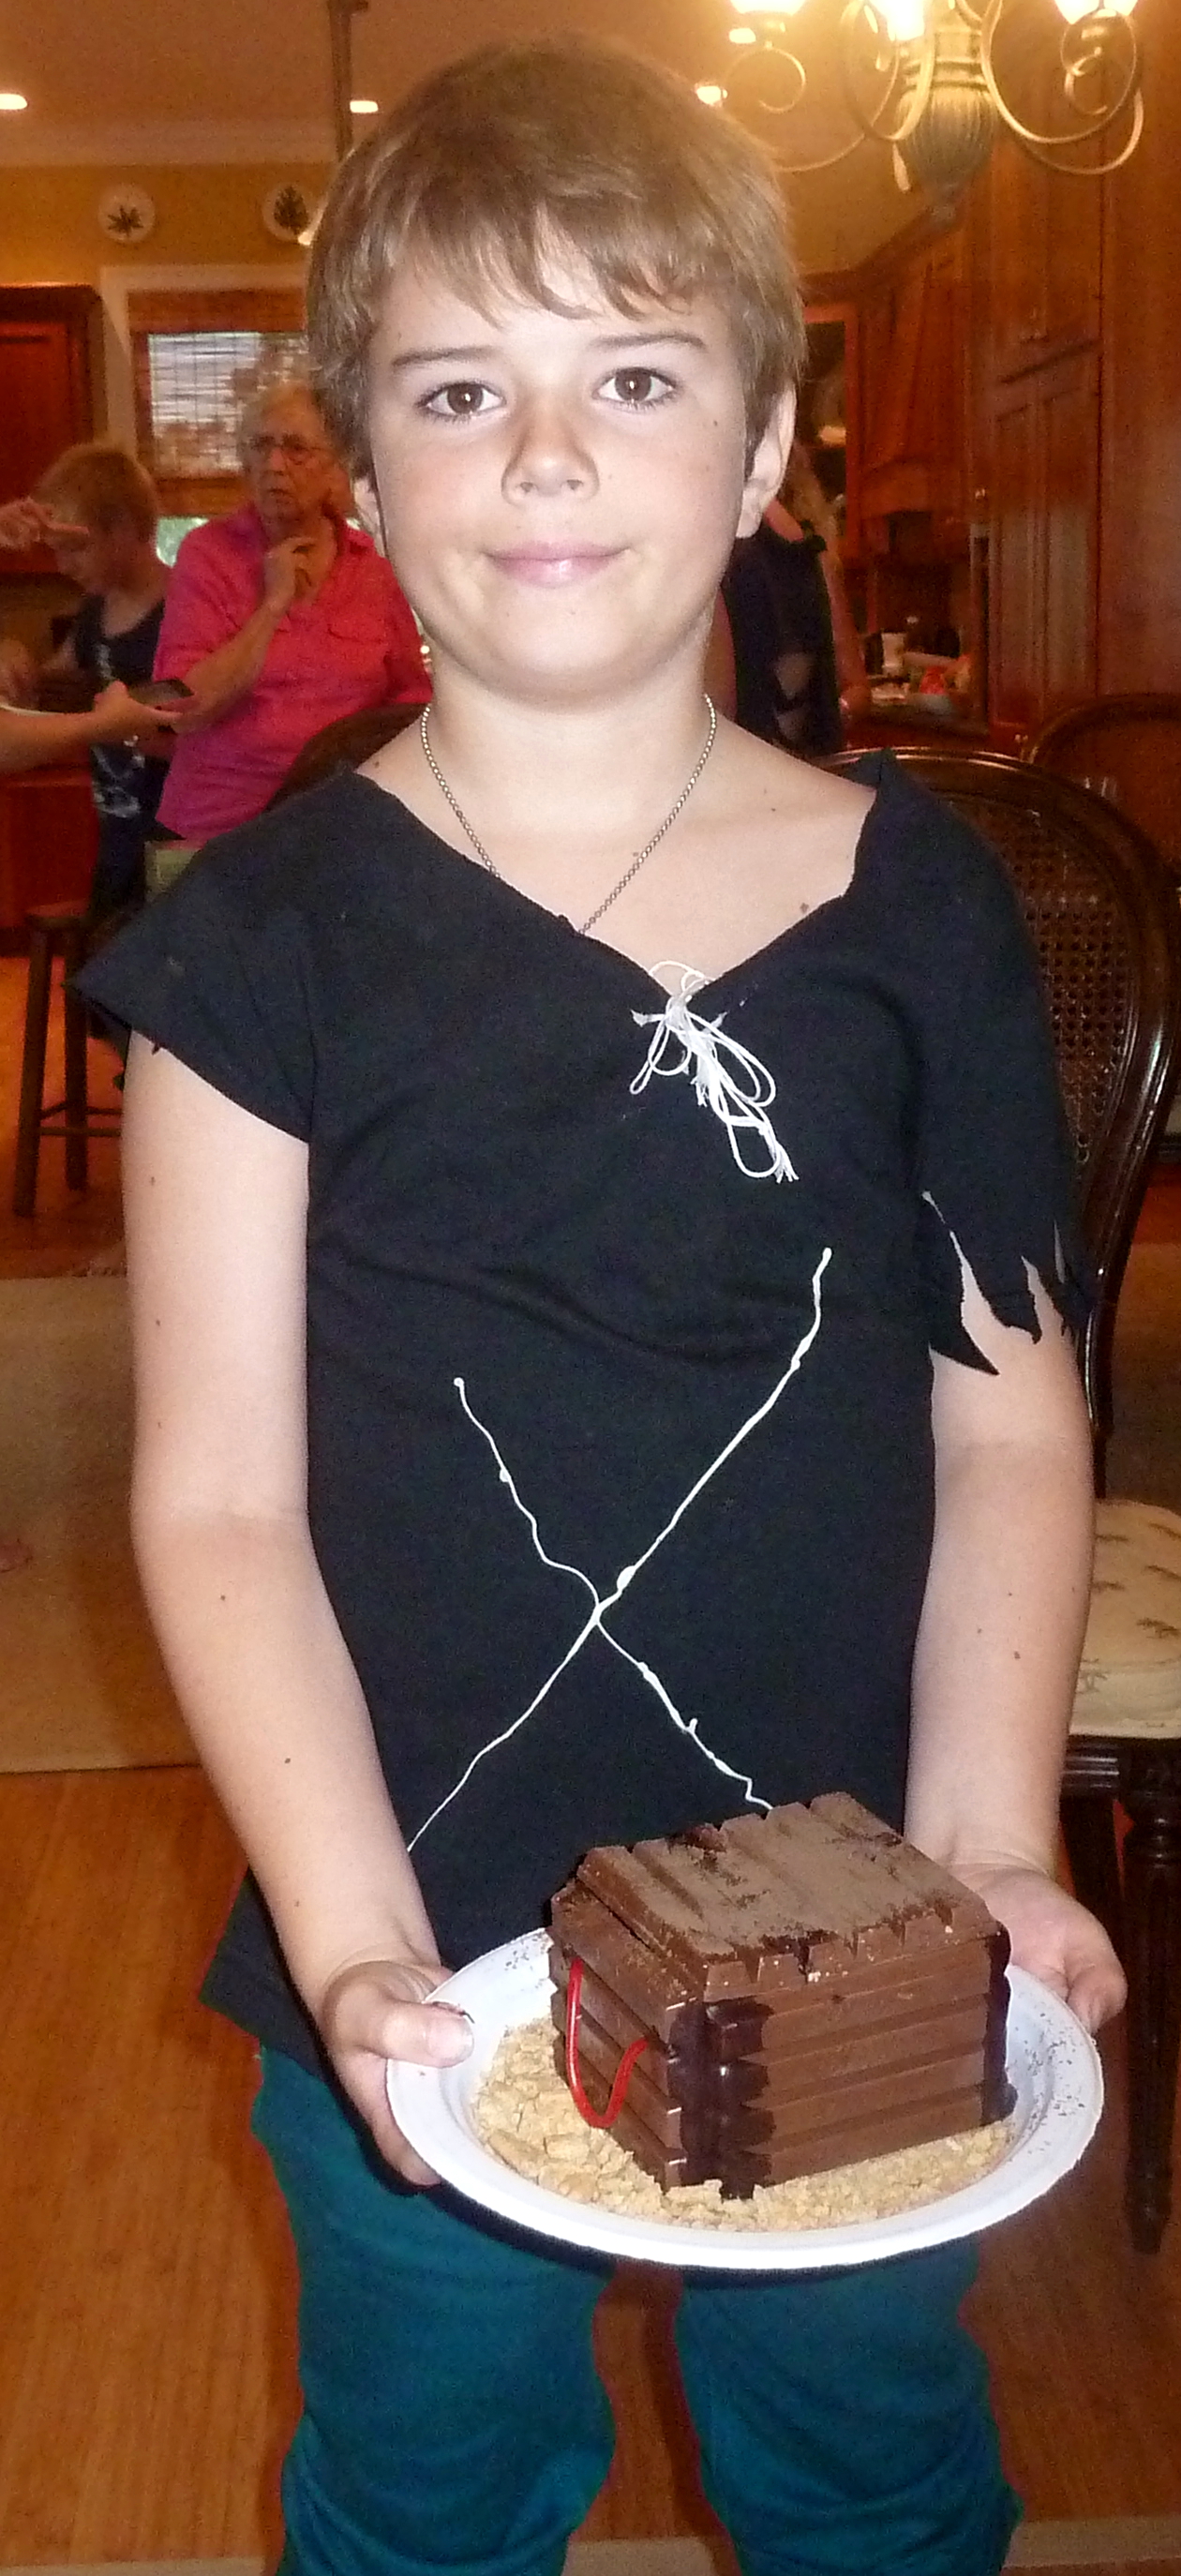
Meet Jett
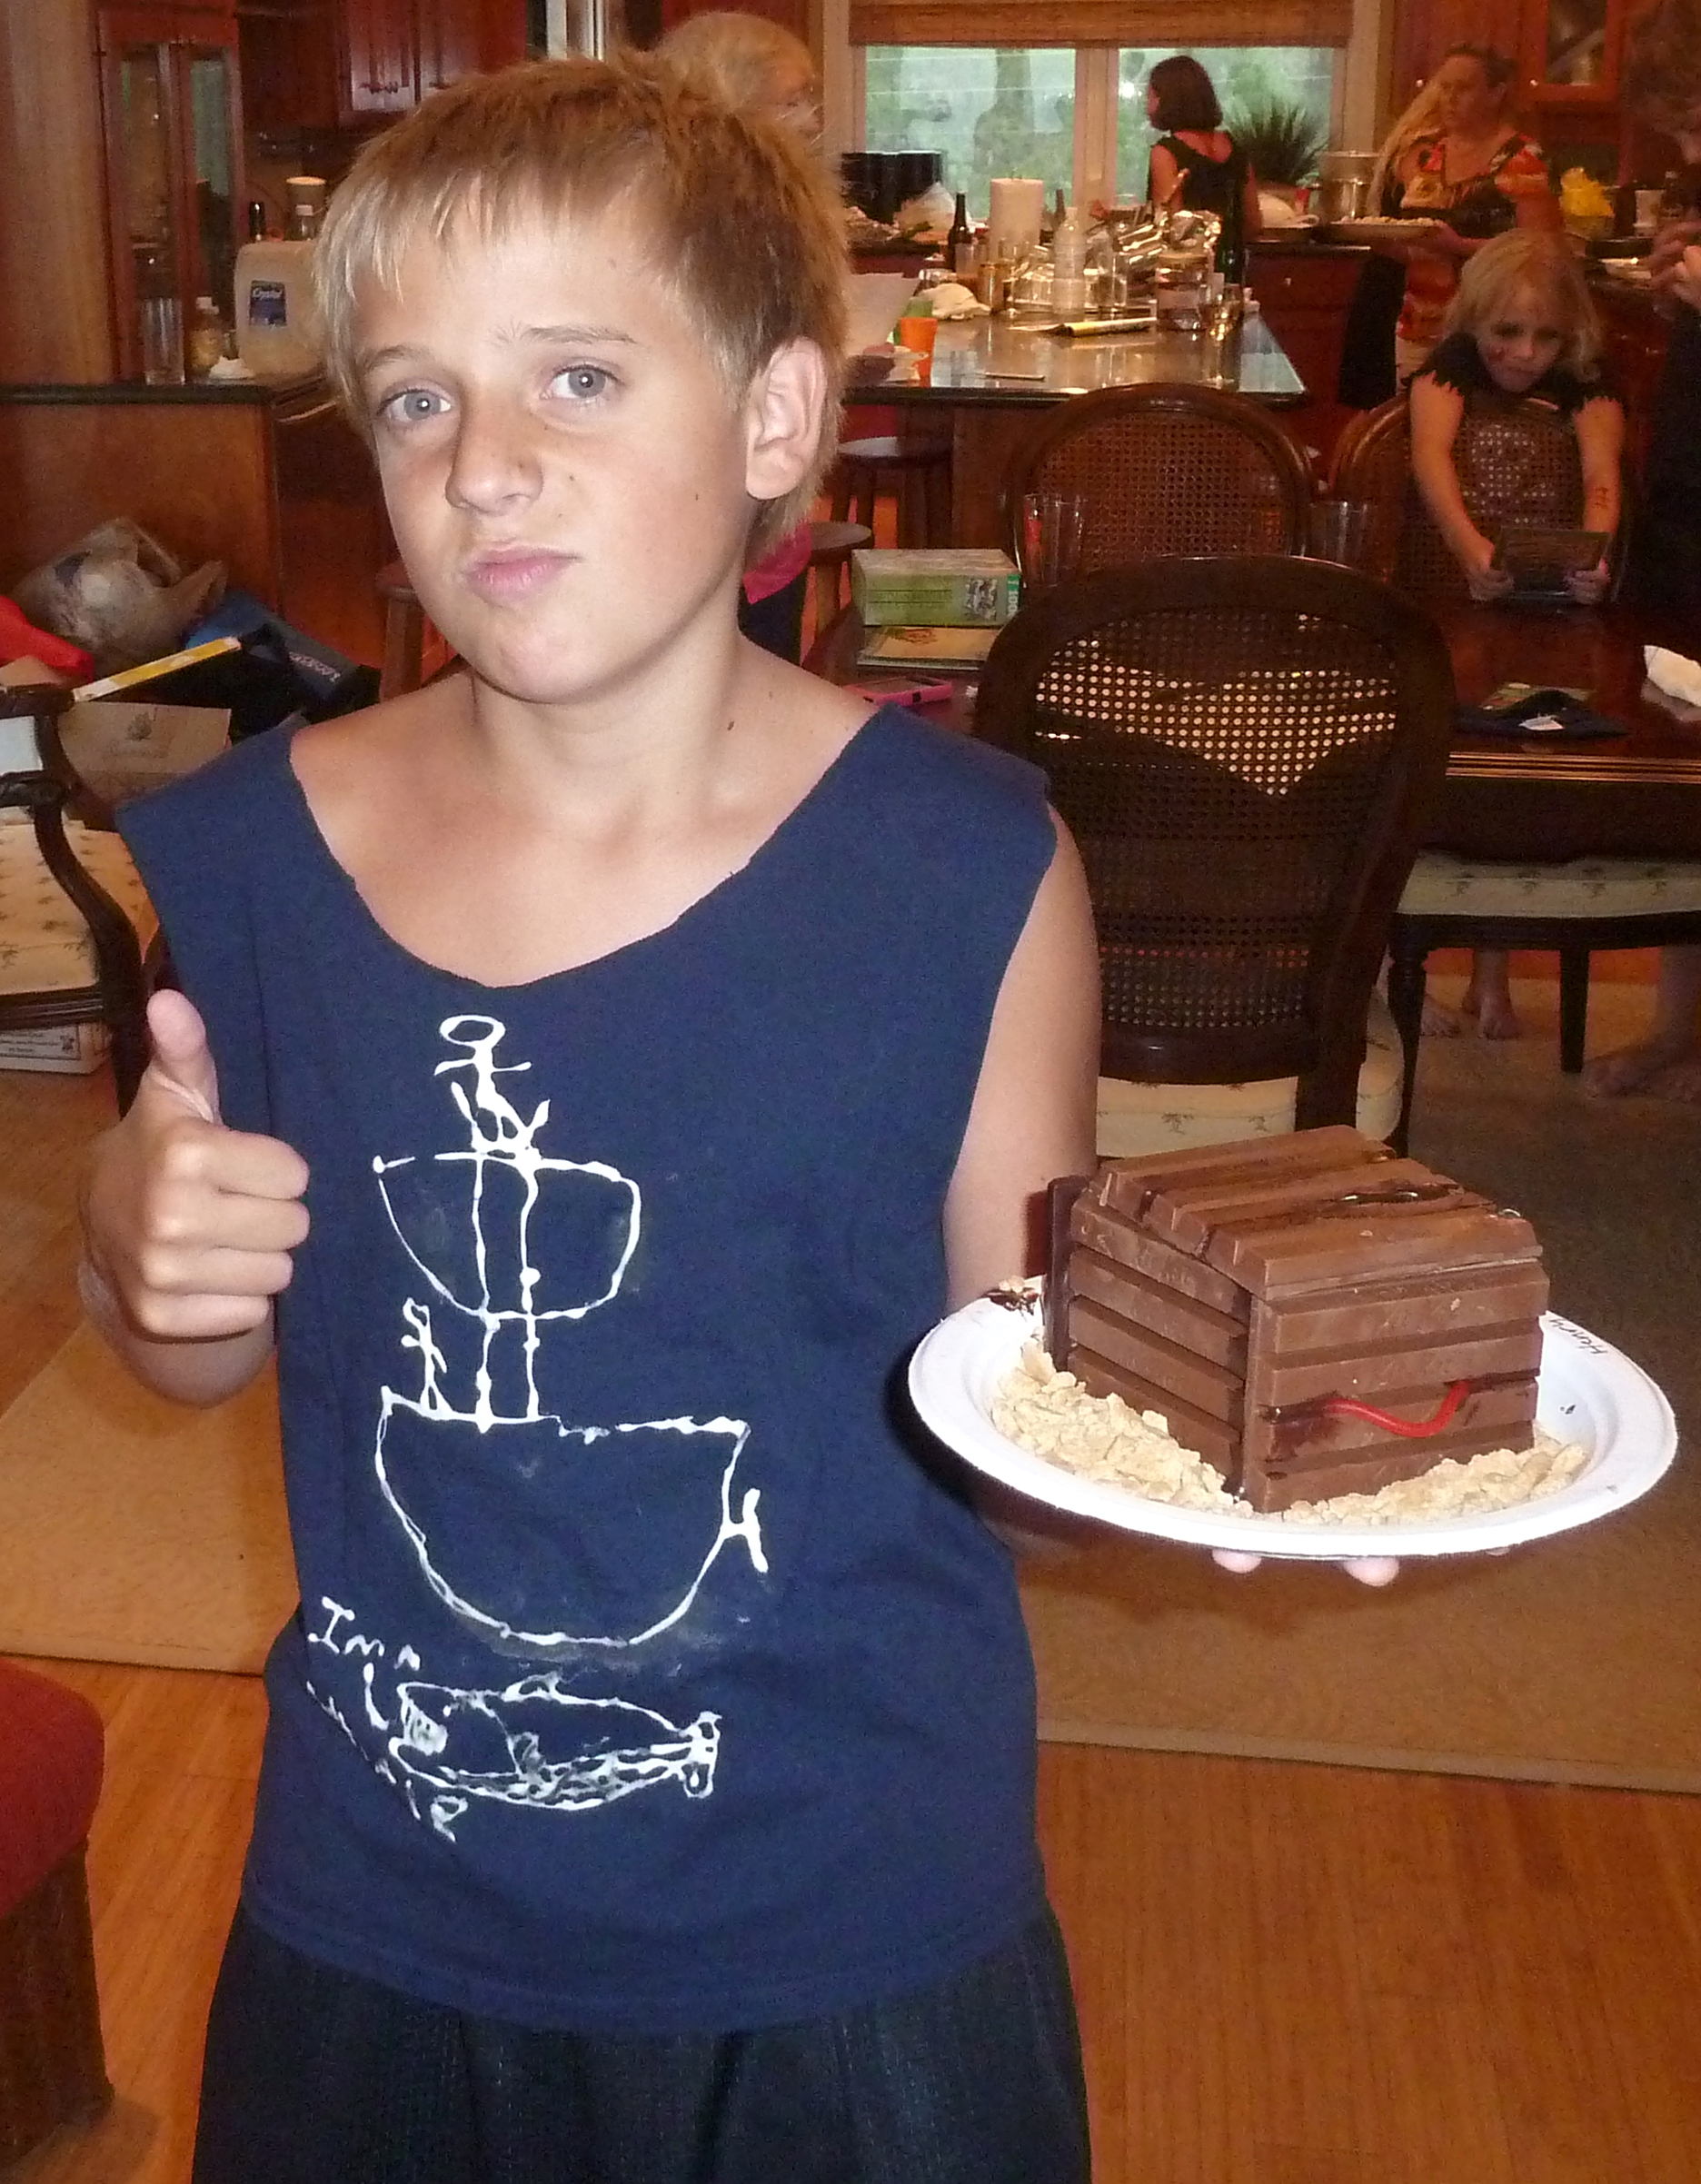 Meet Henry
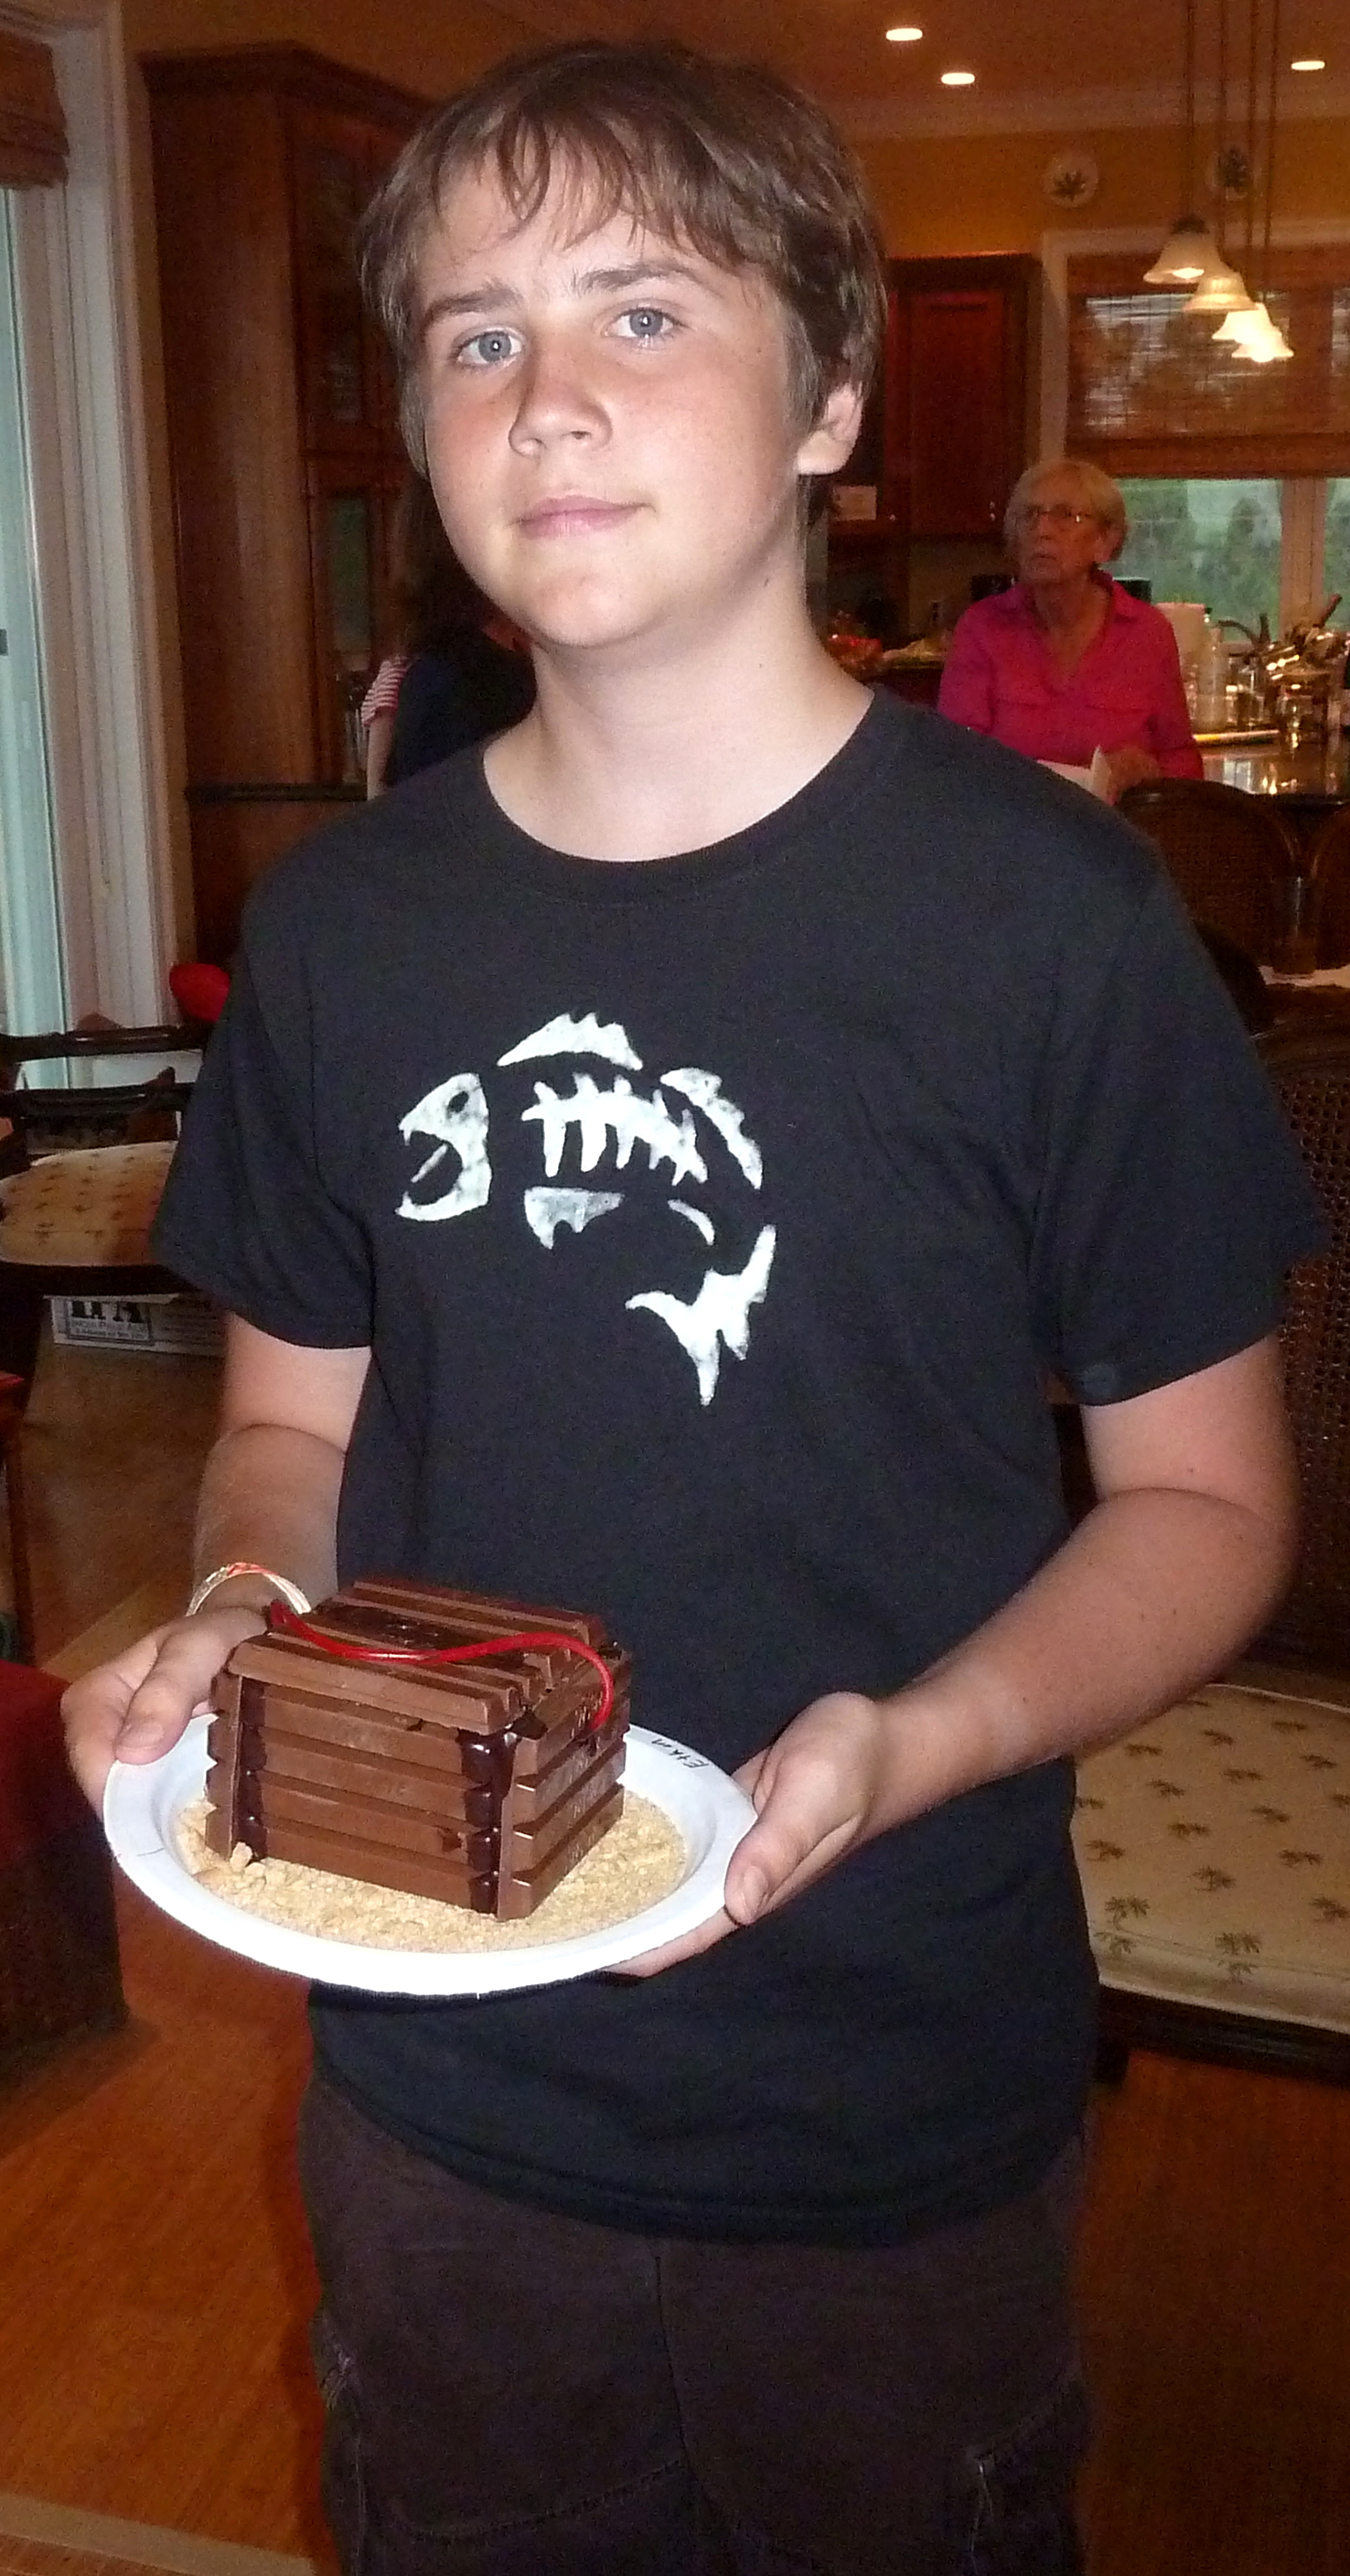
Meet Ethan
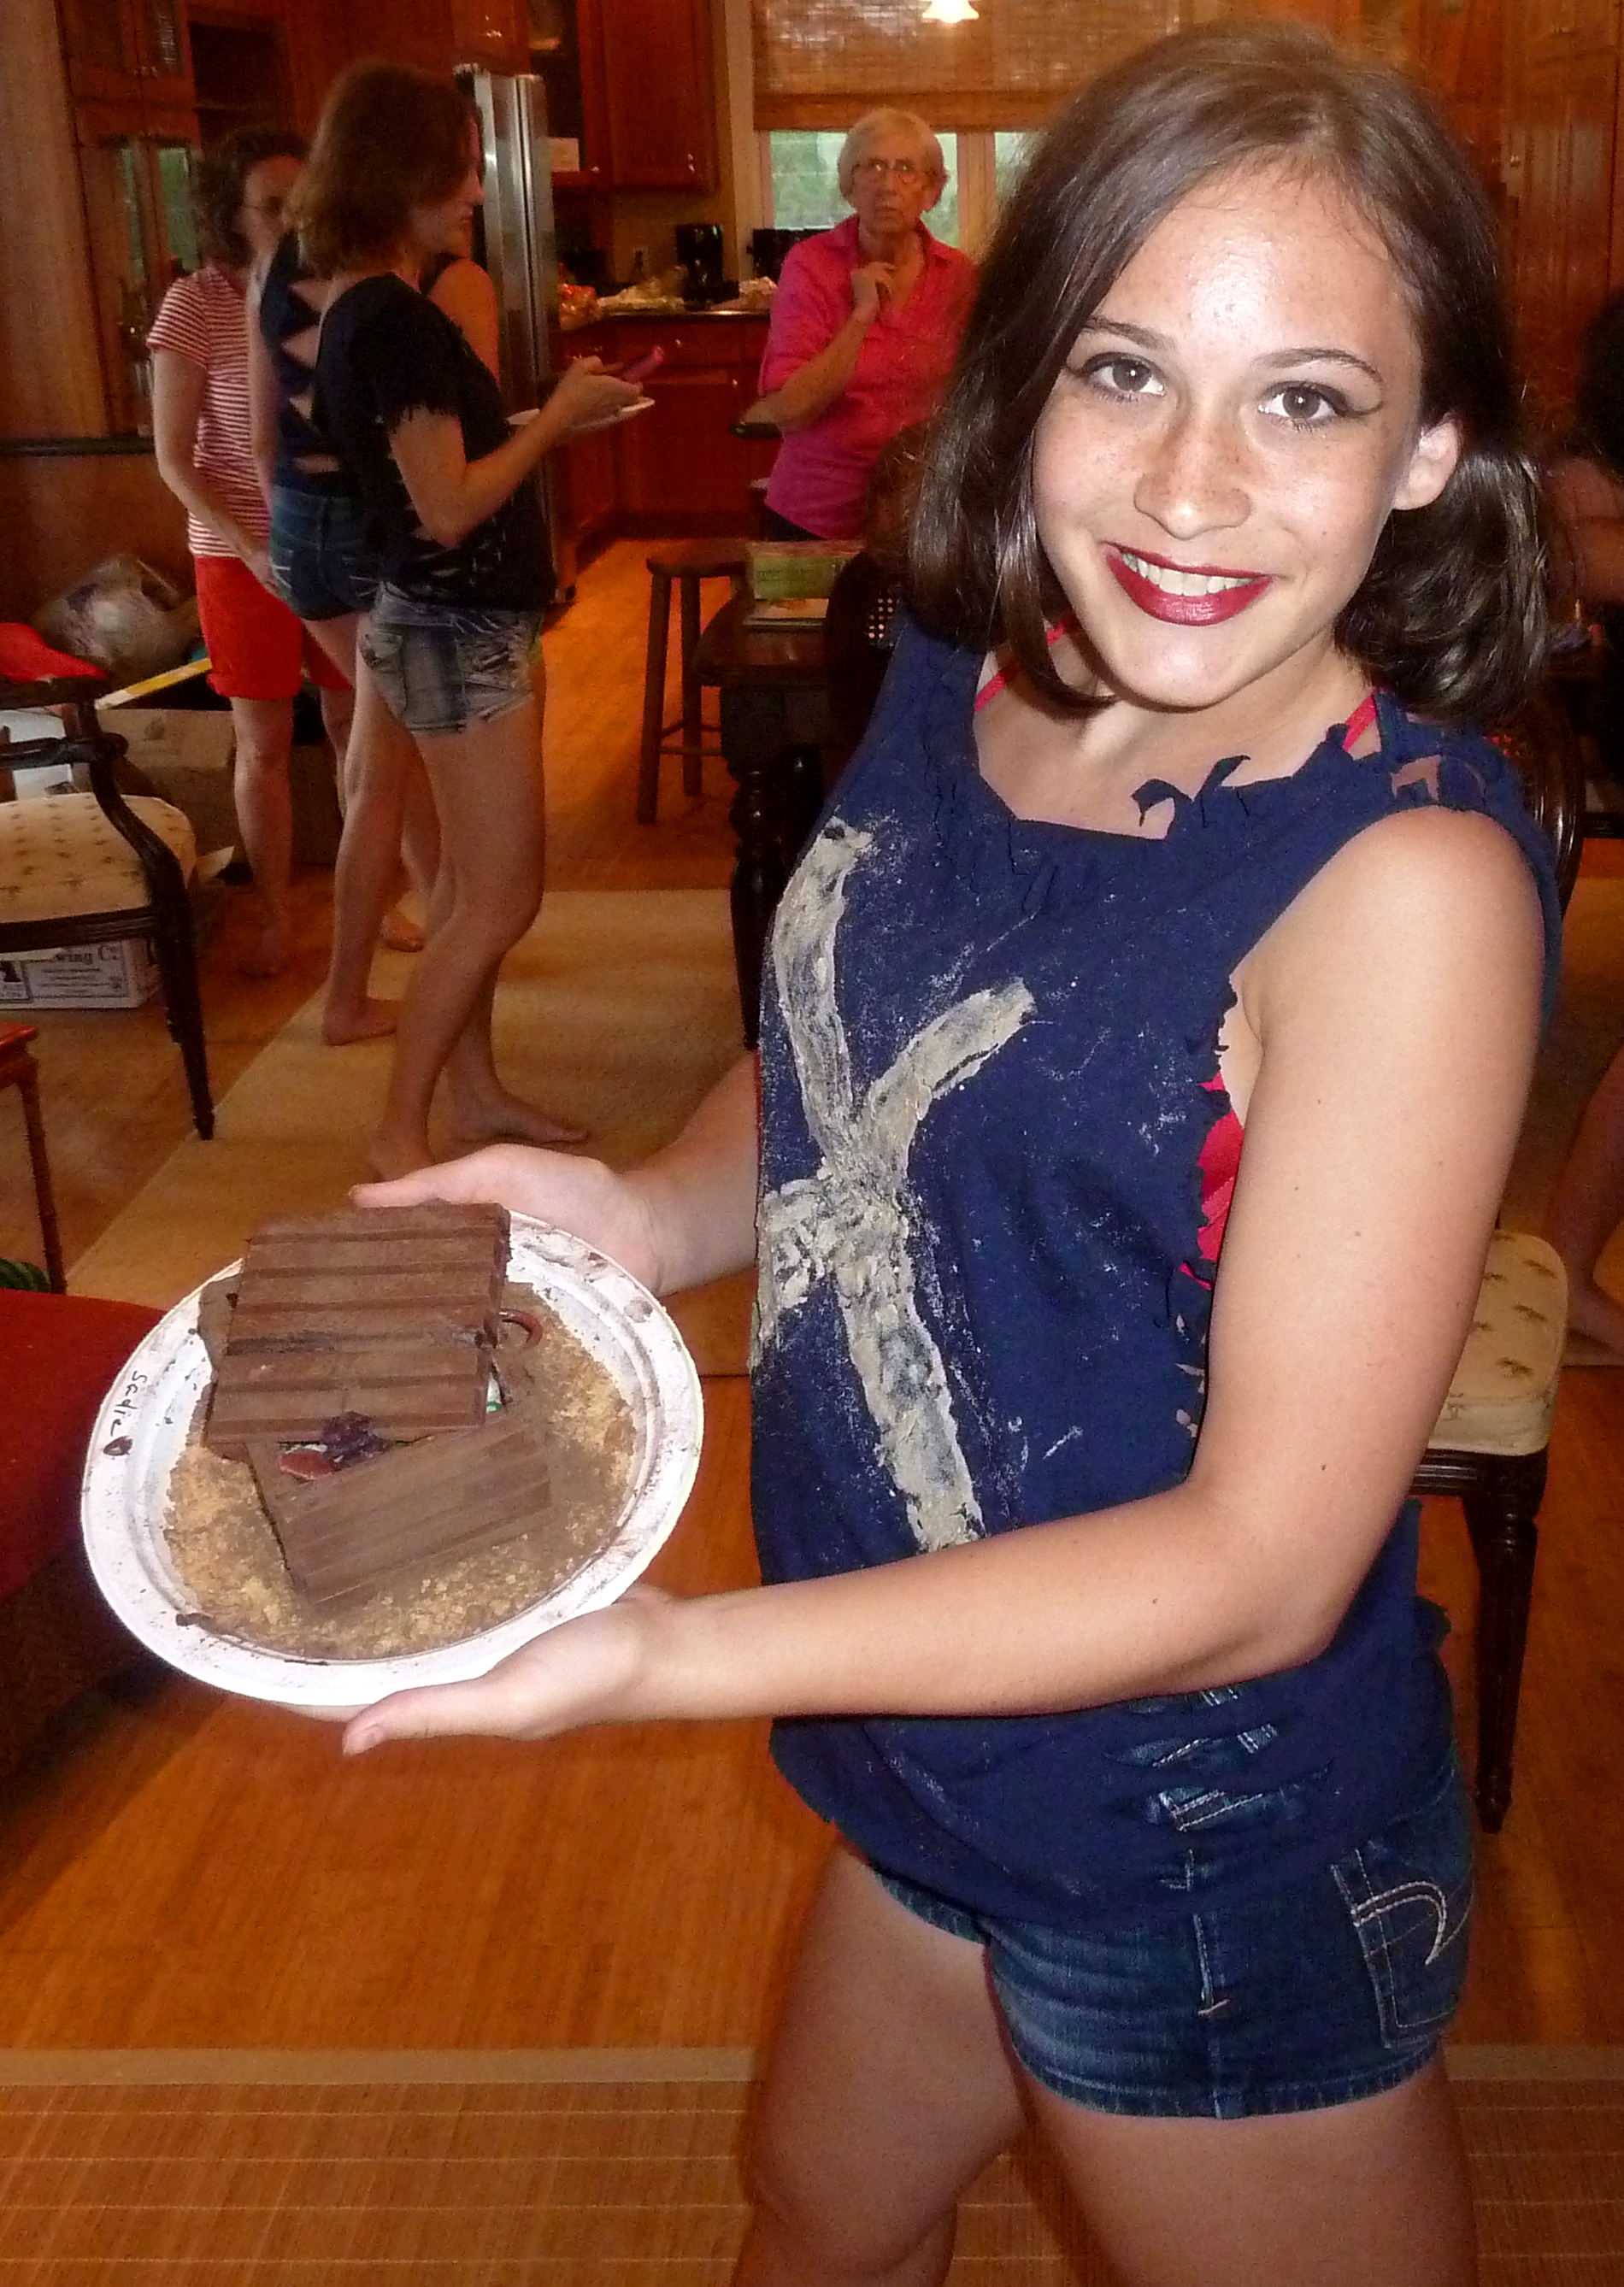 Meet Sadie
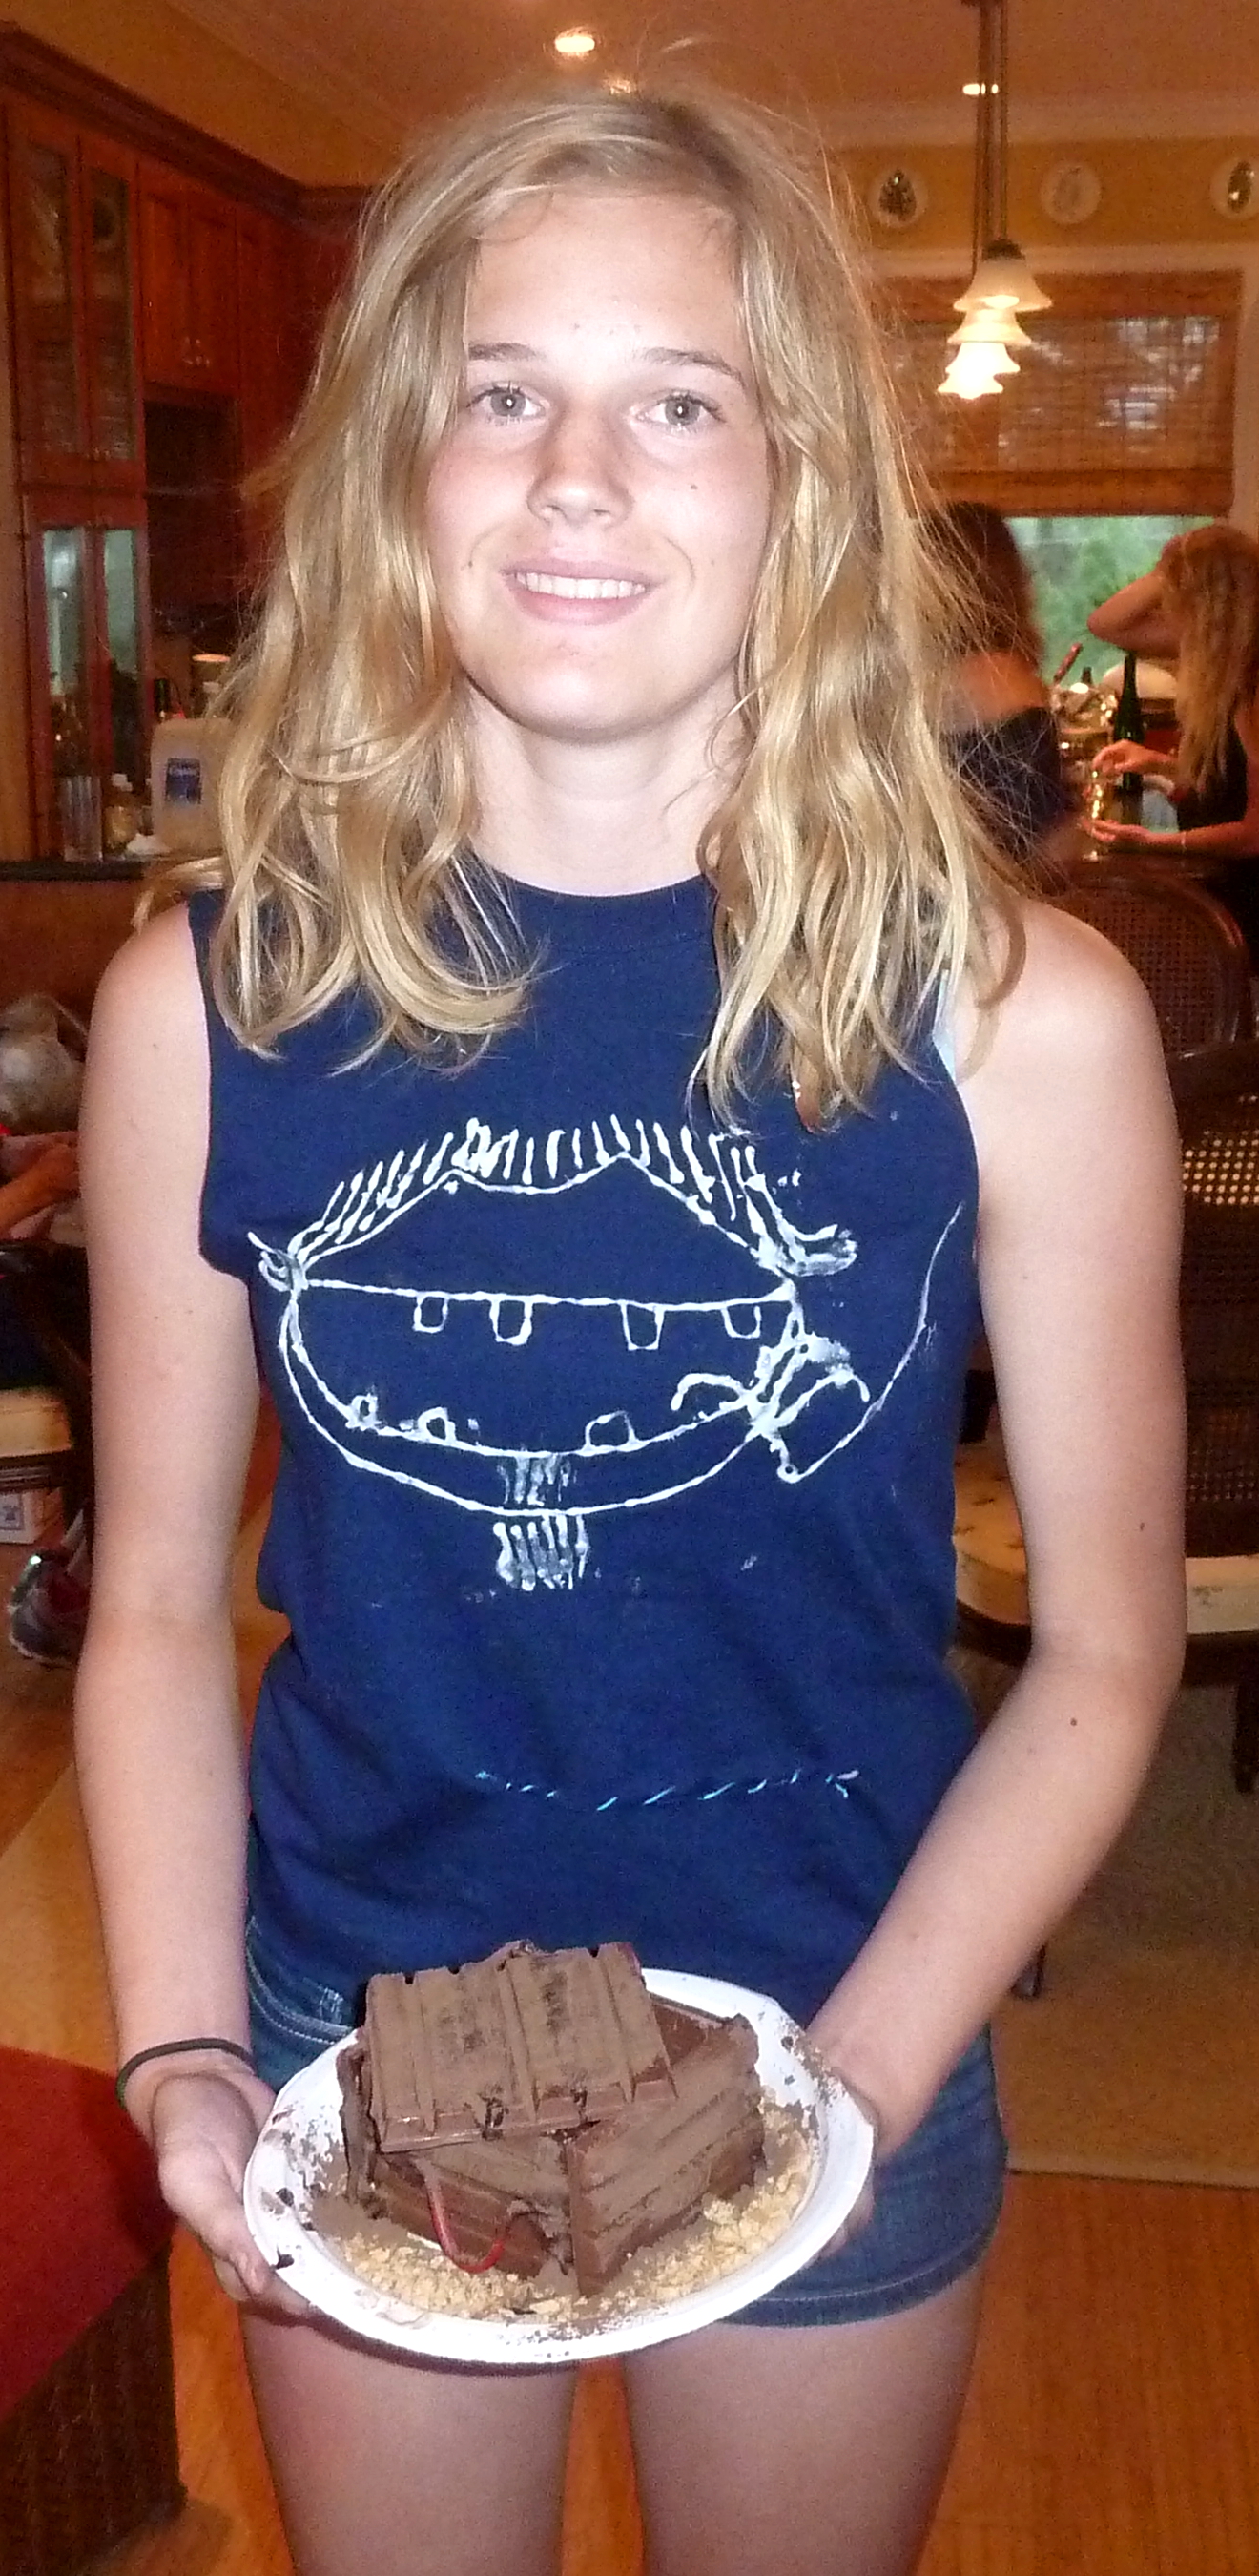
Meet Lila
Meet Stella
And Me
 My Mom, Sadie, and Me
If you enjoyed reading this post, like my Facebook page and subscribe to my blog to follow my cooking adventures and flavorful journeys!
Candy Treasure Chests with New Zealand Treasure
 Print recipe
| Serves | makes 1 box |
| Website | adapted from The Etsy Blog |
Ingredients
- 1 1/2 - 2 Cups graham cracker crumbs
- 6 (1.5 ounces each) Kit-Kat Wafers
- 3 Ounces chocolate (melted)
- 2 Tablespoons unsweetened cocoa powder
- 1 red licorice lace
- Gold foil-wrapped chocolate coins
- fondant pearls
- hard candy jewels (these can be purchased on Etsy)
- an assortment of candies (your choice)
- small pastry brush or popsicle stick (for painting on the melted chocolate)
- pastry brush (for dusting on the cocoa powder)
Directions
| Step 1 | |
| Place 1 cup of graham cracker crumbs on a plate. This will act as the “sand” on which the treasure box sits. | |
| Step 2 | |
| Unwrap the candy bars and set aside. Melt the 3 ounces of chocolate at 30 second intervals in the microwave until it can be stirred smooth. You can also warm the chocolate over low heat in a small saucepan. | |
| Step 3 | |
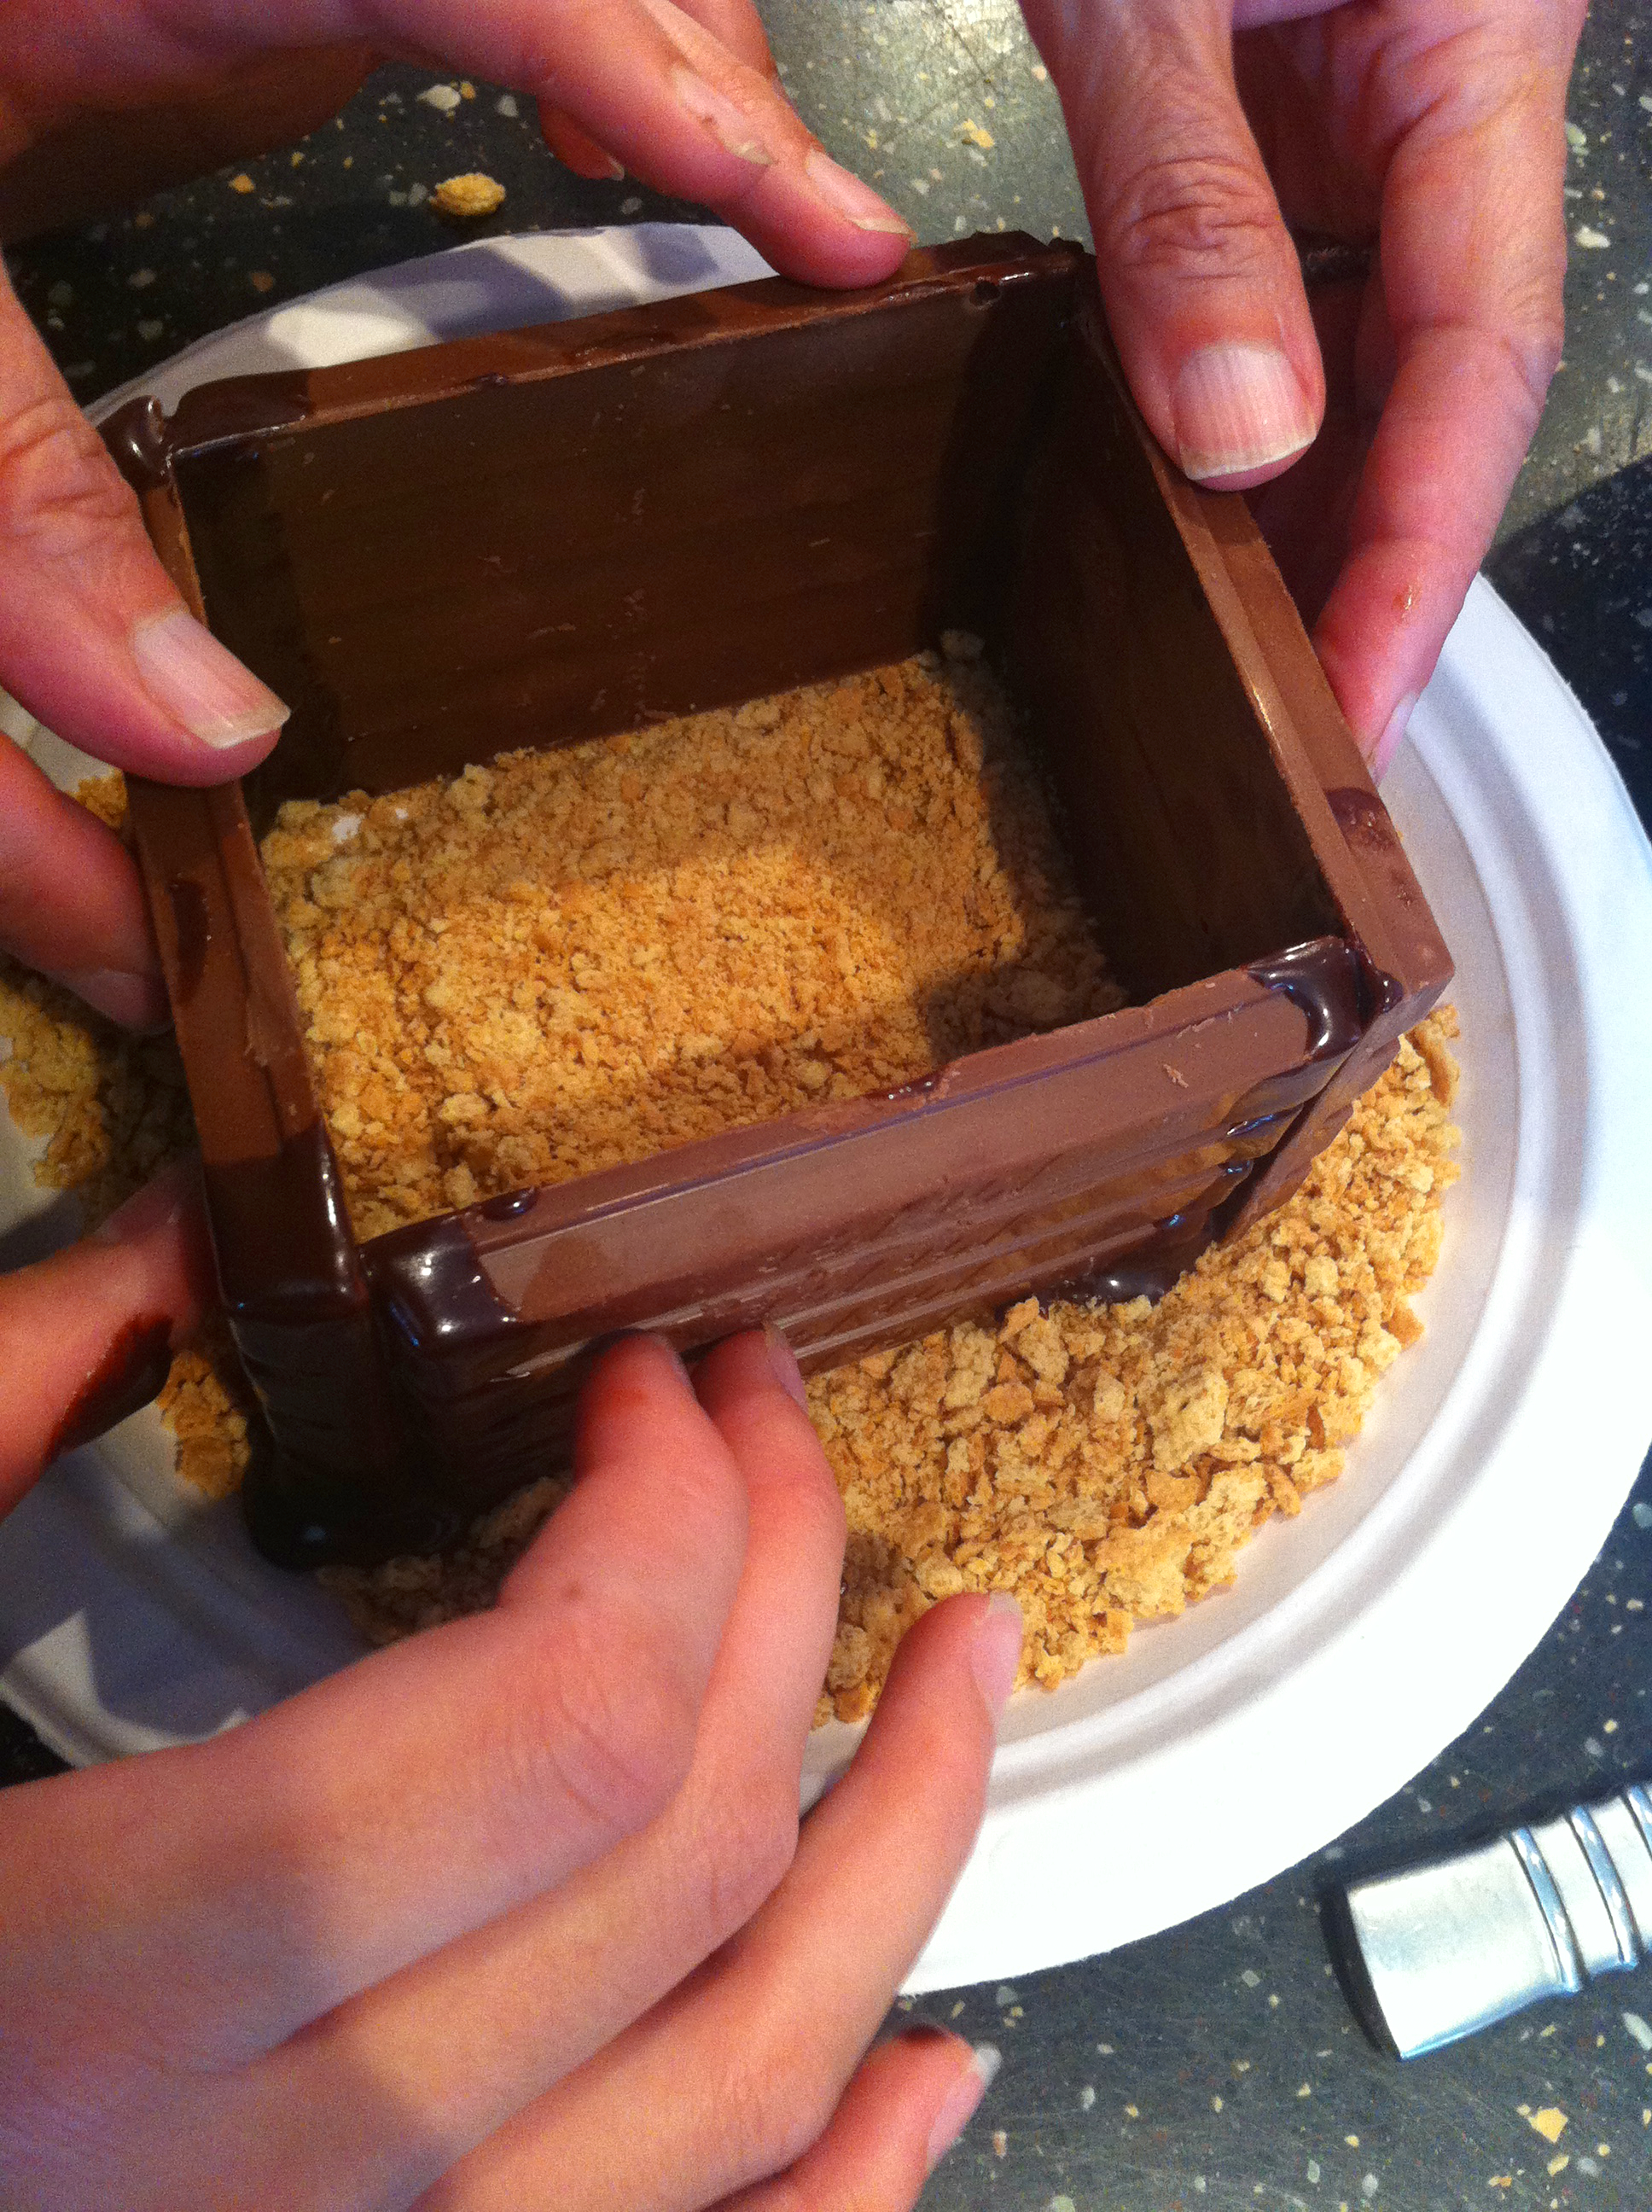
| Press a candy bar turned horizontal and standing upright into the graham cracker crumbs. Paint chocolate on the short ends of another chocolate bar using the popsicle or small pastry brush. Place the short end of the wafer bar brushed with chocolate against the short end of the standing chocolate bar. Press down into the graham cracker crumbs. Apply a third candy bar onto the other end of the wafer bar brushed with chocolate, forming three quarters of the box. Repeat with a fourth chocolate wafer bar and fit it between the two open short ends to close the box. Hold until firmly adhered, a few minutes. | |
| Step 4 | |
| To make the lid, use one whole candy bar (4 pieces) and 1/2 of another bar, broken at a perforation. Brush the broken end of the 1/2 bar with melted chocolate. Press the two bars together so they line up evenly on all sides. Place the unsweetened cocoa in a small cup. Load a dry pastry brush with the cocoa powder and brush over the surface of the box top. Transfer the box top to the refrigerator and chill until firm. | |
| Step 5 | |
| For the box handles, cut the licorice lace into two 2-4-inch pieces. Bend the licorice pieces slightly to create a curve. Dip each end of the licorice into the melted chocolate. Press the ends of a licorice piece into a break-apart perforation and hold until the chocolate adheres. Repeat process on the other side of the box with the remaining licorice piece. | |
| Step 6 | |
| Use some or all of the remaining graham cracker crumbs to fill the box, depending on the amount of candy you are using. Fill box with candy assortment, fondant pearls, and hard candy jewels. Brush seams with cocoa powder, to mask the melted chocolate and give the box an aged look. | |
| Step 7 | |
| Paint the edge of the lid with melted chocolate (reheating the chocolate may be necessary if your chocolate starts to set). Only paint the parts that will be in contact with the box--this depends on the position of the lid. Press unto the box top. | |

We look awesome, they tasted pretty darn good, and im counting the days till next summer!
Me, too. It’s going to be fun!